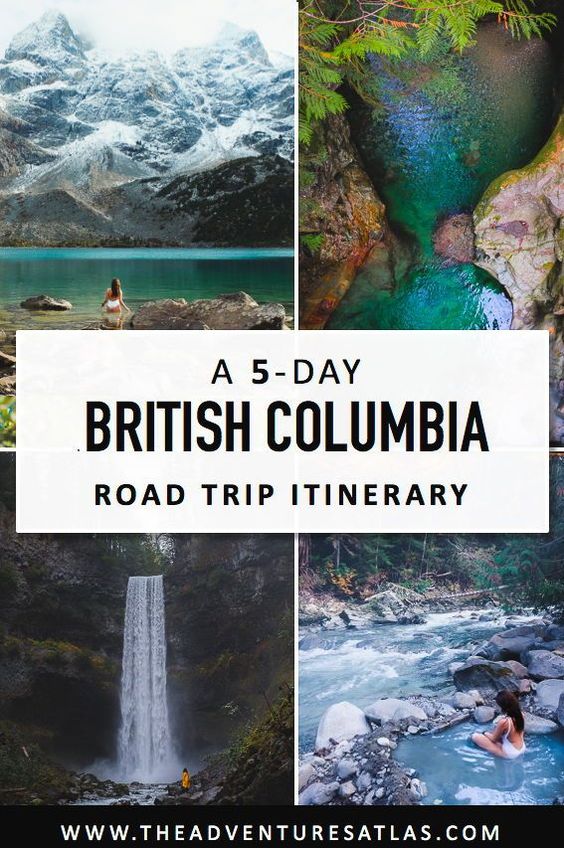
The Perfect British Columbia 5-Day Road Trip Itinerary
Post summary: The perfect British Columbia Itinerary for a 5 day road trip from Vancouver to Whistler. Includes maps, places to stay, and a detailed day-to-day overview. (Last updated August 2022)
This post contains affiliate links, which means I will make a small commission of any purchase you make using my link, at no cost to you!
Arguably one of the most beautiful places I’ve ever seen, Canada’s most western province boasts something to satisfy every type of adventurous spirit.
Crisp alpine air, vibrant moss in a lush northern rain forest, ghostly fog blanketing glacier capped mountain peaks. Crashing waterfalls, steamy hot springs, turquoise water, and the salty smell of the Pacific Ocean.
Those are the things that I love most about British Columbia. And I know you will love them too. That’s why I’ve gone ahead and written out our perfectly cohesive 5-day British Columbia road trip itinerary that’s guaranteed to make your adventure through this incredible province so unforgettable..
The Logistics
I was overly excited to start planning our British Columbia road trip. I scoured Pinterest, delved into the depths of every relevant forum I could find online and contacted everyone I knew who lived in the area in the hopes of scoring insider advice. My Google Maps were peppered with pins from all over the province: a few stops along the coast of Vancouver Island, Orca watching, road tripping back up through the city, then Squamish, Whistler, Pemberton to explore the alpine.
I took a deep breath and forced myself back into reality. There’s so much to see, so many options, so little time. So I recollected myself and settled on one small area. Fast forward a few days and too many cups of coffee later: I pinned some places we couldn’t miss, reserved a 4×4, and spoke with some locals. I finally had a tentative plan on how to make the most of our week around Whistler, British Columbia..
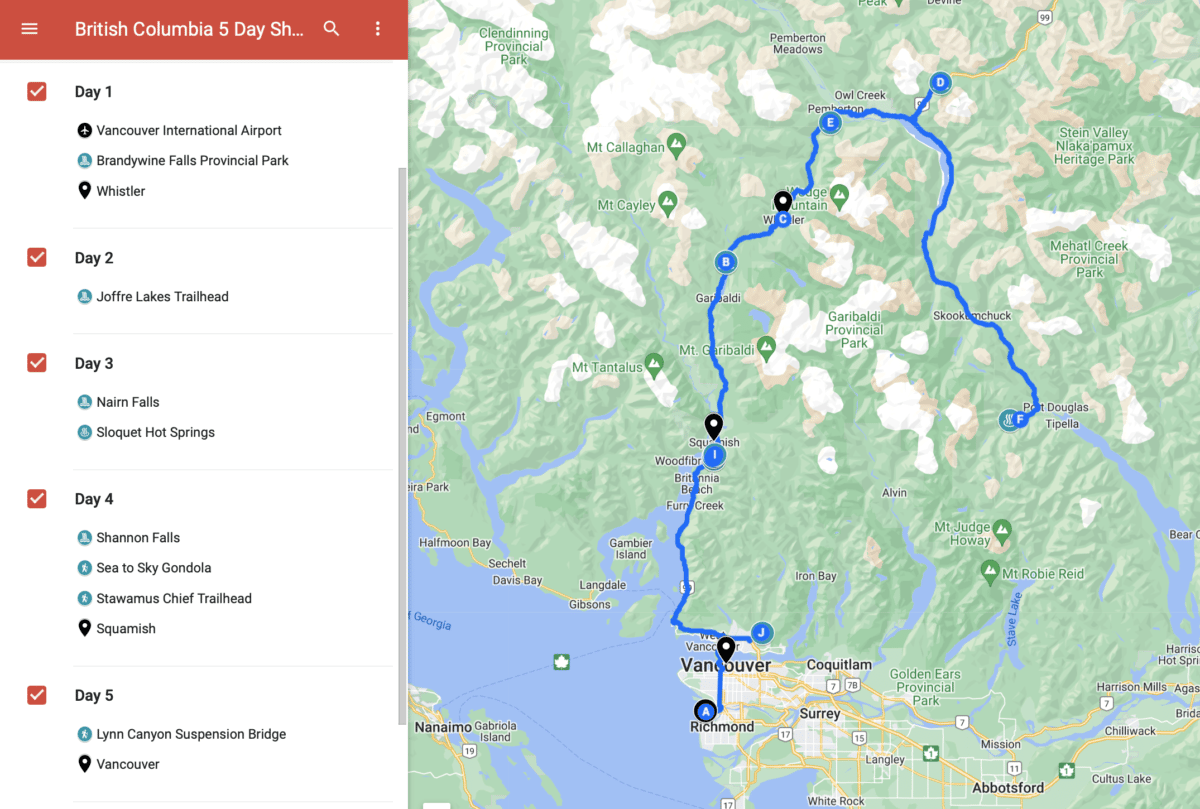
The Route: Vancouver to Whistler (and beyond)
Our flight touched down in Vancouver at 10am. We picked up our rental car, stopped for Starbucks espresso and made last minute tweaks to our plan. Then, we headed straight toward Whistler. However, if you arrive in Vancouver late at night, you will want to add an extra day to spend the night in Vancouver and get your bearings before starting this road trip.
This road trip route snakes northward up the Sea-to-Sky Highway from Vancouver to Whistler and Pemberton, and back down to Squamish, before ending with one last adventure in Vancouver.
DAY 1: BRANDYWINE FALLS TO WHISTLER
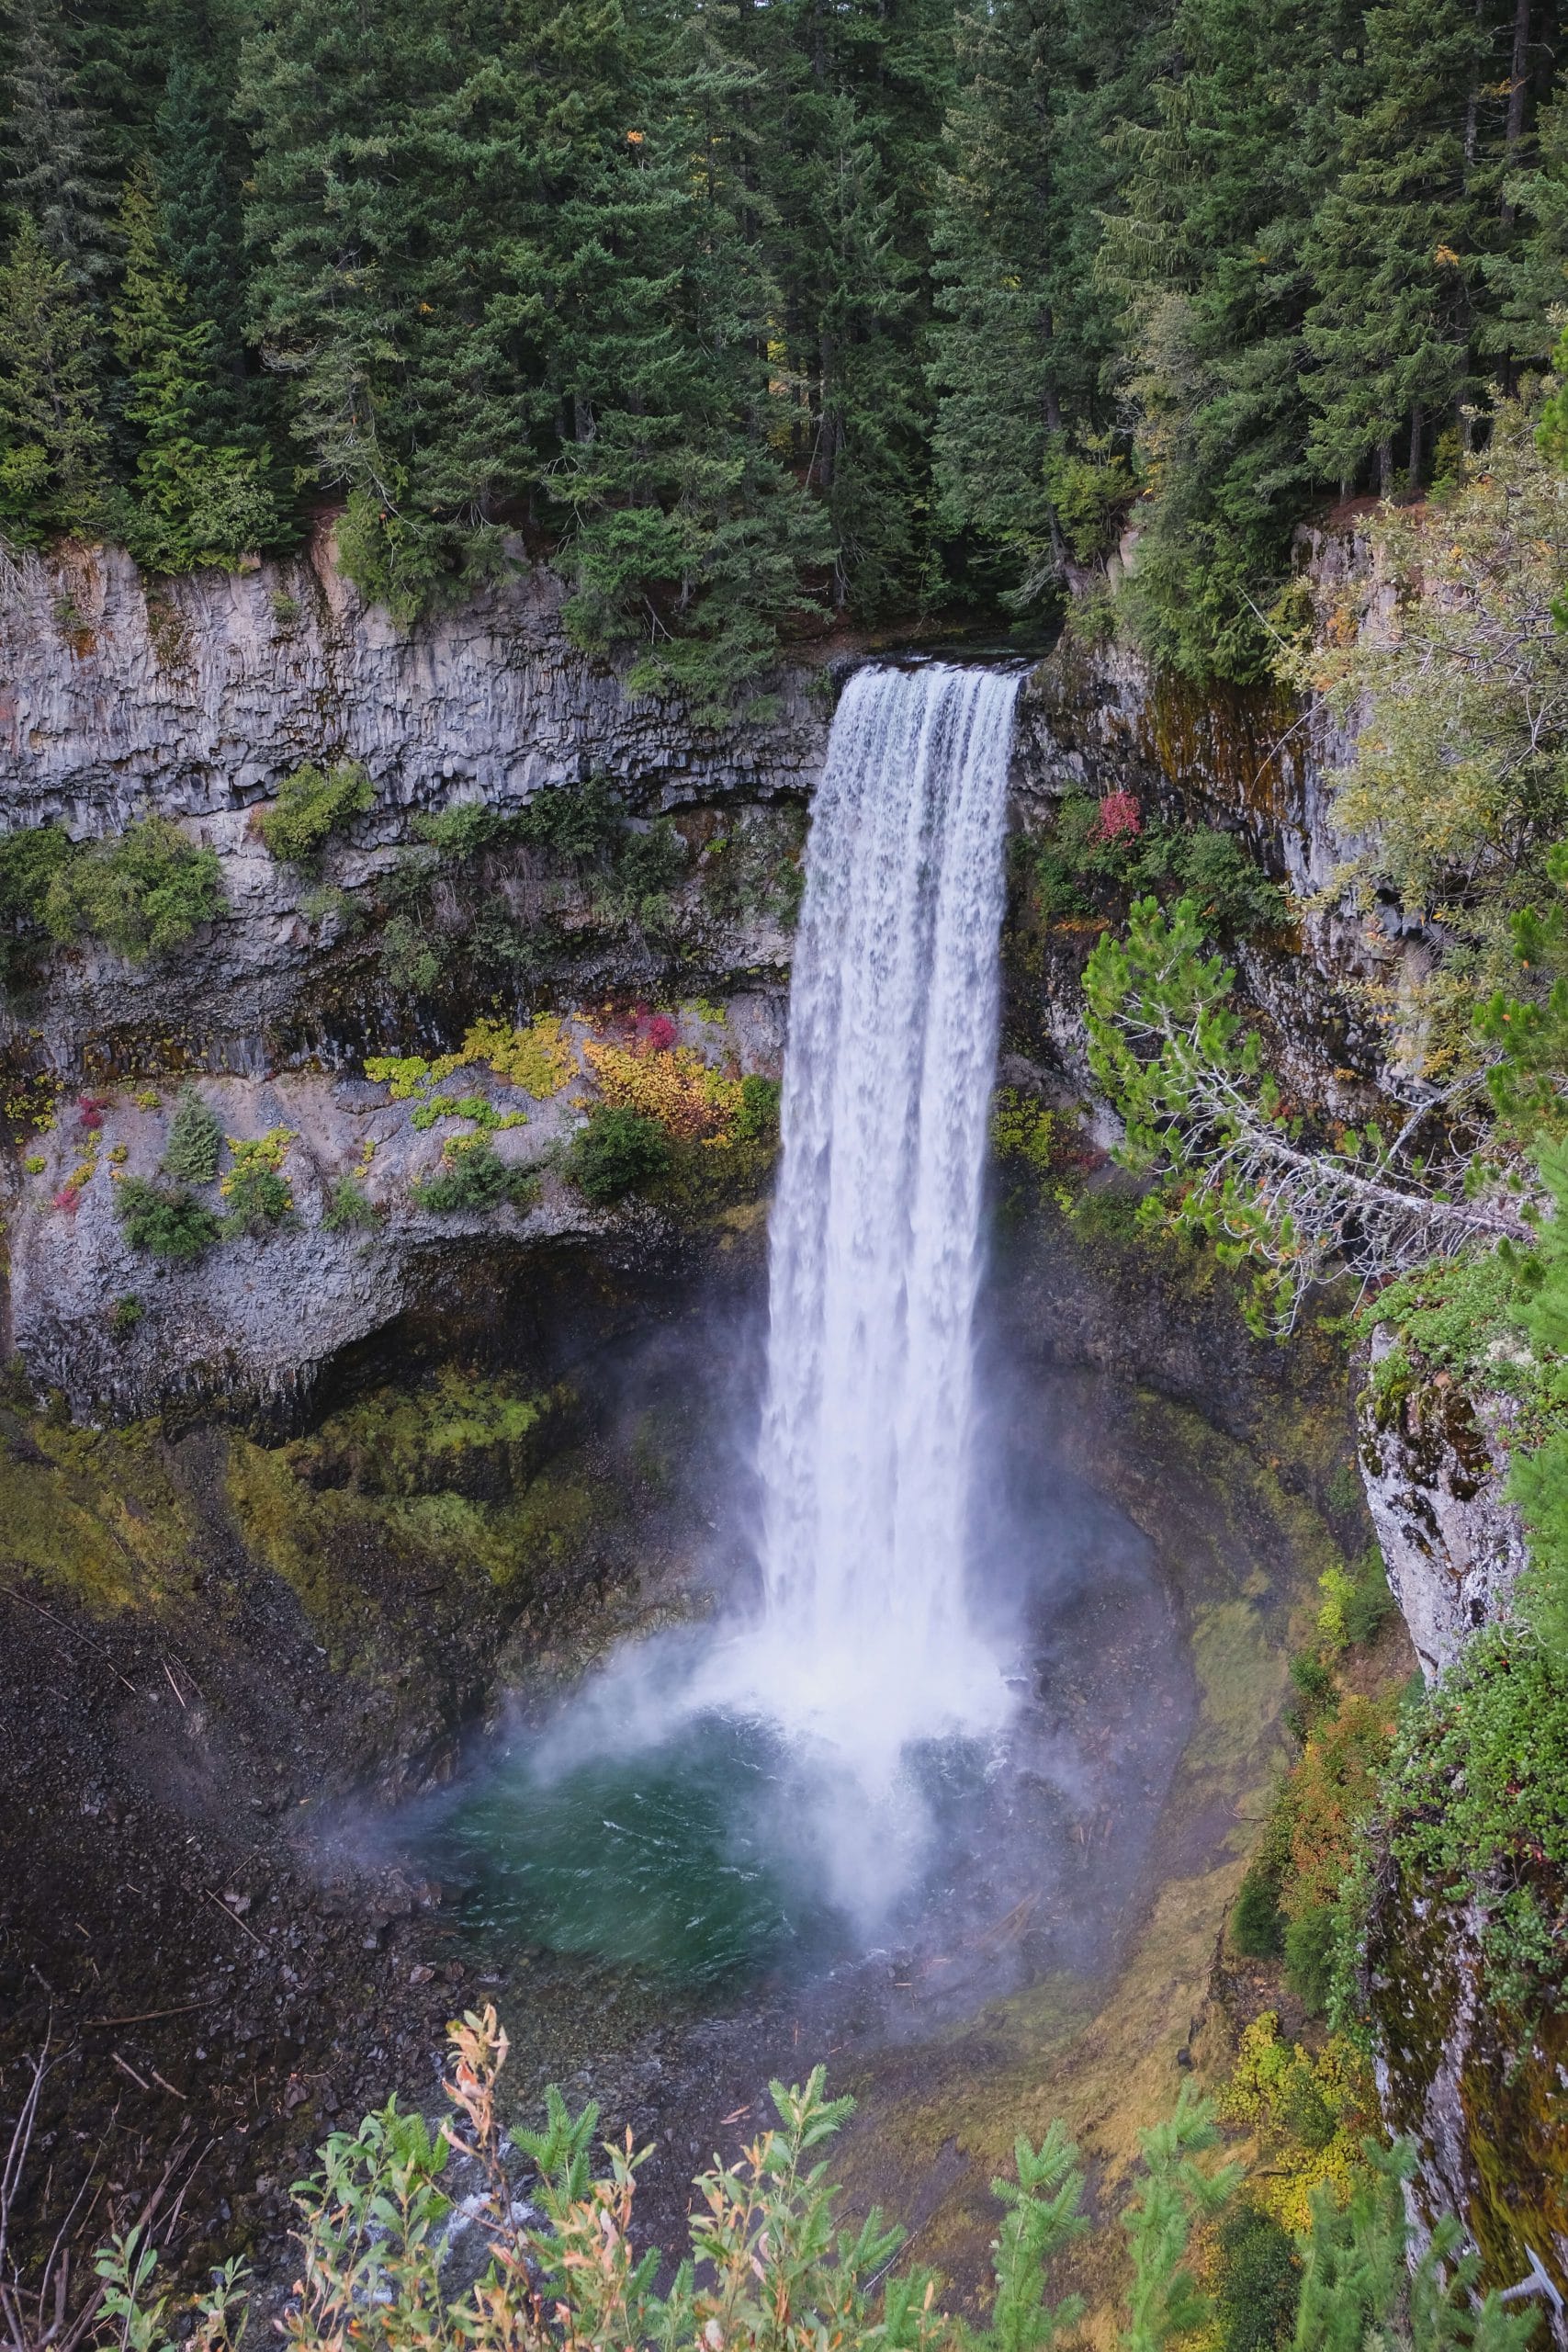
Brandywine Falls was our first stop on our drive to Whistler. The parking area is easily accessible from the road, so it only made sense to let one of the most iconic waterfalls in the area give us a proper welcome to British Columbia.
Brandywine Falls Trail to the Upper Viewing Platform
- Rated: Easy
- Distance: 1km, out and back
- Season: year-round
- Time needed: 30 minutes – 1 hour
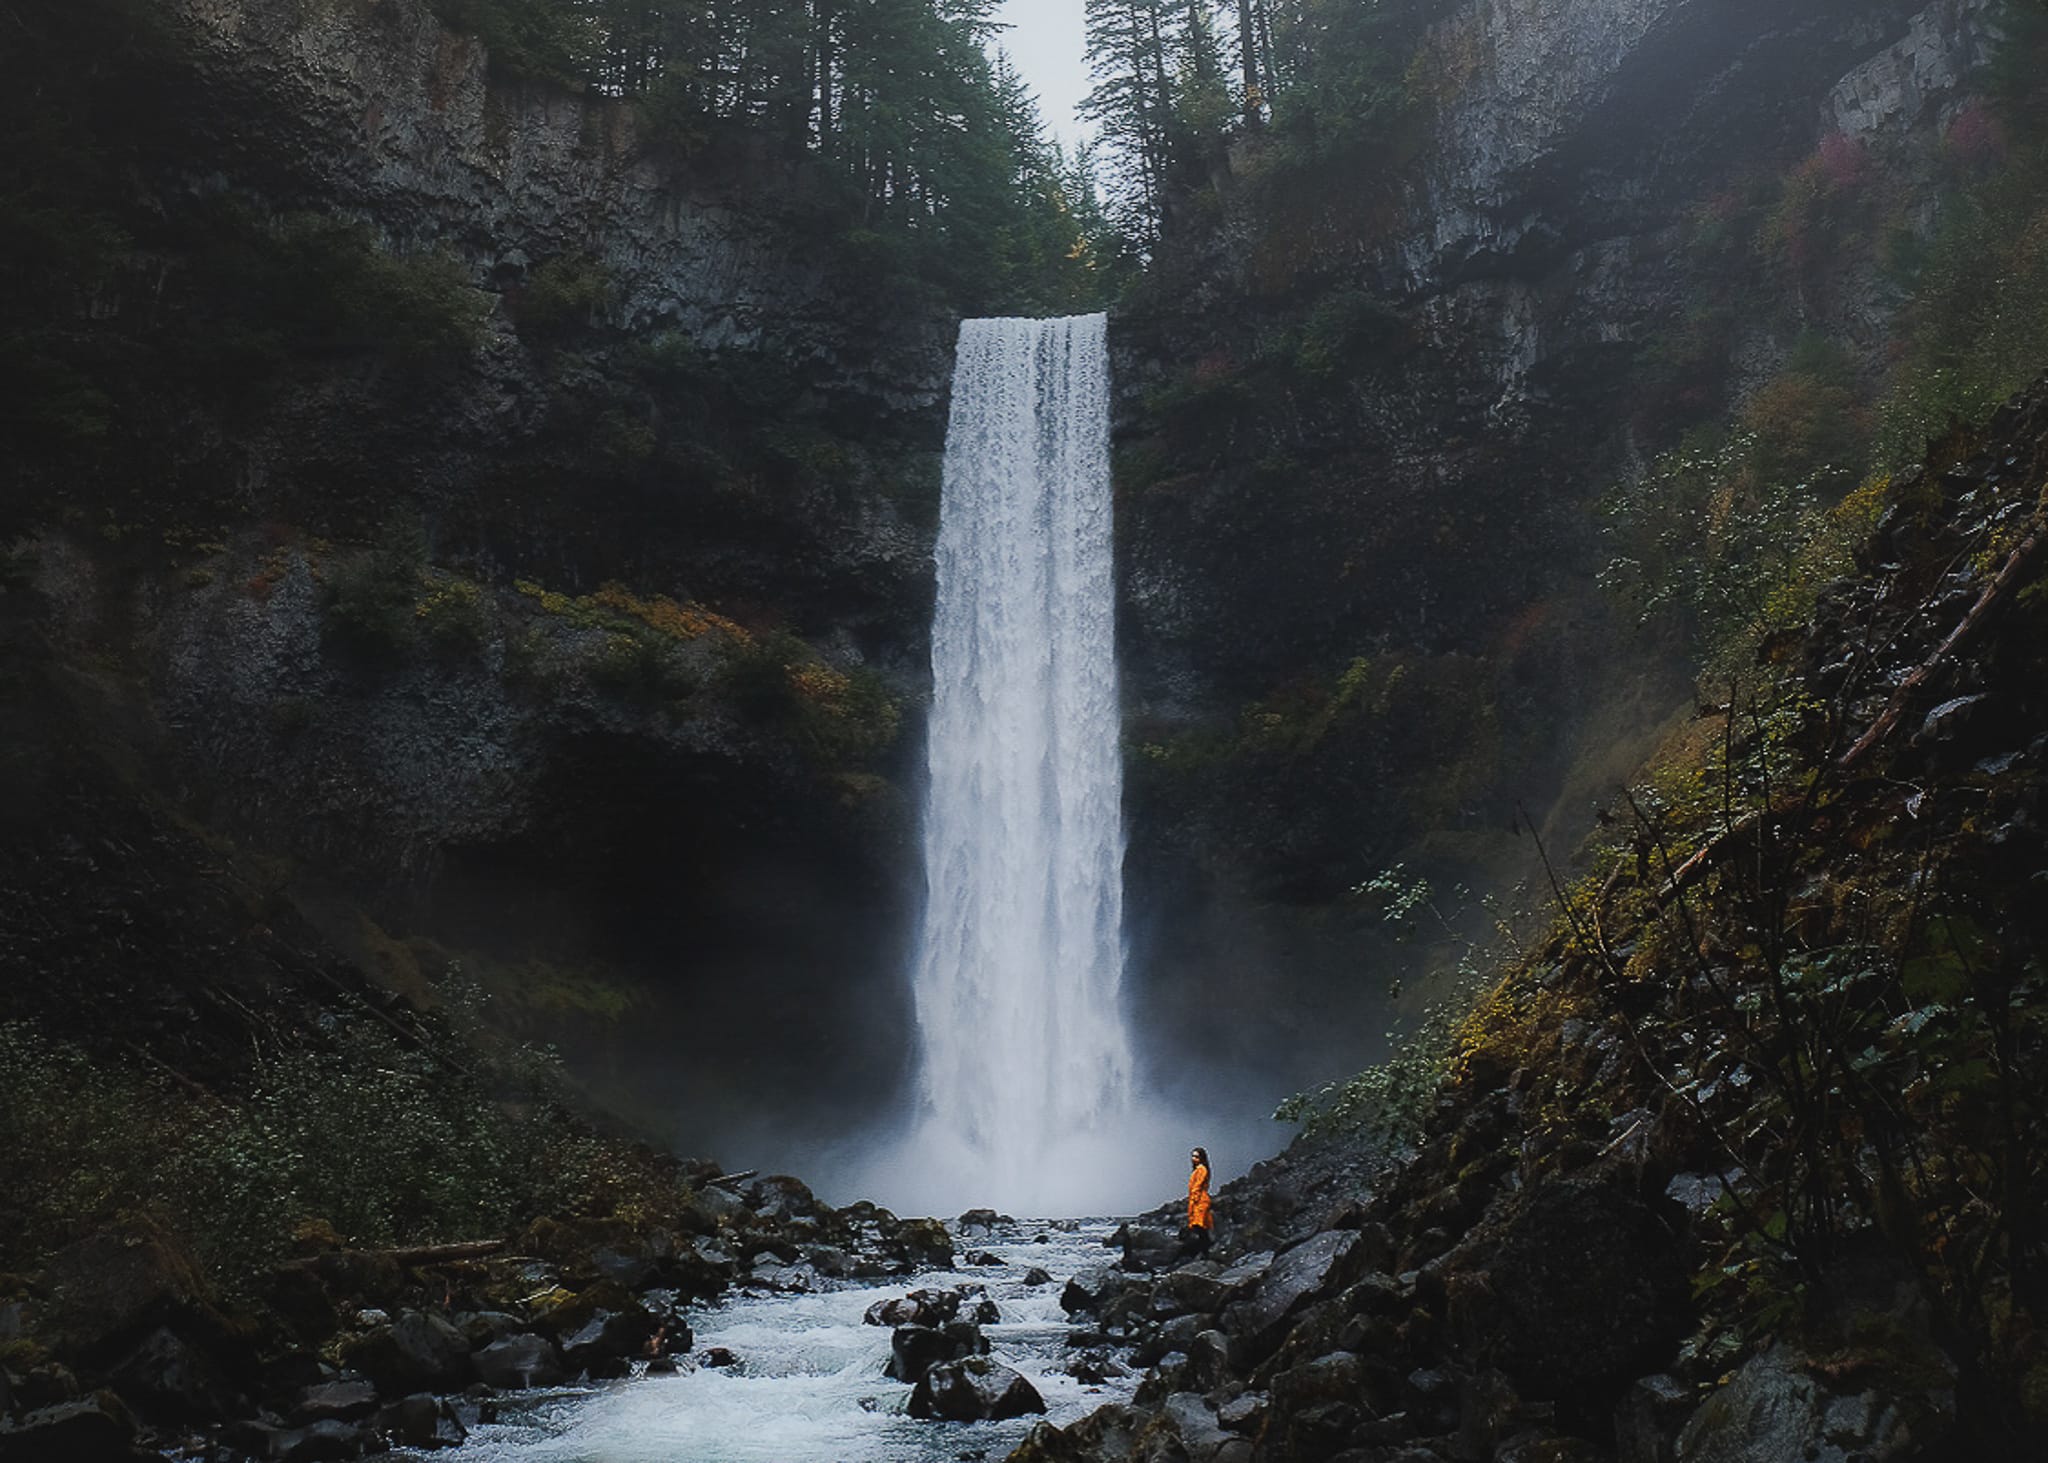
Brandywine Falls is nestled within Brandywine Provincial Park, where it crashes 70m into the volcanic valley that its carved out over thousands of years.
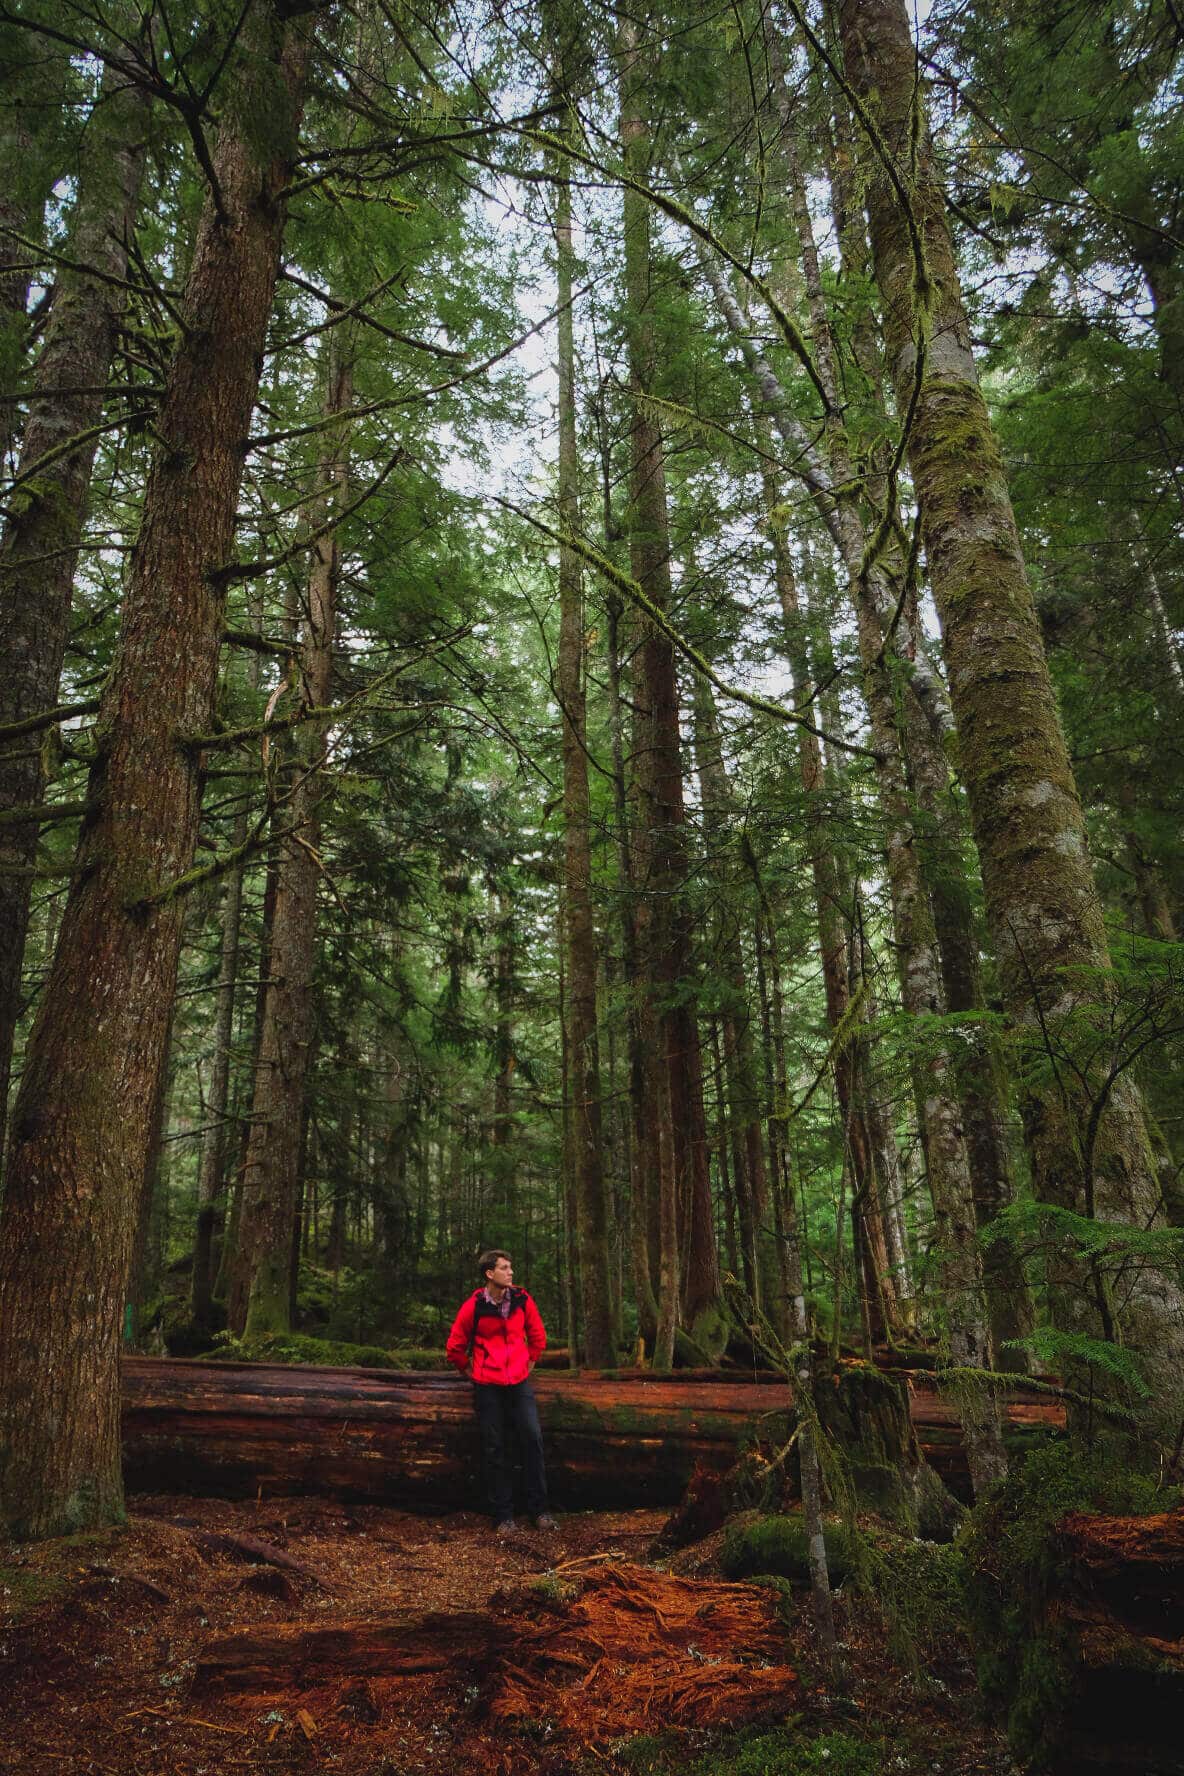
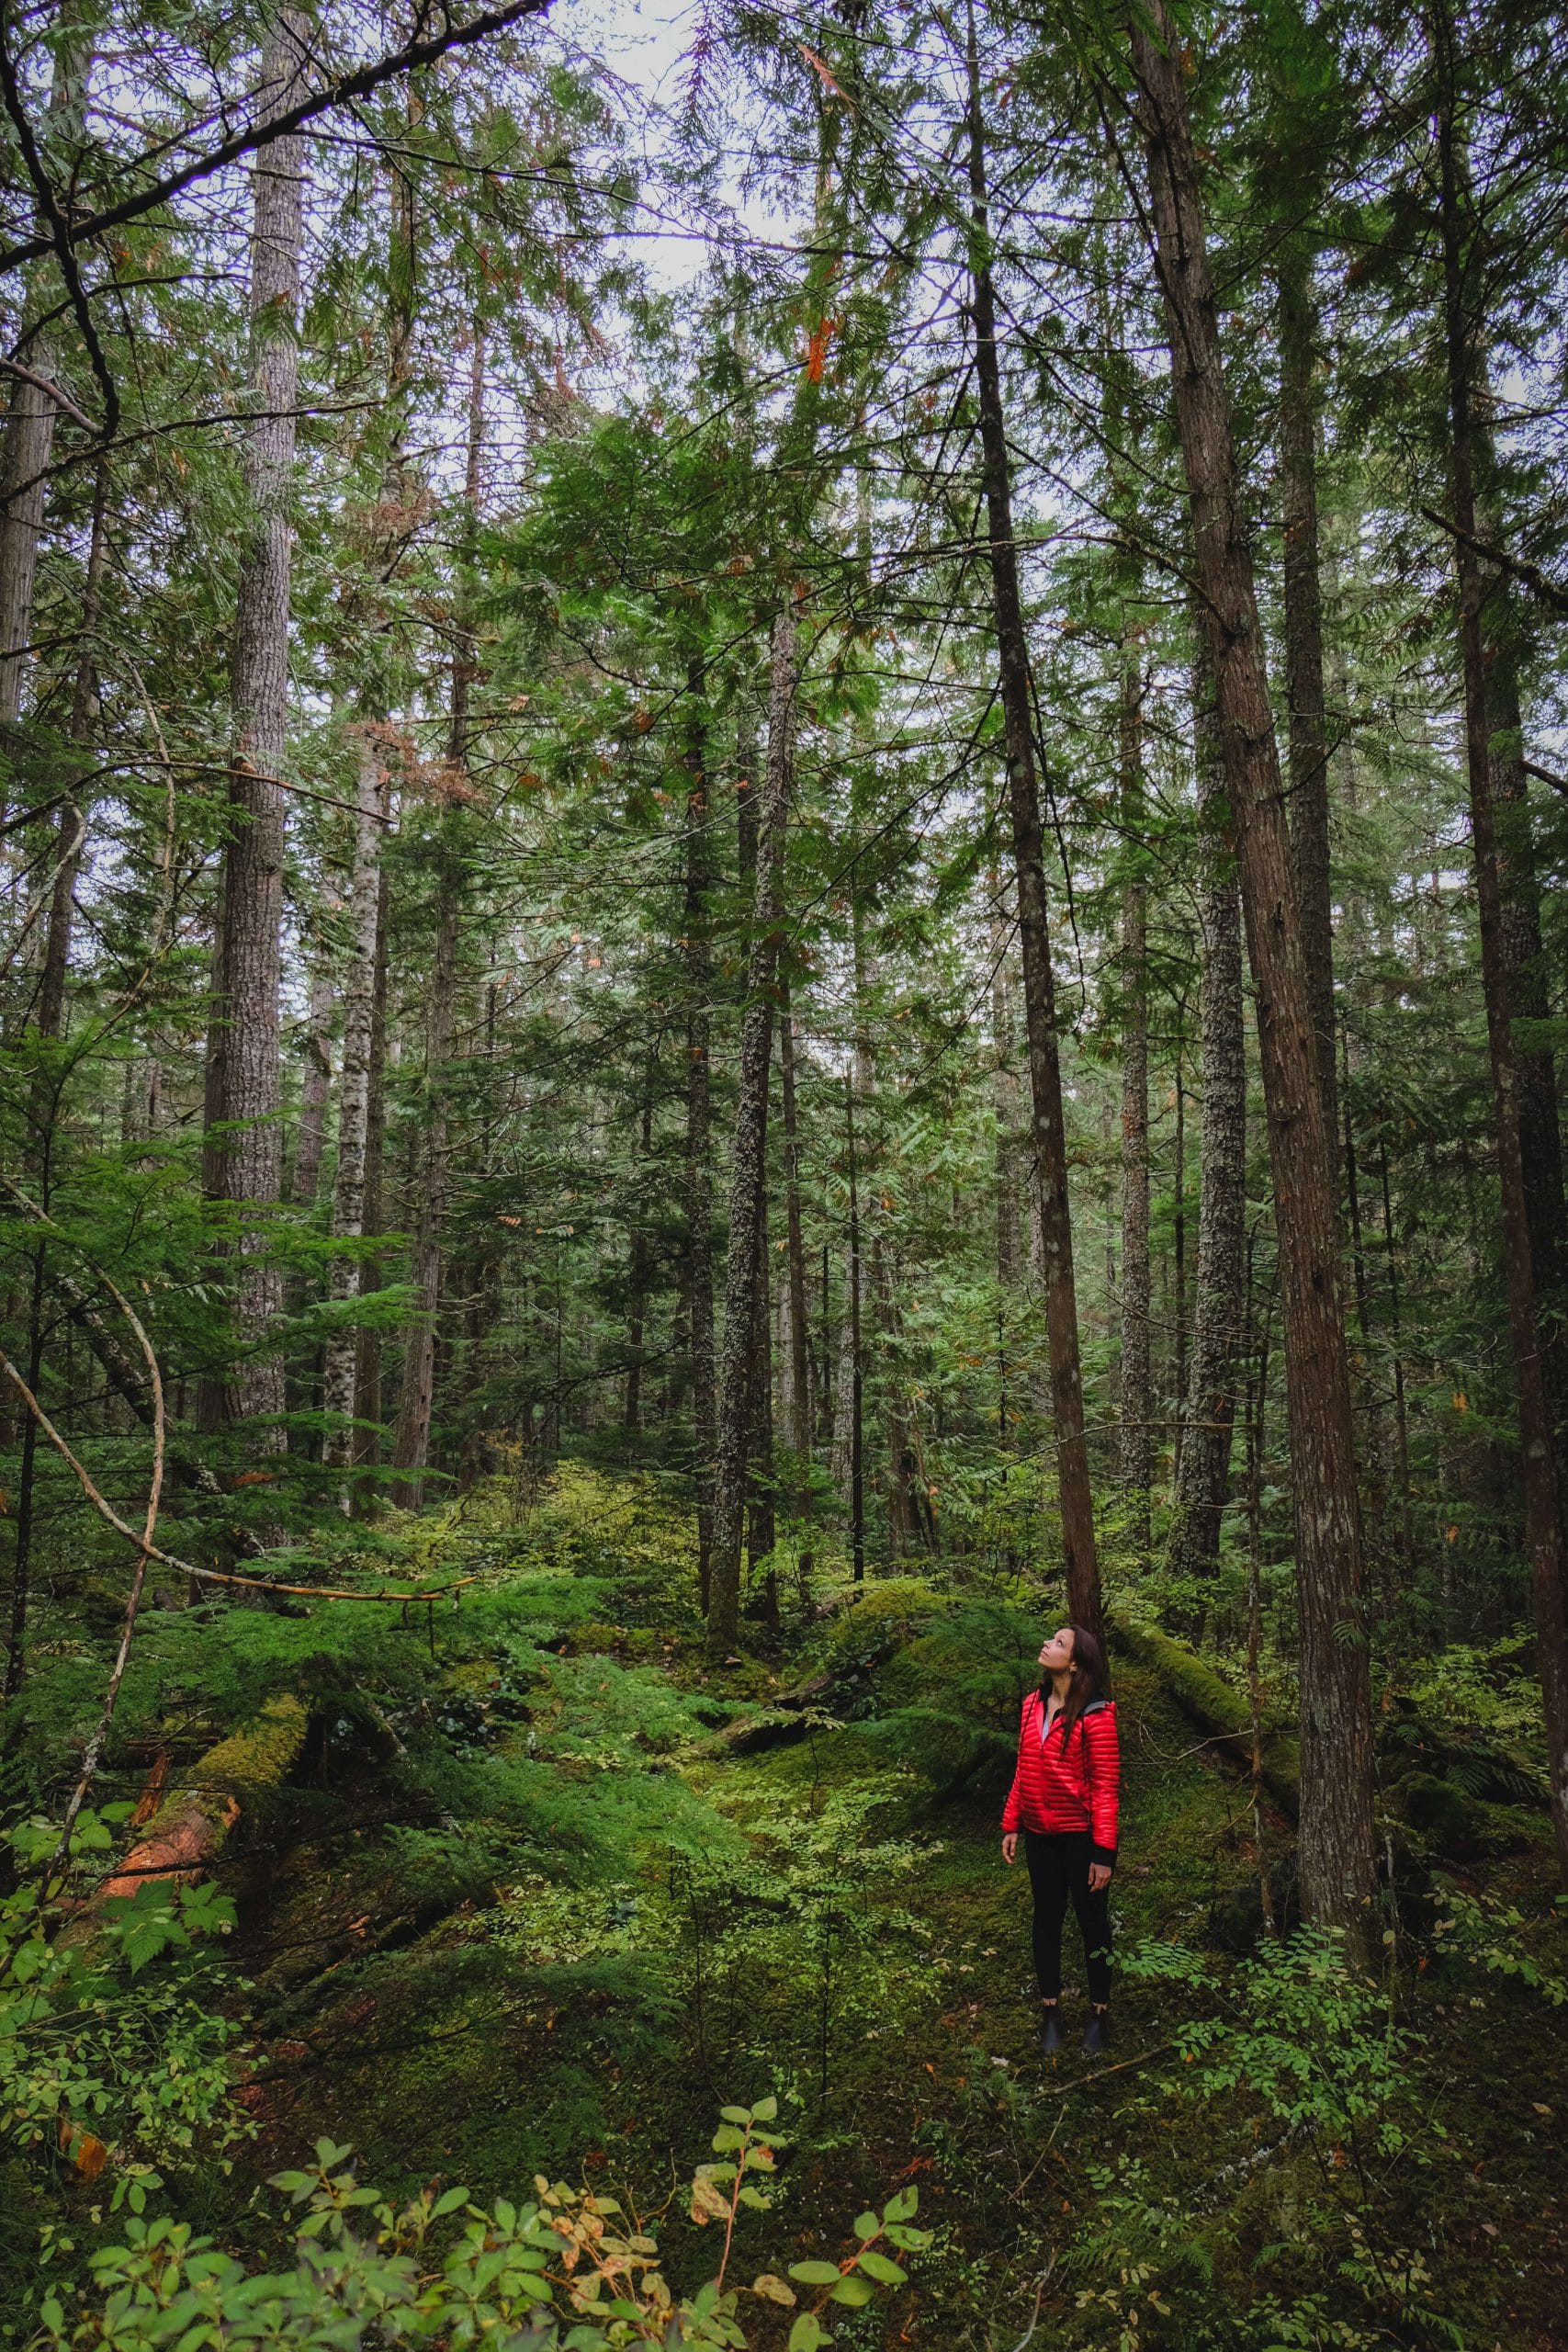
We spent several hours admiring the falls from the viewing platform, meandering through the forest, and scrambling the trail to the base of the falls.
Lush green moss, bright red pine bark, and the smell of earthy cedar hung in the air. The sound of frigid rushing water penetrated the silence around us. To say there was something magical about the forest at the base of the falls would be an understatement.
How to get to the base of Brandywine Falls
You’ll have to do a bit of off-roading if you wish to adventure to the bottom of Brandywine Falls.
To find the trailhead, hike past the viewing platform. At the very end of the main trail, you’ll find an unmarked and unmaintained path in the trees to the left of the fence.
NOTE: The trail is rugged and dangerous. There used to be a rope to help you navigate the steepest sections, but the rope is no longer there. You’ll have to climb down the steep sections, find your way down an arduous scree slope, follow an unmarked trail through the forest to the river, and then navigate the slippery rocks up to the falls. This path is not safe and should only be left to those who are fit, experienced, and willing to risk injury.
Hike time to the base of the falls: 2-3 hours
.
Where to stay in Whistler
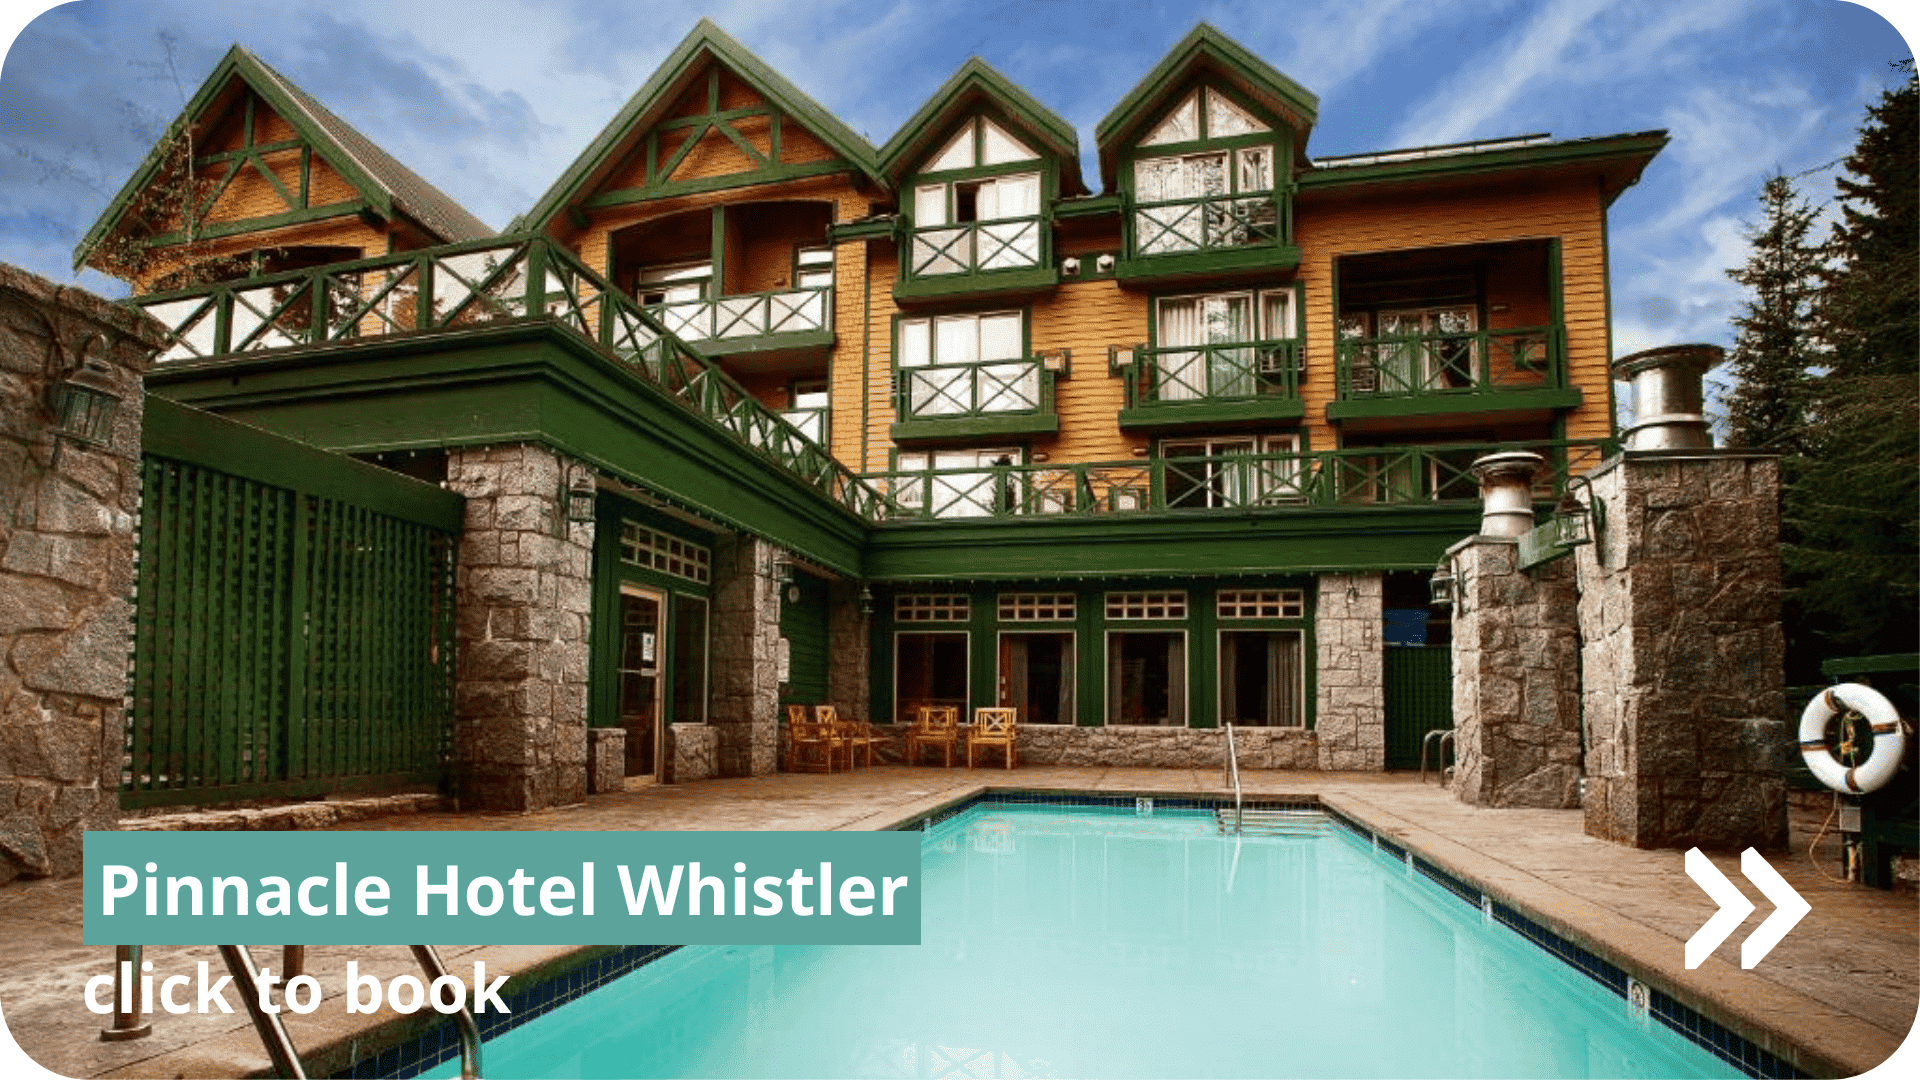

Budget ($): HI Whistler Hostel and Pinnacle Hotel Whistler
Moderate ($$): Legends Condo Hotel and Whistler Studio Airbnb
Splurge ($$$): Pan Pacific Whistler Village
DAY 2: JOFFRE LAKES
 Middle Joffre Lakes
Joffre Lakes trail information (Lower Lake to Upper Lake)”
- Rated: intermediate, some difficult steep sections
- Distance: 10km, out and back
- Time: 4-5 hours round-trip
- Season: year-round
- Camping allowed: yes
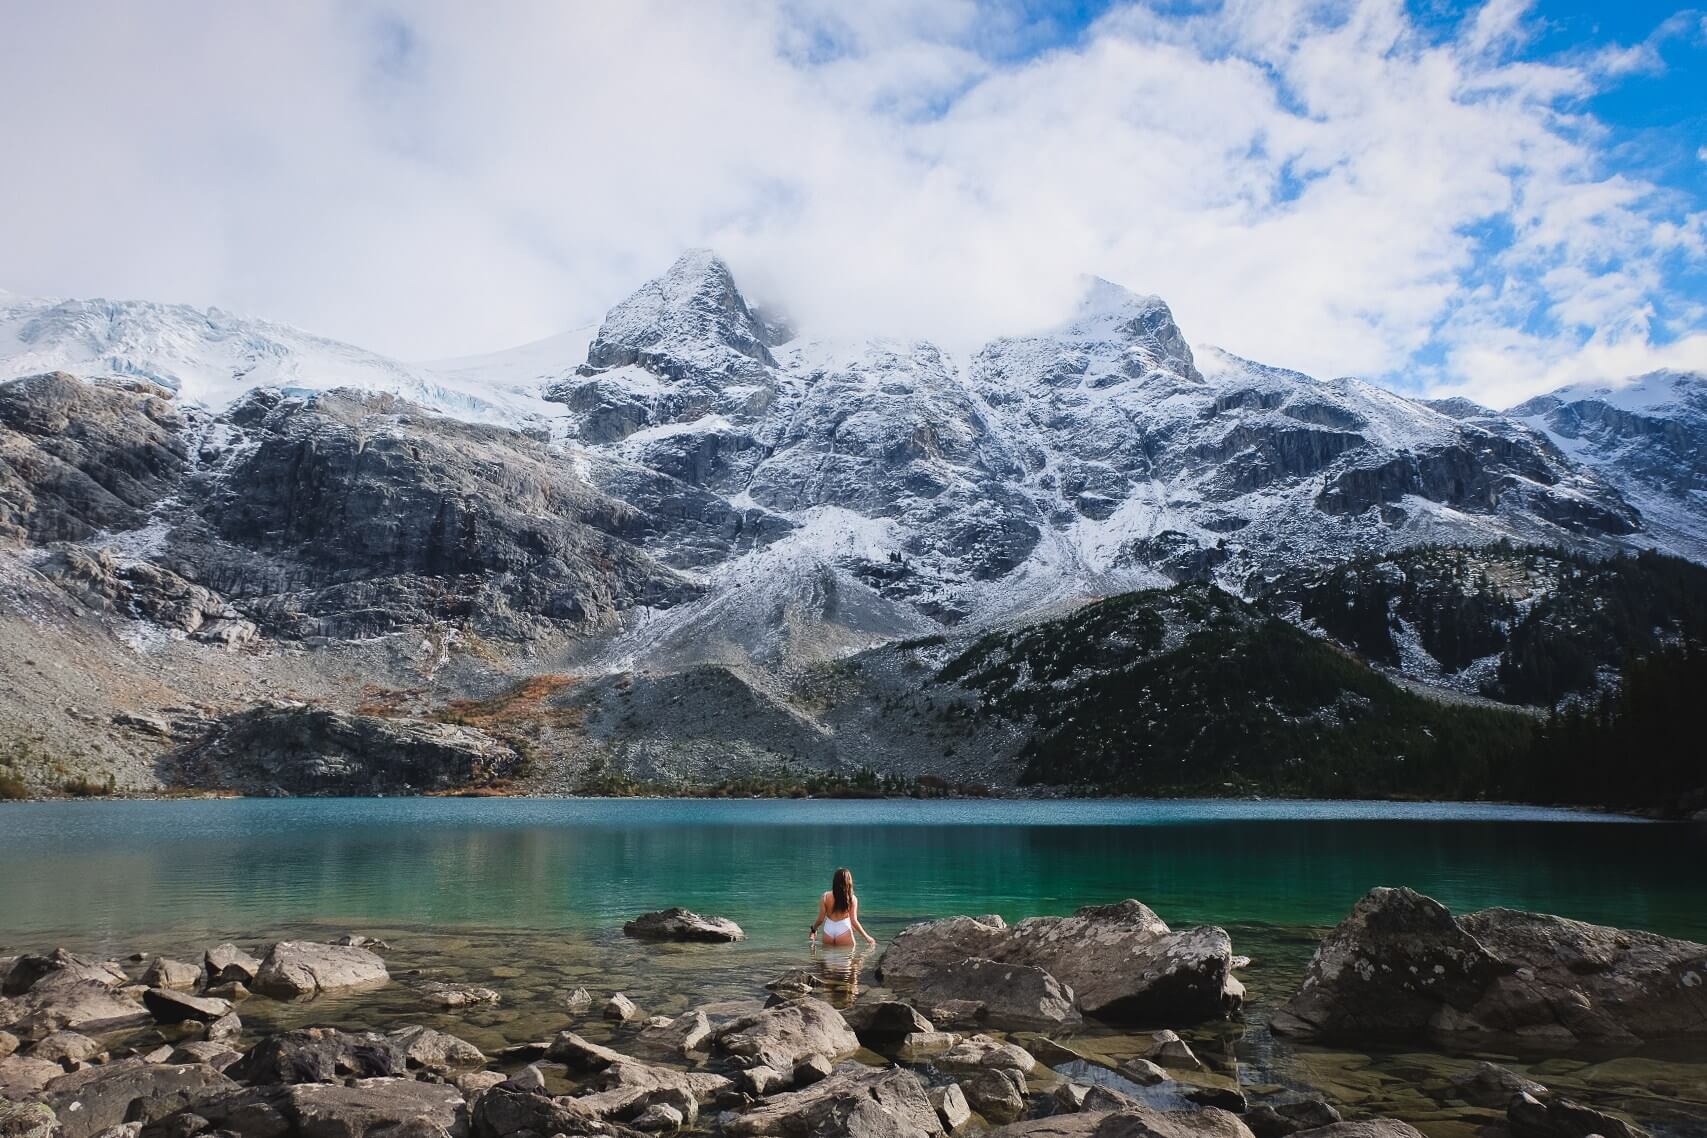
If you’ve ever seen a picture of British Columbia, chances are you’ve seen Joffre Lakes – the series of 3 glacial fed alpine lakes with a bright powdery blue complexion.
Joffre Lakes is the single most popular hike around Pemberton, BC and I’ll admit I was nervous to visit. I’ve seen so many photos of this place plastered all over social media.
Would it live up to the hype? Would it be filled with people? How would I feel about it after having seen the turquoise lake from seemingly every single perspective possible?
Those were a few thoughts that floated through my mind as we took the scenic drive from Whistler to Joffre Lakes Provincial Park.
But I am so happy we went, because it turned out to be the highlight of our trip. And I’m thrilled to report that photos on Instagram don’t even do it justice.
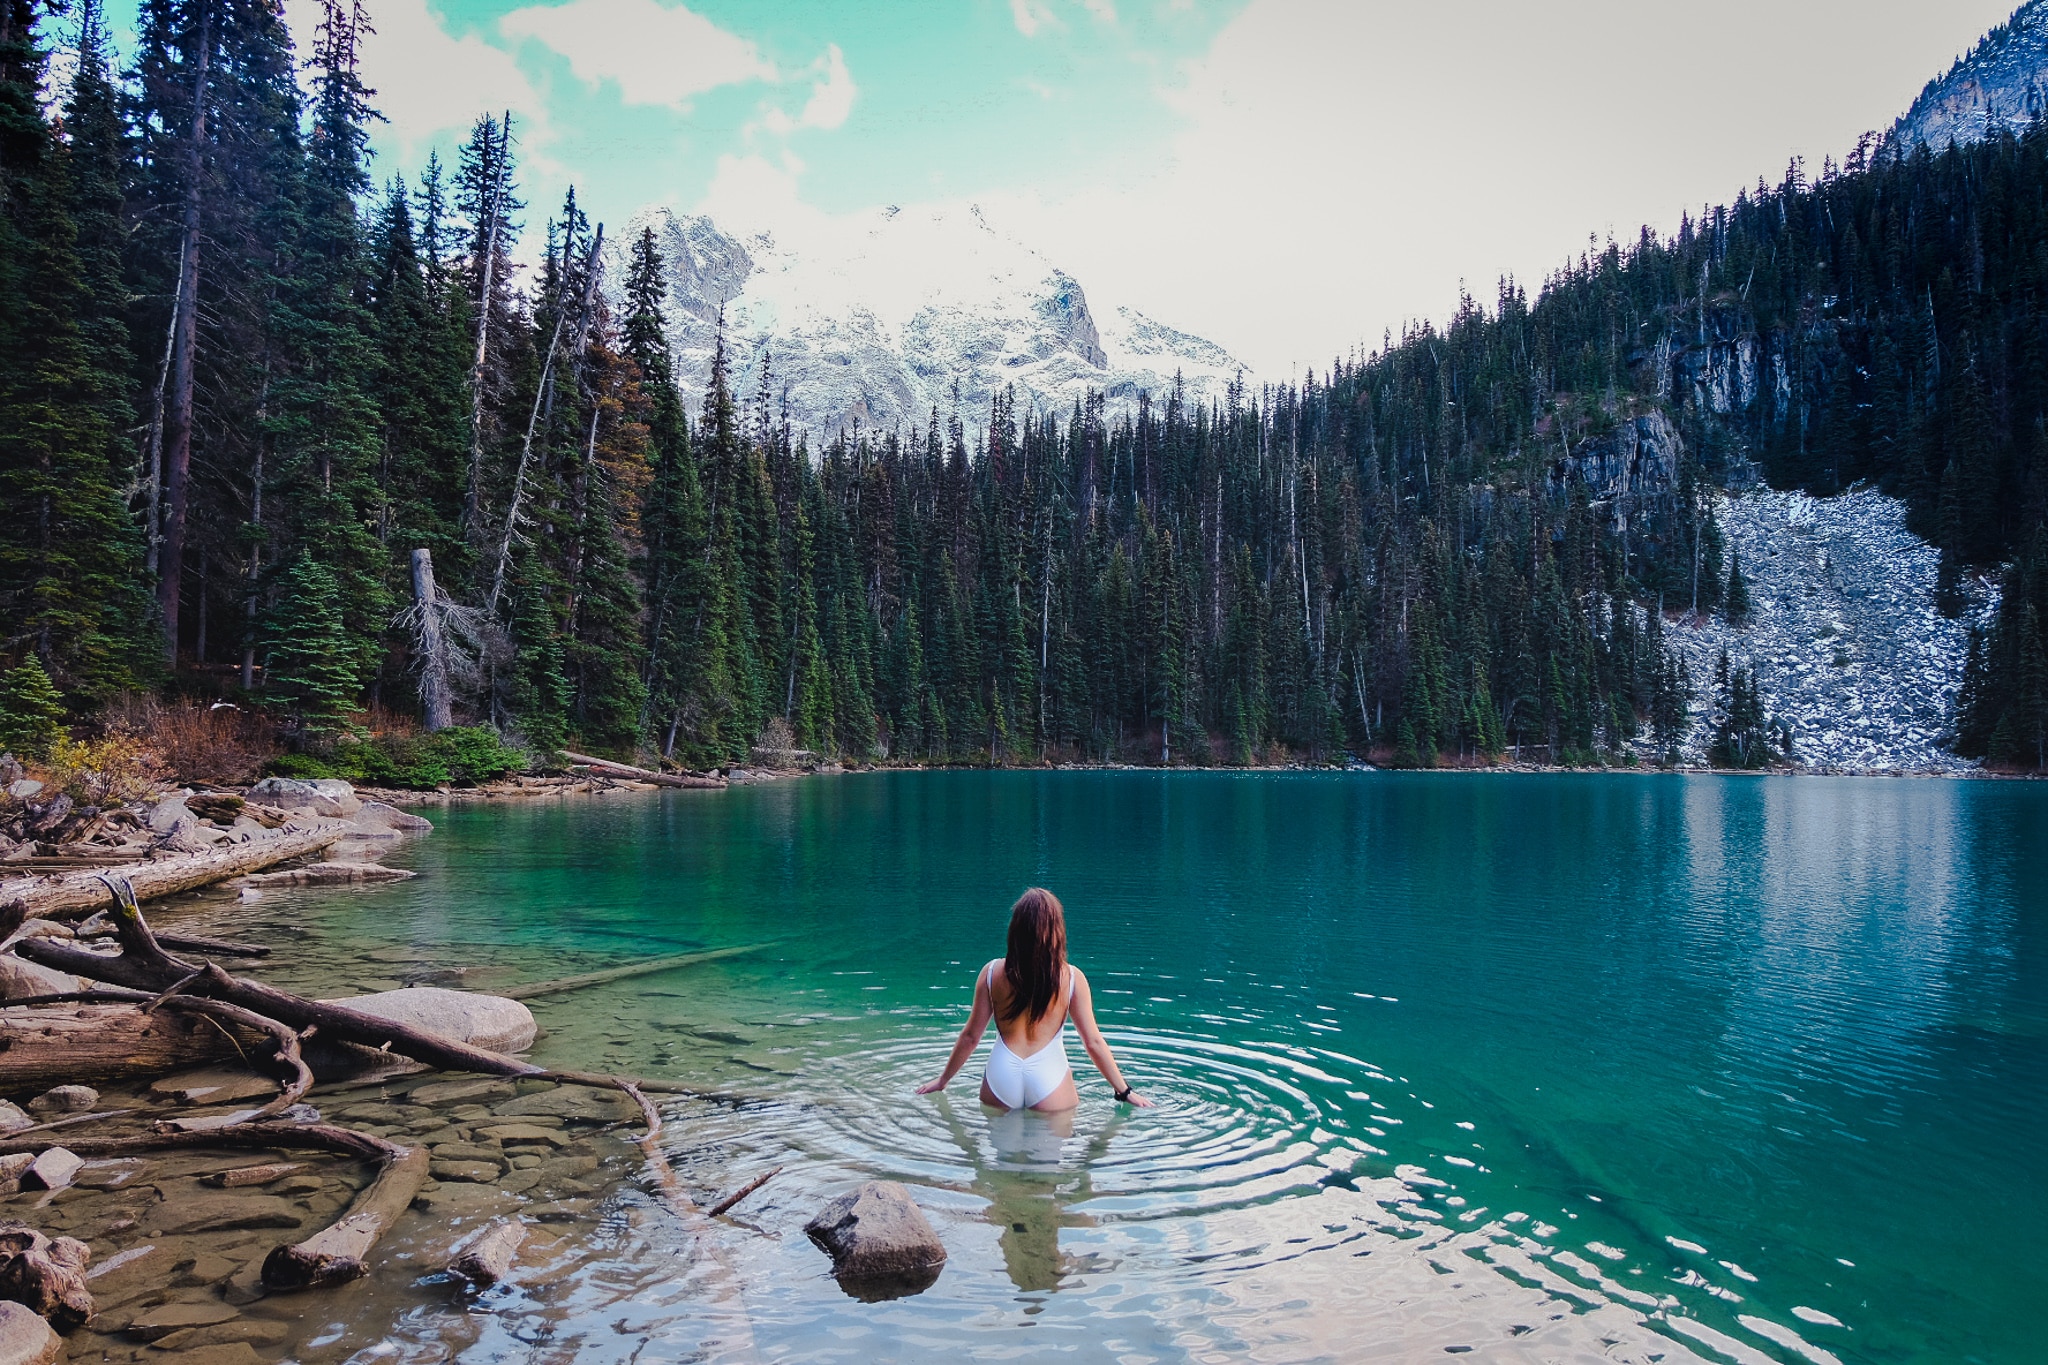
From the parking lot, we followed the trail directly to the first lake. Then, we climbed steadily into the alpine as the forest changed and the trail delivered us from one lake to the next. Each more beautiful than the last. Sparkling glaciers, thick alpine forests, chubby little gray jays, pikas, and twinkling crystal waters took our breath away.
The entire hike took us about 6 hours round trip, including stops for photos, icy lake swims (ok, just me), and making friends with the gregarious gray jays.
The majority of people stop at the second lake, but do yourself a favor and spend the extra 15-20 minutes to reach the upper lake. You won’t be disappointed.
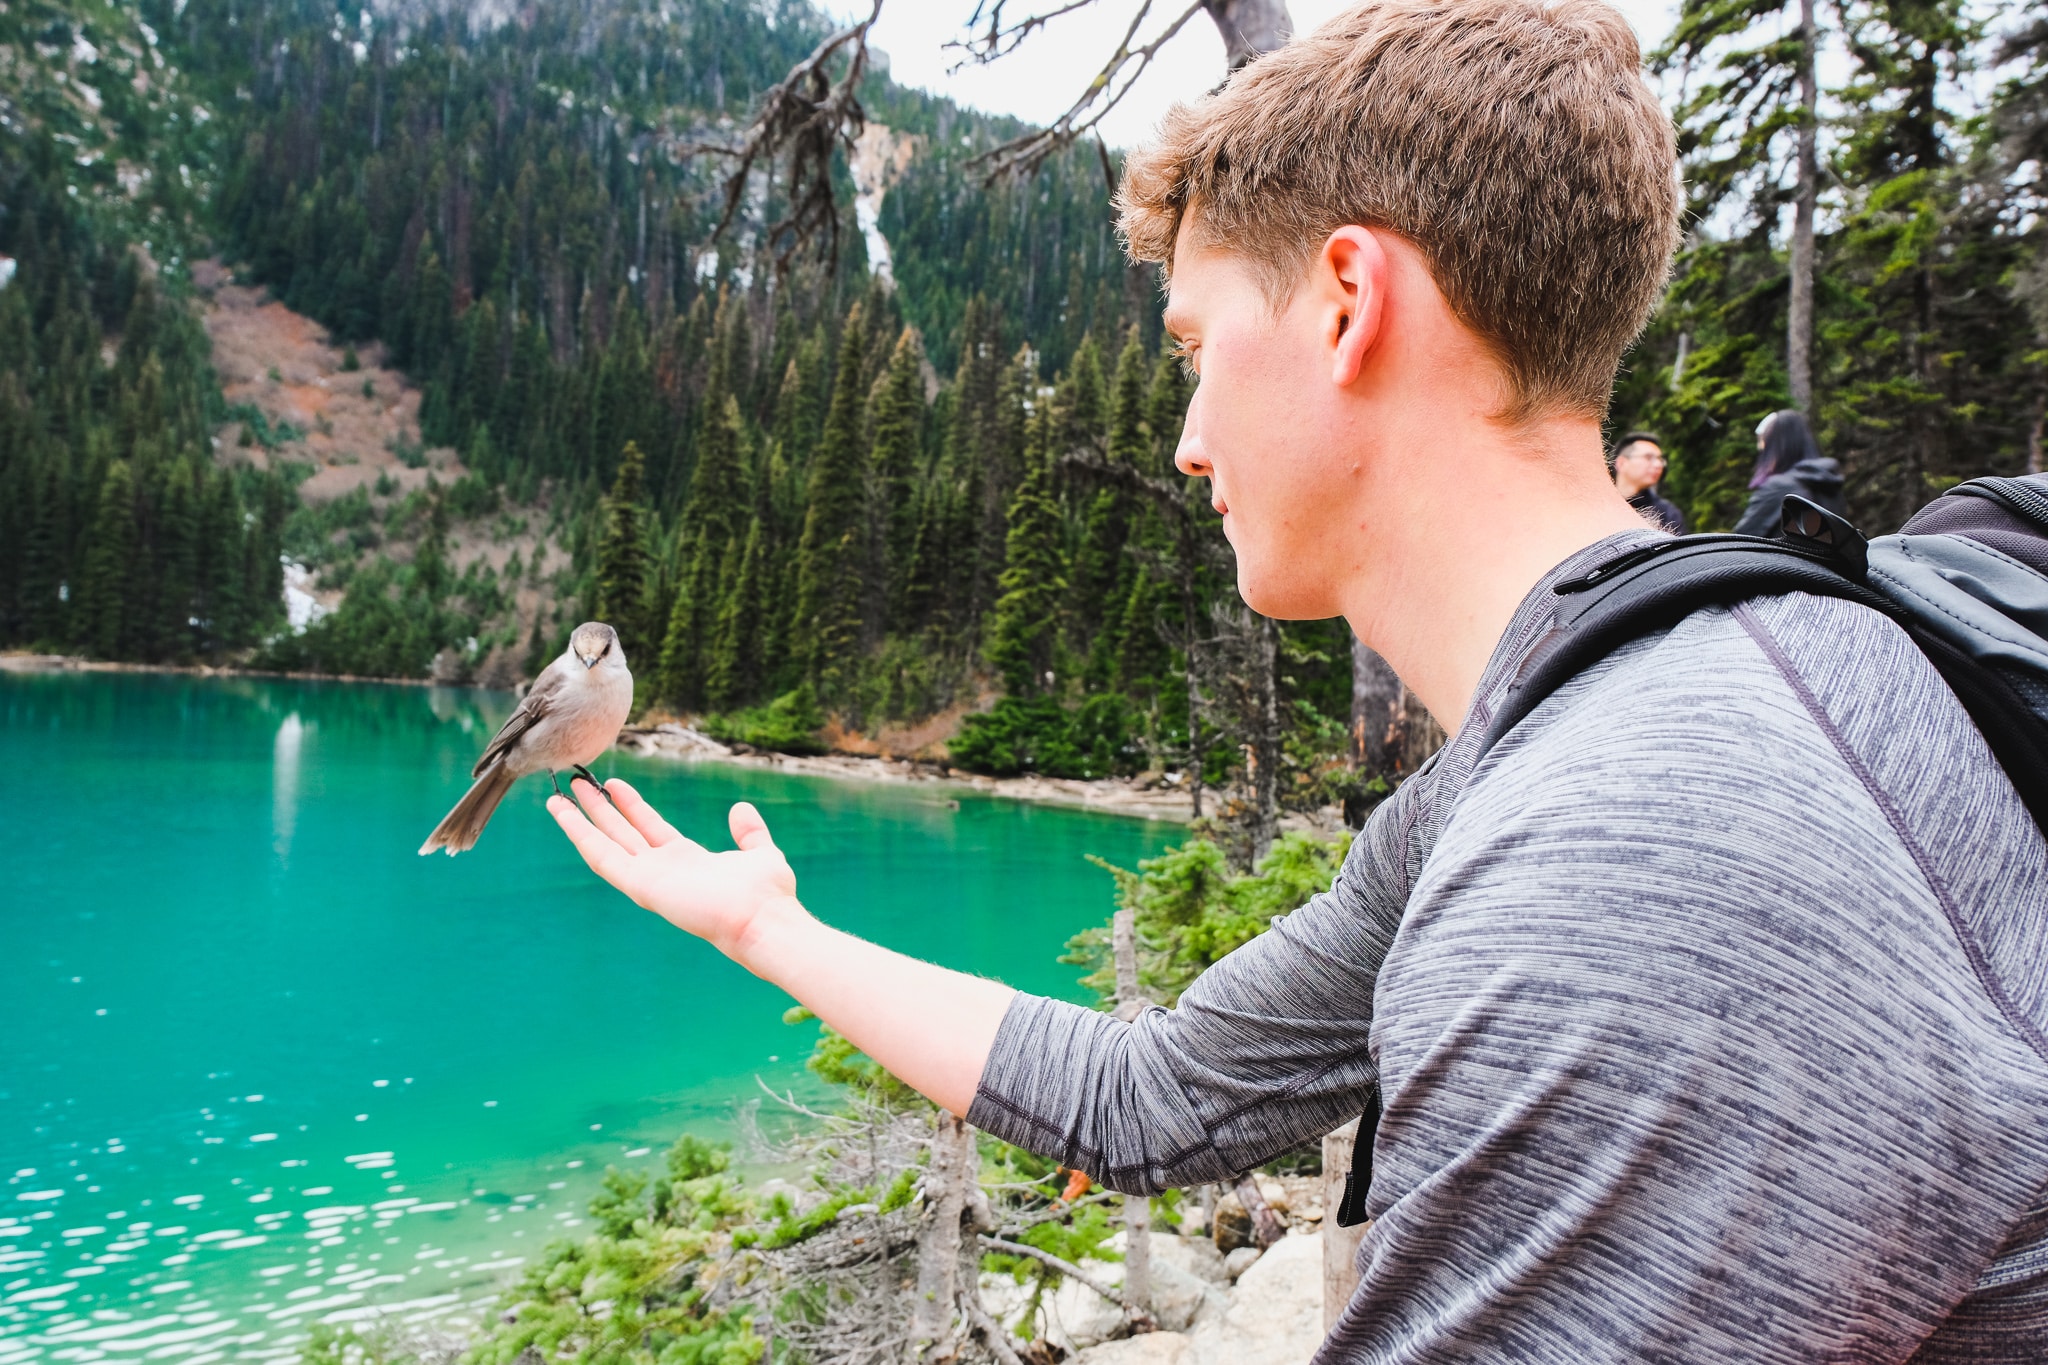
NOTE: Please practice responsible wildlife tourism and do not feed the gray jays!
You’ll see many people feeding the jays in an attempt to entice them to land in their hands. Its not cool. Help to keep them wild by not teaching them to rely on human food. They’re naturally very smart, very curious birds and will come to say hello on their own if you sit still.
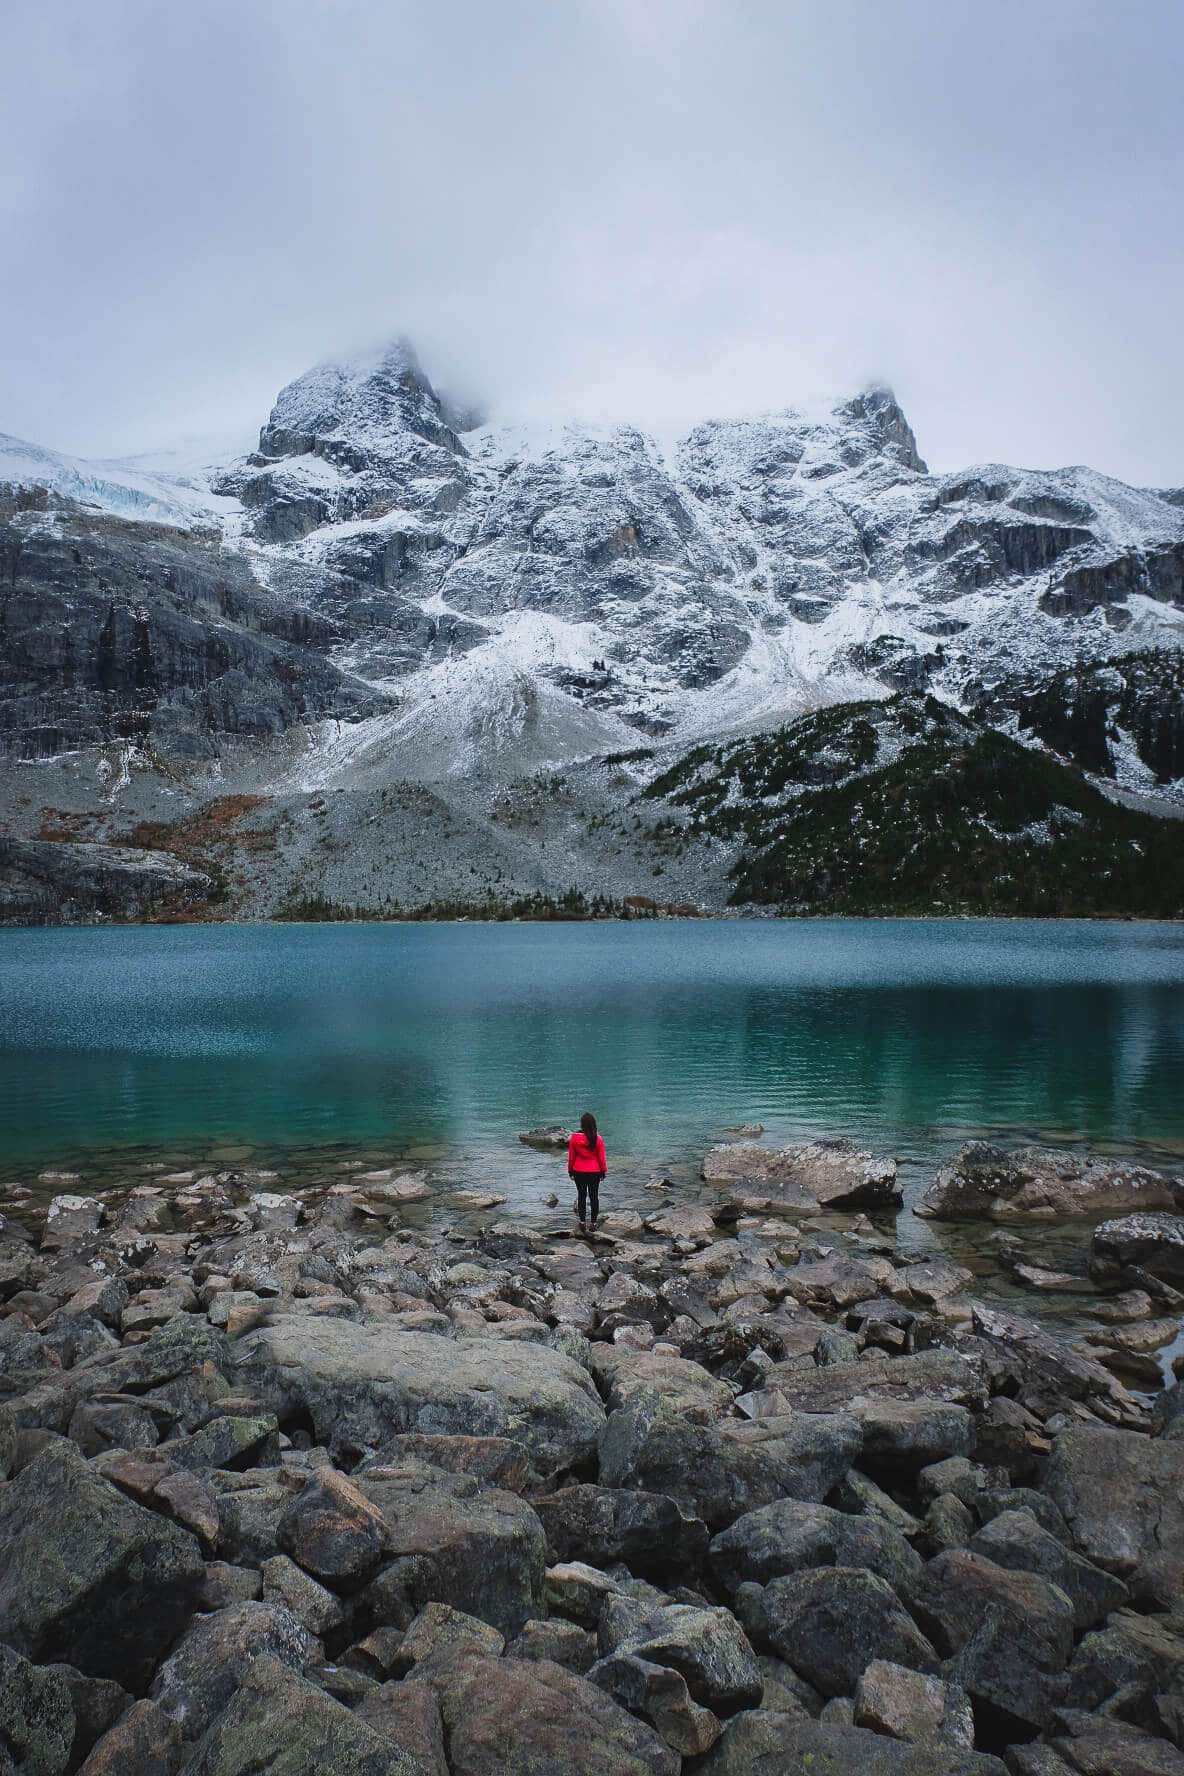
 Upper Joffre Lakes
We were told by a local that the hike to Joffre Lakes resembles more of a queue than a hike through the forest in the summer months, as thousands of people flock to see the famous blue waters. But thanks to traveling in the off season, we arrived that October morning to a half-full parking lot and the three alpine lakes almost all to ourselves.
The powder blue color of the water is seasonal, though. So do consider traveling here in the summer if you want to see it!
DAY 3: NAIRN FALLS AND SLOQUET HOT SPRINGS
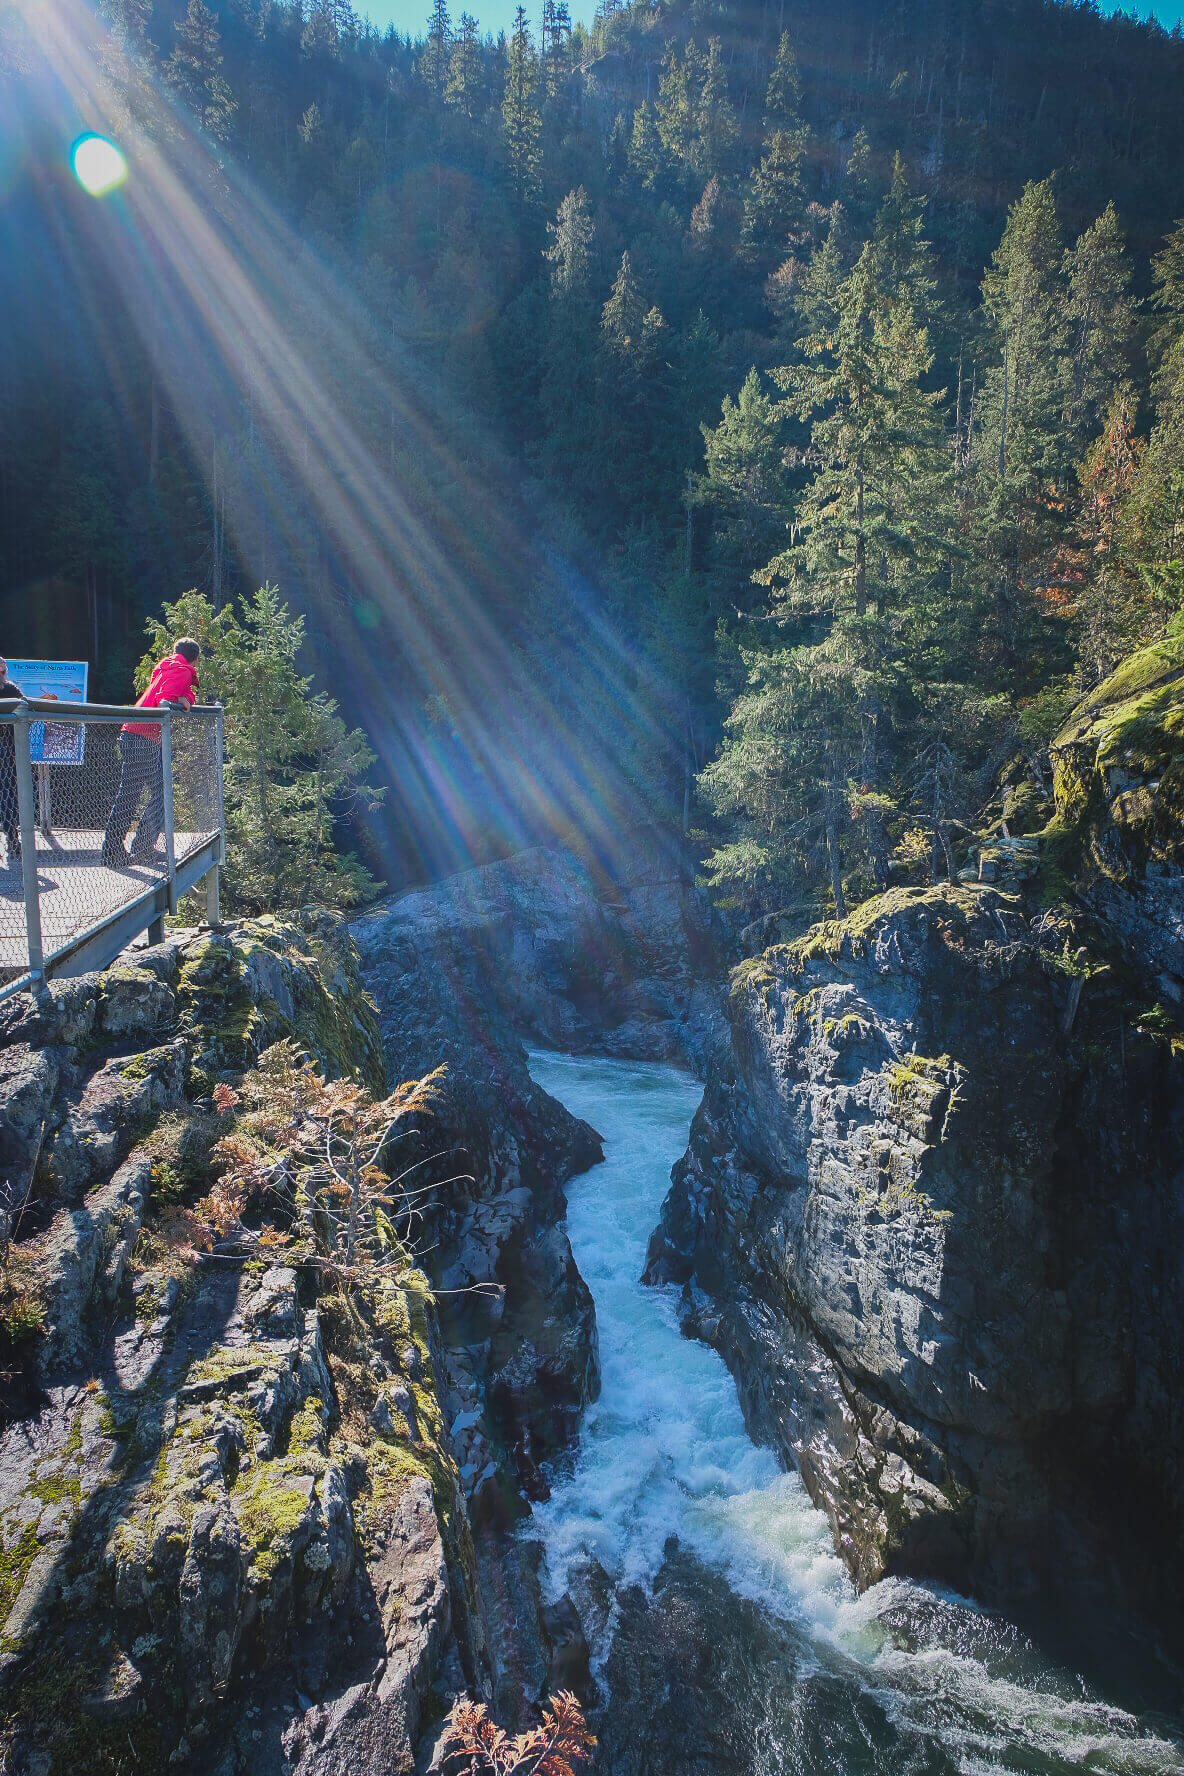
Stop 1: Nairn Falls
Trail information:
- Rating: easy
- Distance: 3 km round-trip
- Season: year-round
- Camping allowed: yes
Nairn Falls was not a planned stop on our itinerary, but more of a stop along the way from Whistler to Sloquet Hot Springs.
Nairn Falls is a brilliant green-blue waterfall that twists and weaves through a series of channels carved in the rock. From a beautifully constructed viewing platform, you can safely watch as the water crashes into a series of circular pools that are carved and polished by gravel carried down the river.
Located on our way north, we pulled off into the parking area under the impression that the falls were accessible from the road. Although not immediately accessible from the parking area, it only took us about 15-20 minutes to walk 1.5 km along the river to the falls.

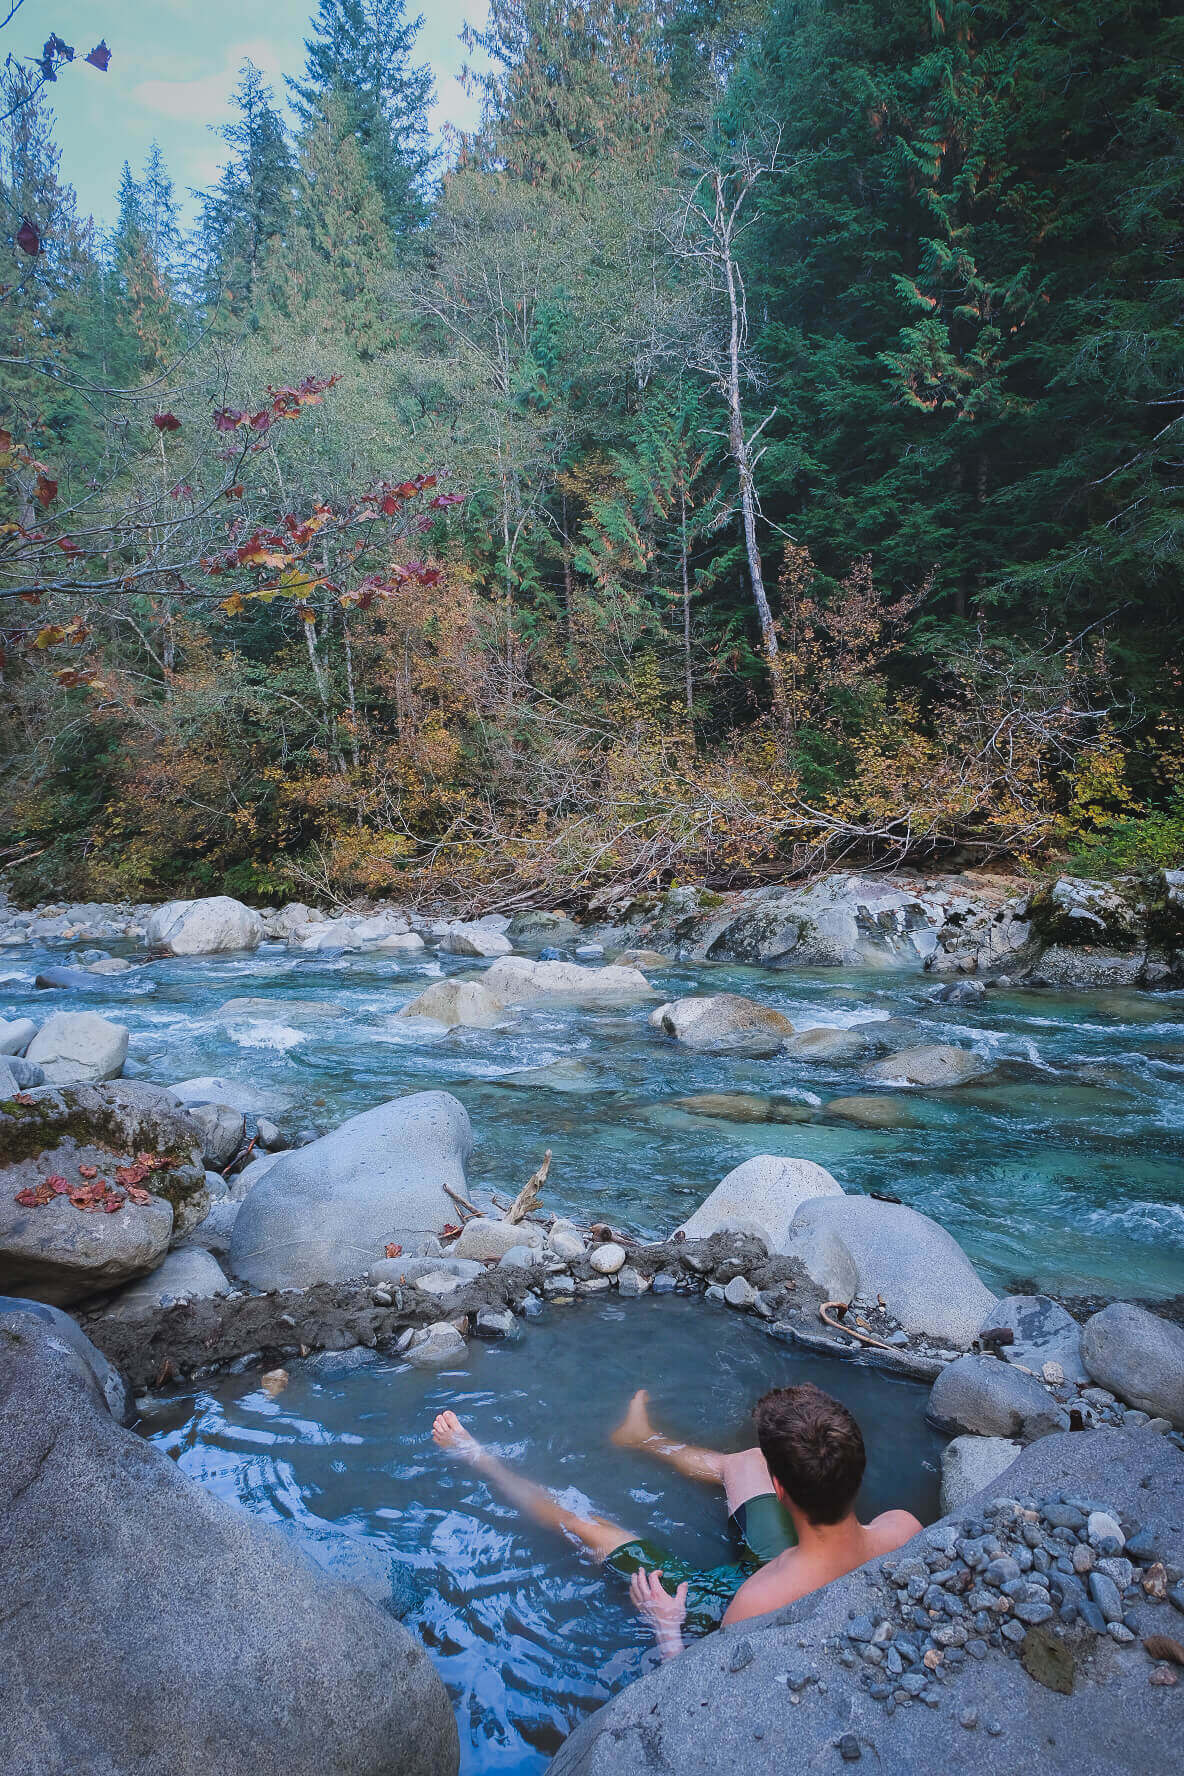
Stop 2: Sloquet Hot Springs
In the spirit of transparency, I’m not usually one to further publicize special places like this one. But honestly, if you’re game to put in the work to get here, then you deserve it.
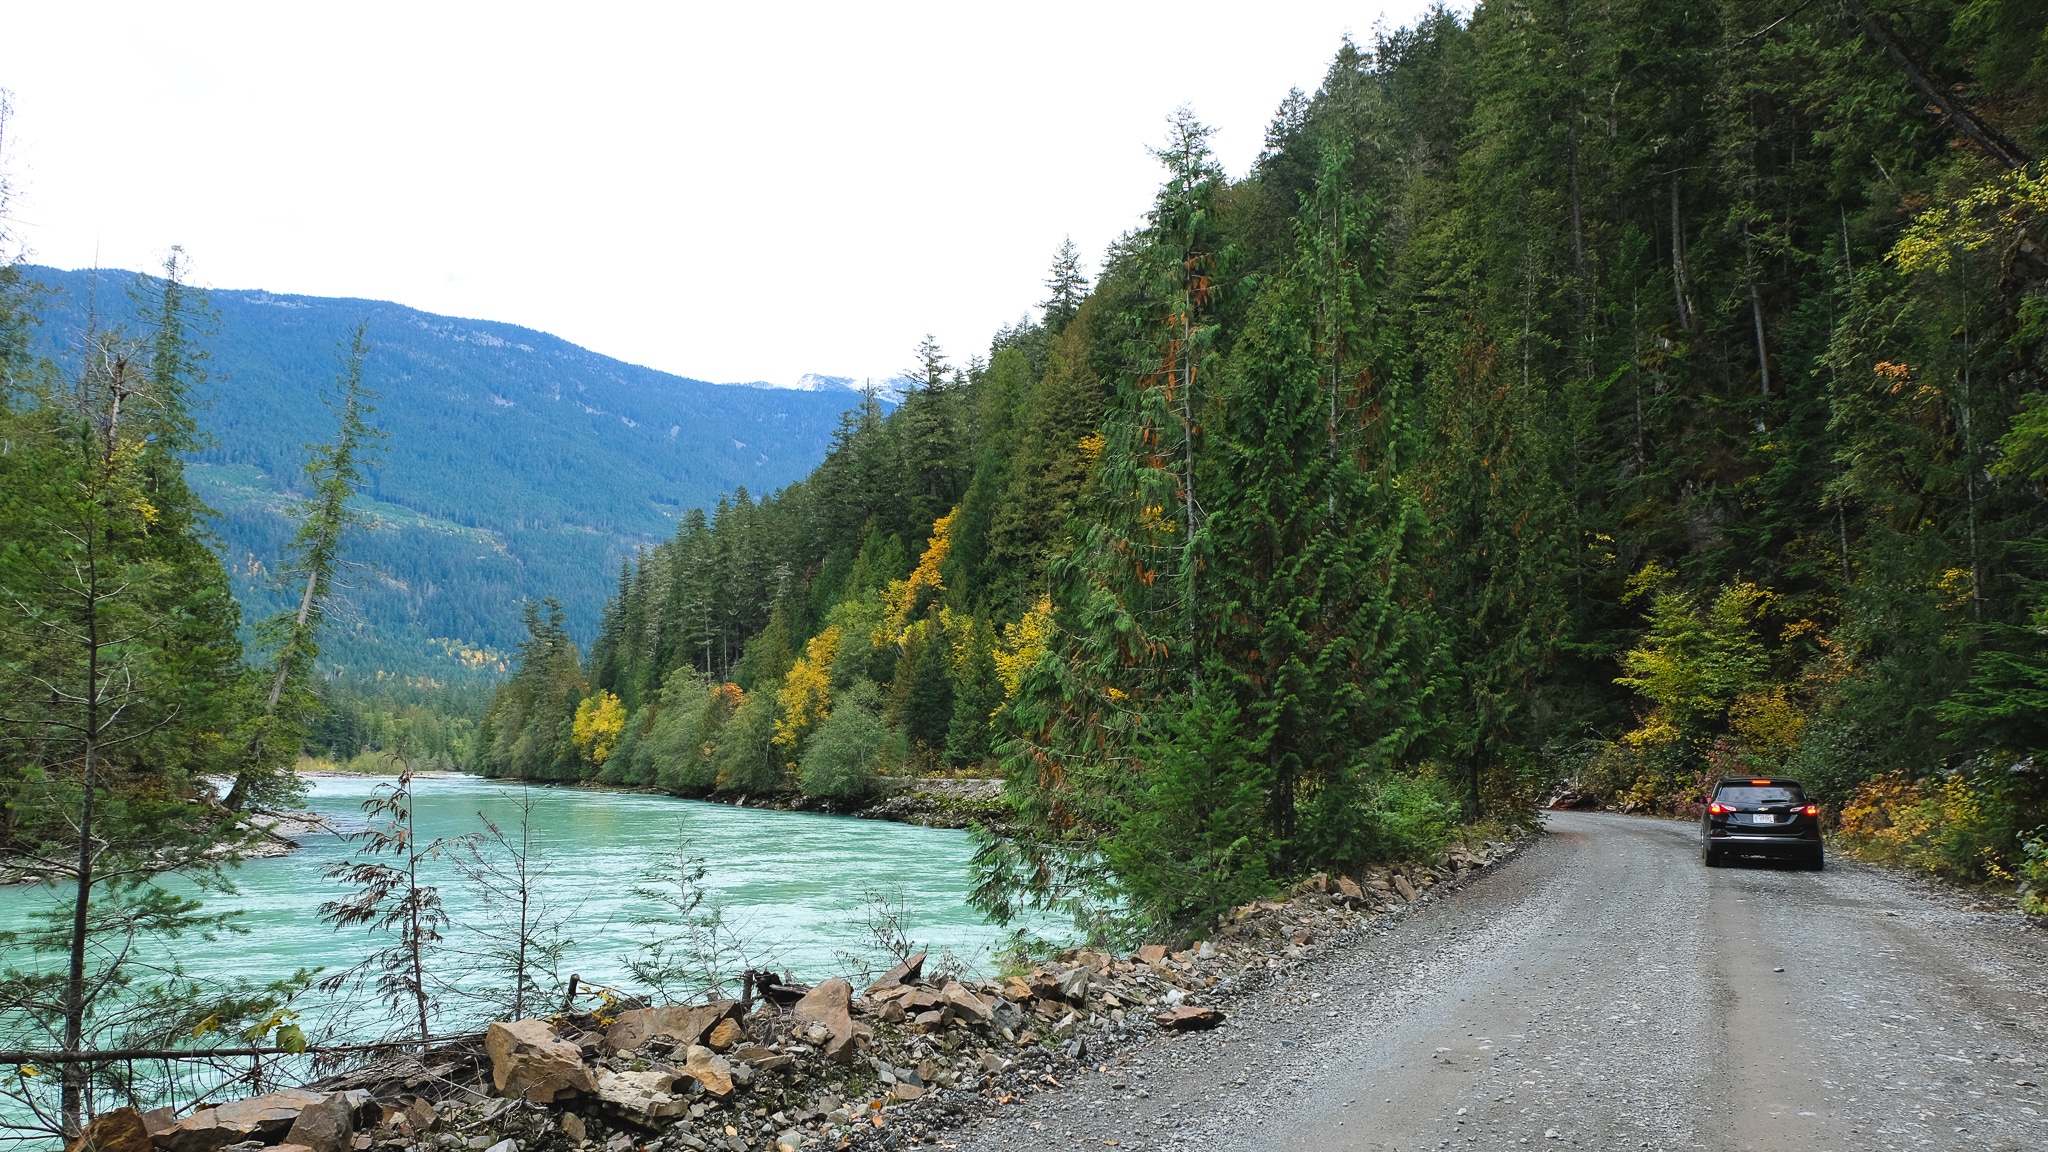
The drive to Sloquet Hot Springs was long and exhausting. In hindsight, it would have been better to camp overnight at the springs instead of drive the 6 hours round-trip from Whistler in one day.
But we were warned about the distance. In my research I came across a disclaimer on not to be fooled by the “measly 63km” from Pemberton to Sloquet Hot Springs. And they were right.
We found ourselves weaving along an unpaved logging road in the middle of the wilderness for close to 3 hours. There were no other cars along that lonely stretch of road and we watched nervously as we our cell phone service dwindled to nothing.
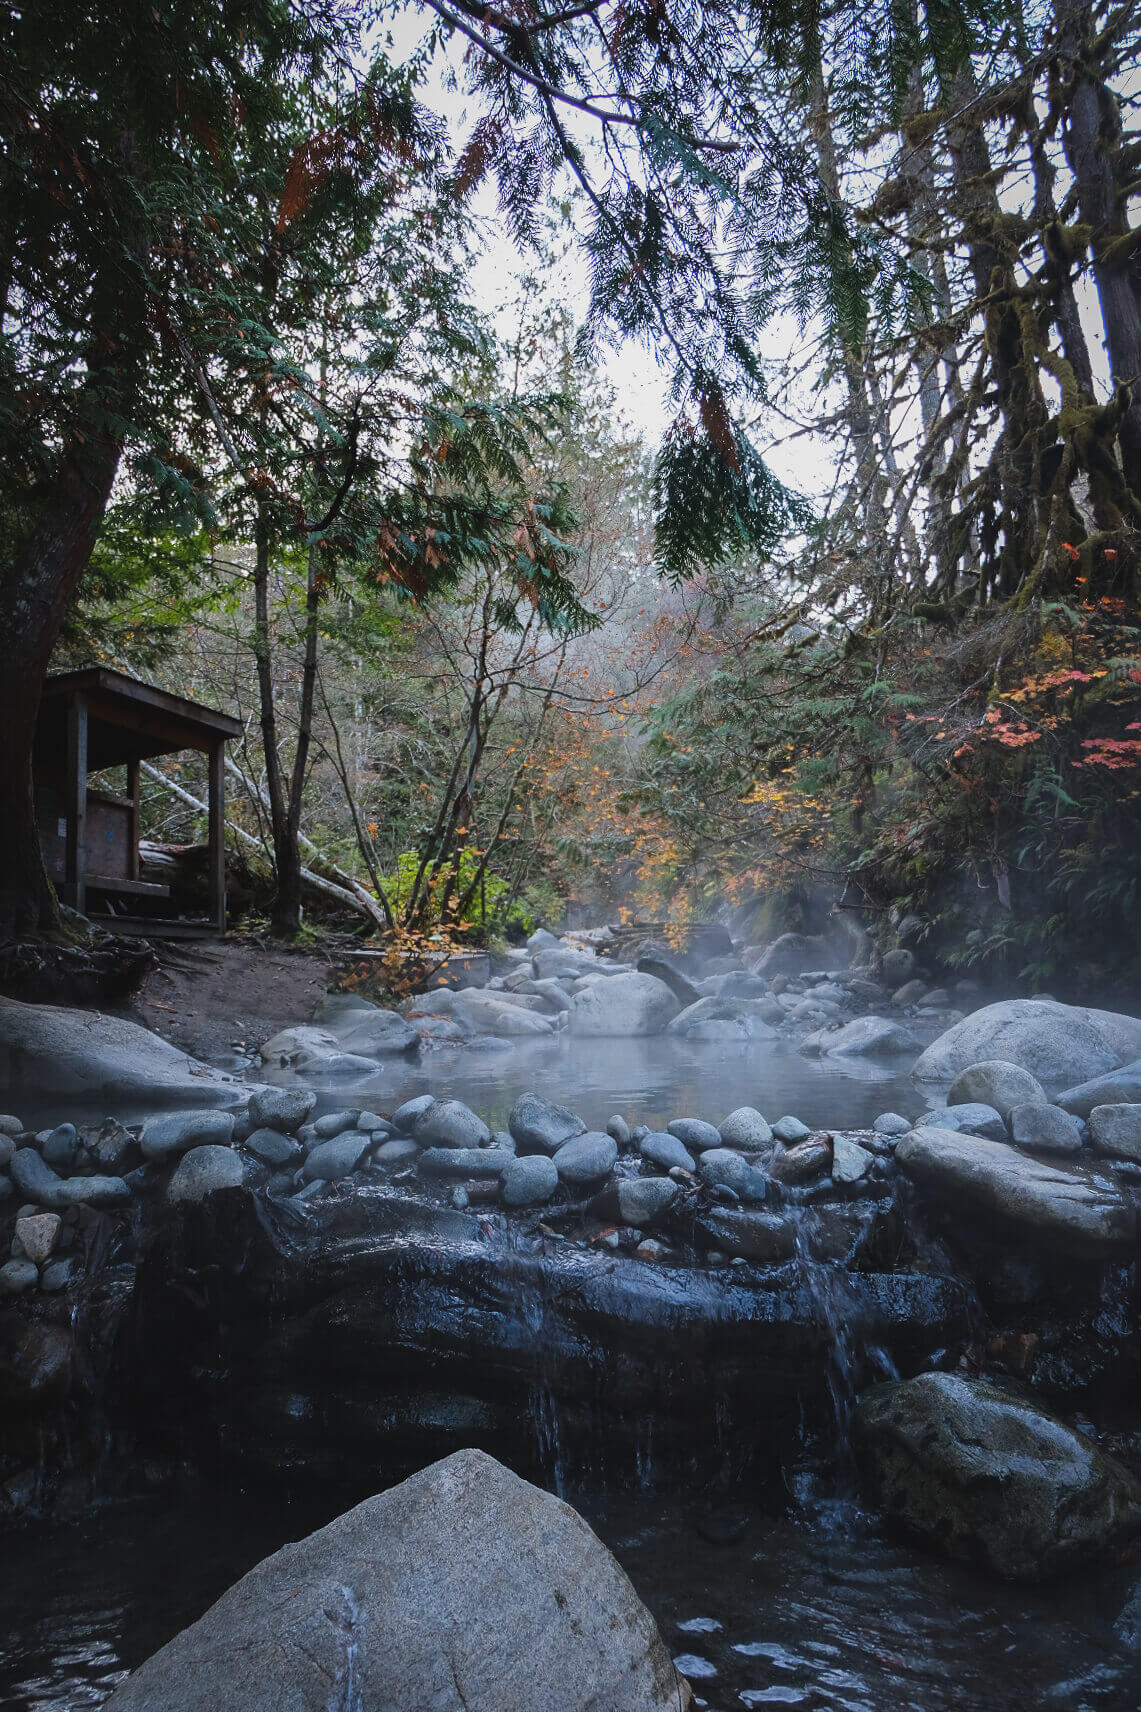
We came close to turning around countless times, but thankfully we [stubbornly] persisted, because this stop was more than worth it. We finally arrived at the camp ground and hiked 1km through the forest, where we saw steam rising above the tree line.
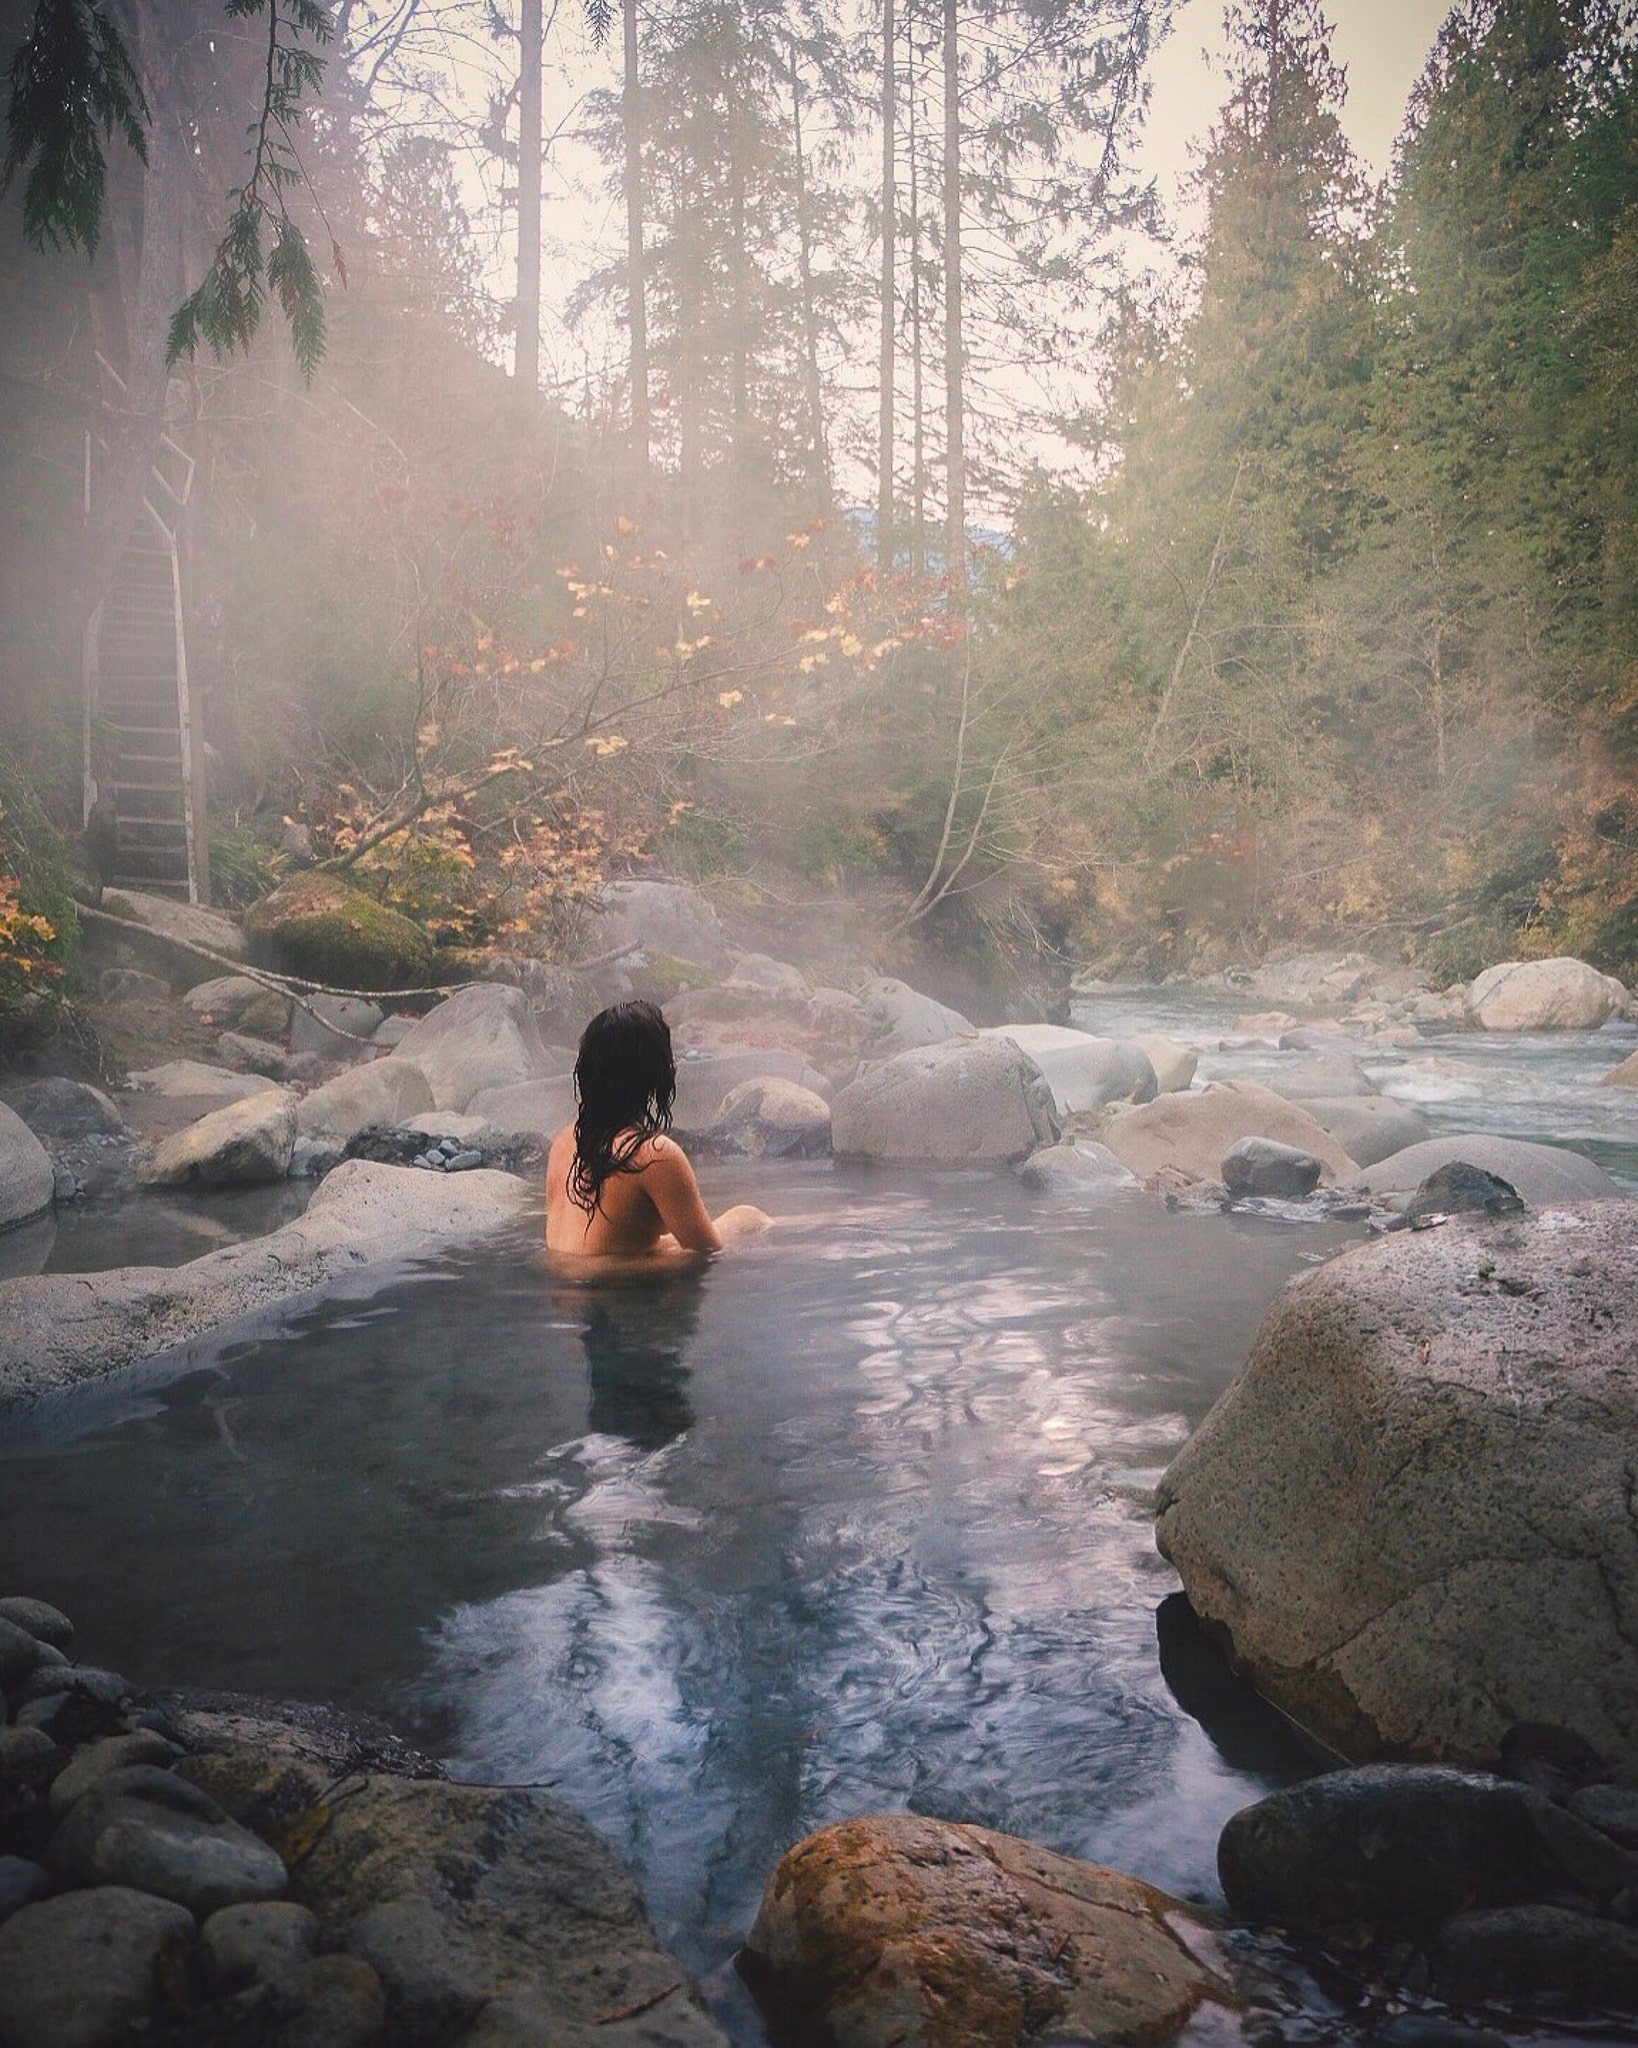
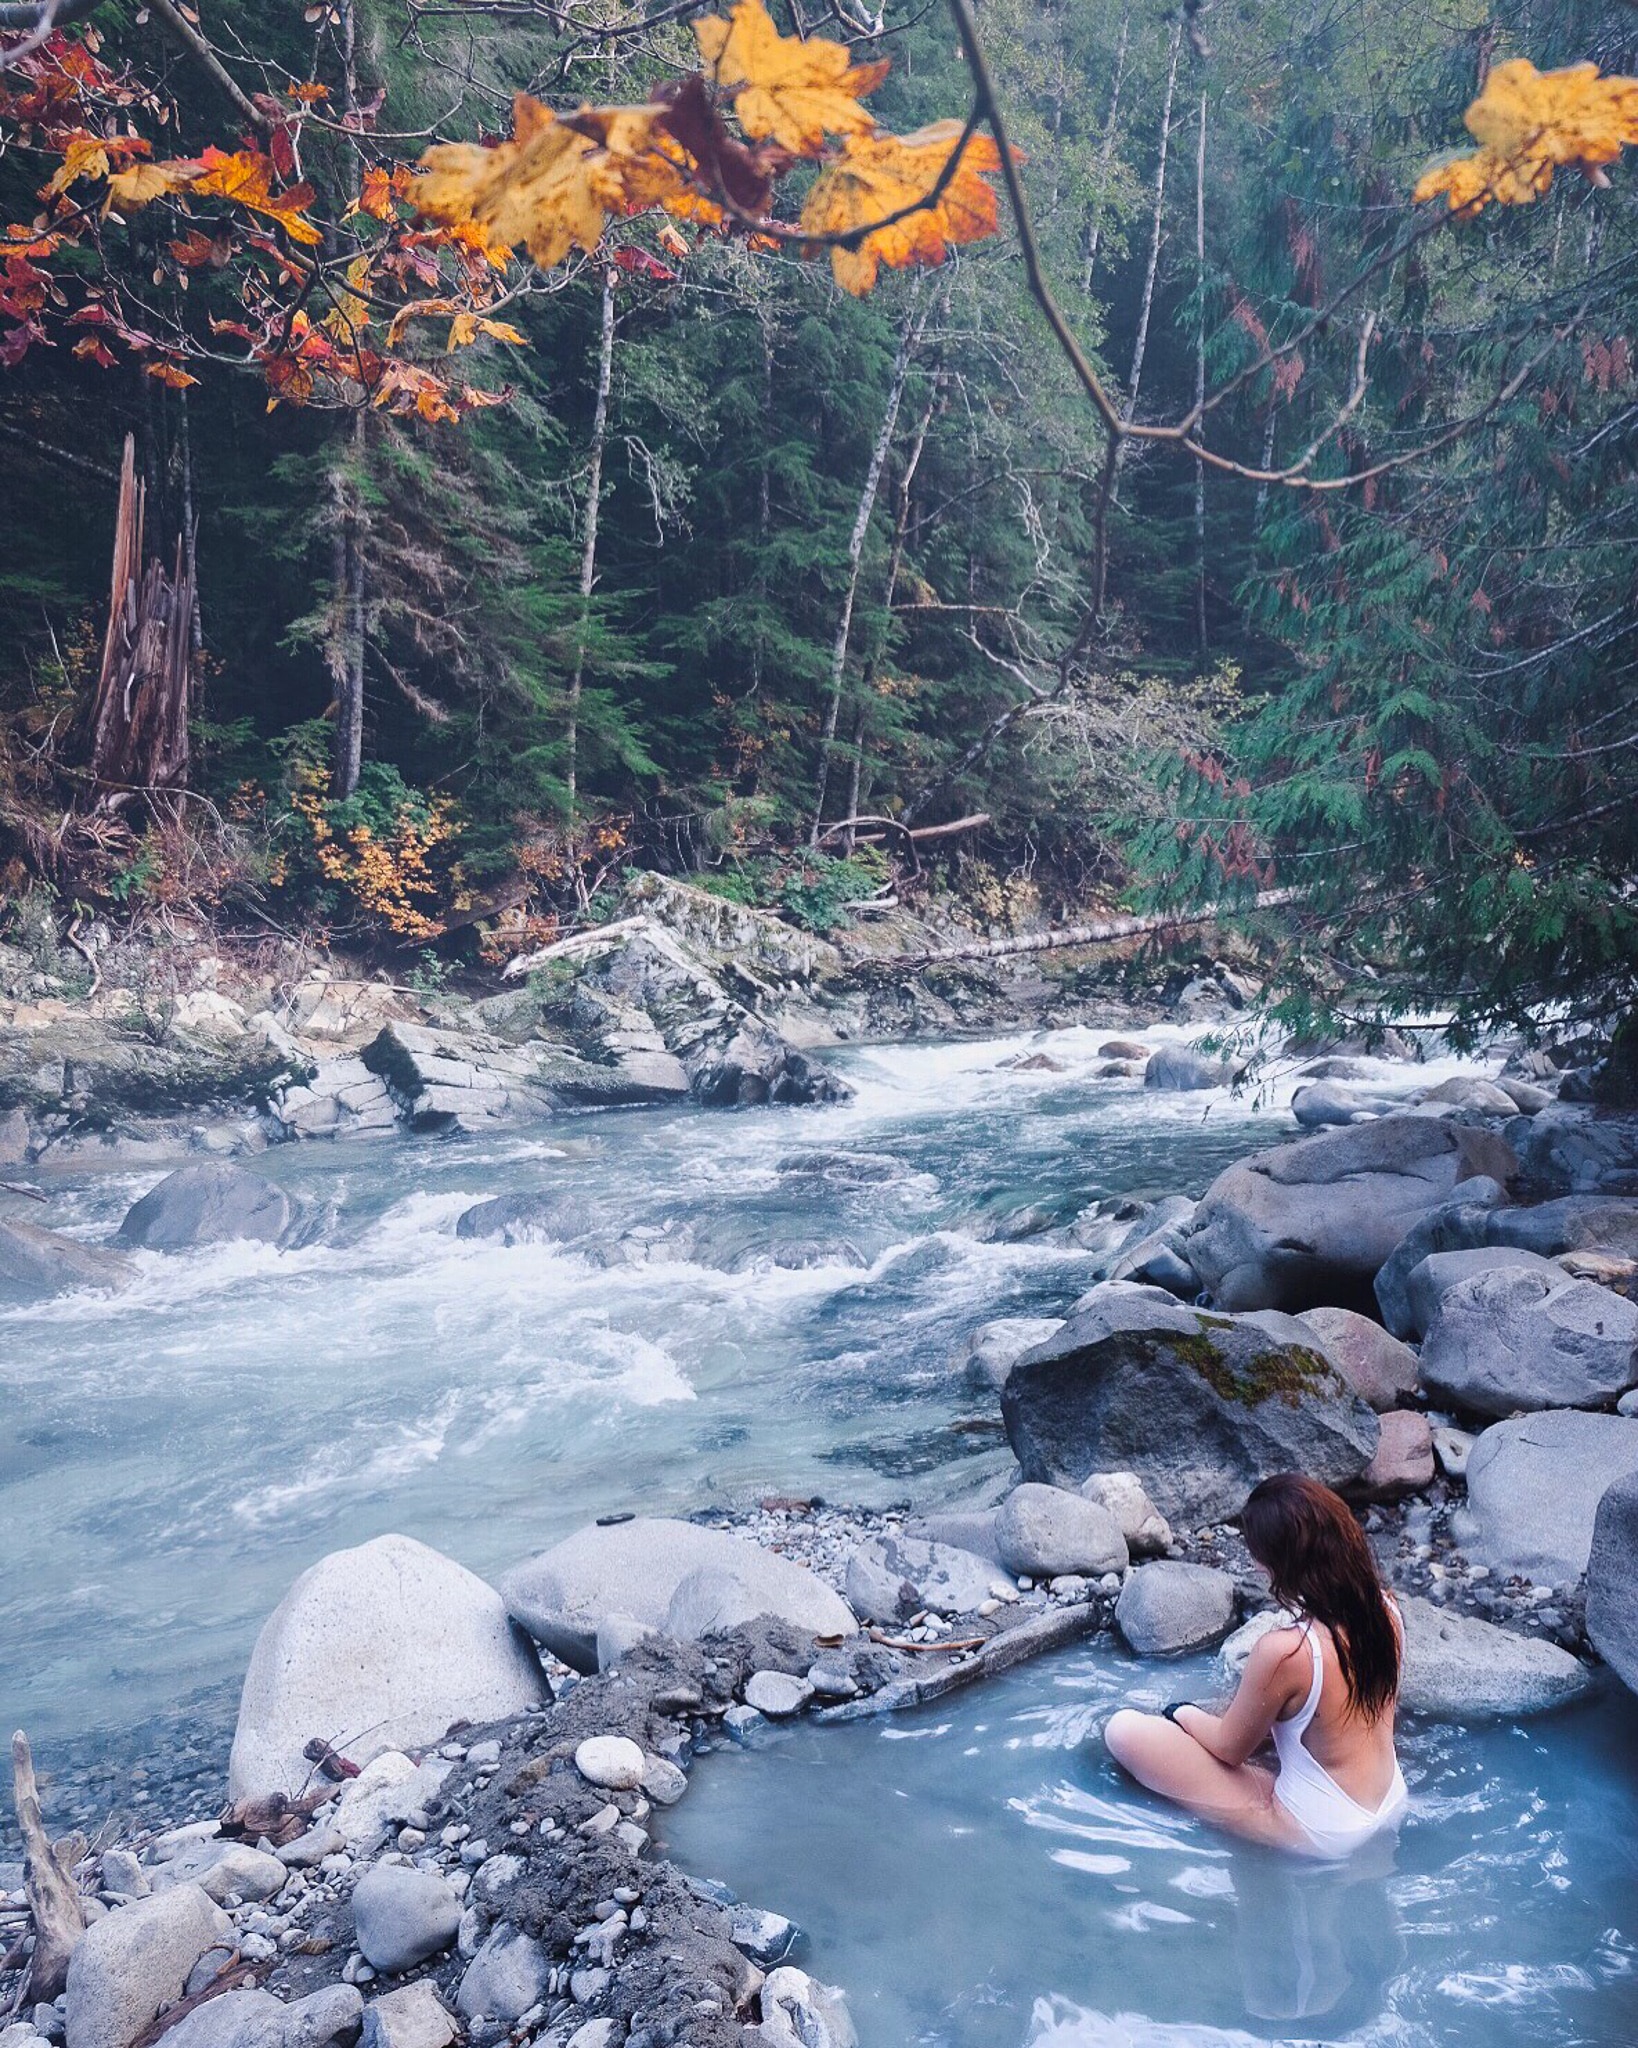
Having arrived mid-afternoon, we joined a handful of other people lounging in the pools along the river. There’s ample room to spread out at Sloquet, with a few upper hot pools fed by a hot waterfall, cascading down into a series of smaller pools along the banks of the river.
We spent several hours rotating between the pools of varying temperatures and relaxing under the canopy of conifers. When the sun went down, we hiked out under the light of the milky way.
Sloquet Hot Springs Information
Getting there: Leave enough time for the drive. It takes about 3.5 hours to get there from Whistler. Download the map offline or be sure your GPS will work if you lose service. It would be smart to carry a satellite phone and other emergency essentials. Don’t attempt this drive without an SUV.
Cost and camping: $5CAD per person for use of the pools (cash only). Campsites are $15 and are first-come-first-served if you decide to stay the night. Note that the entrance money goes directly into maintenance of the area. Visit Sloquet’s website for the most up to date information.
Facilities: This is a natural area. Besides for a small changing wall besides the hot springs, there are no facilities near the hot springs. However, there is an outhouse at the top of the hill at the trail head, which is a short walk from the springs.
Nudity allowed: Yes. Clothing is optional here. Be mindful of nude soakers when you snap photos and be respectful of their choice (or even join them yourself, because when in Rome, amirite?)
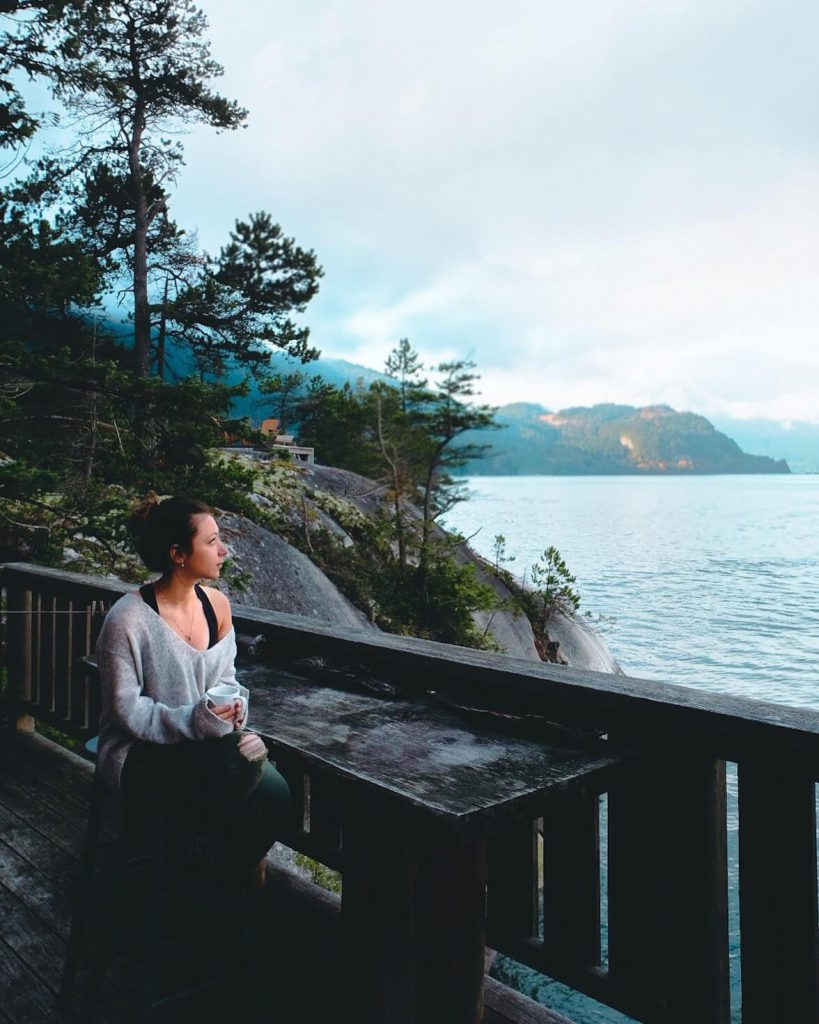
DAY 4: SQUAMISH
Squamish is a beautiful mountain town between the drive from Whistler and Vancouver, located at the north end of Howe Sound along the Sea to Sky Highway.
We dedicated one full day to exploring Squamish, since everything we wanted to do was in the same immediate area.
Stop 1: Shannon Falls
the third highest waterfall in British Columbia. Truly an impressive sight, this waterfall is easily accessible from the road. You can make it a quick stop or choose to spend more time and hike to the top.
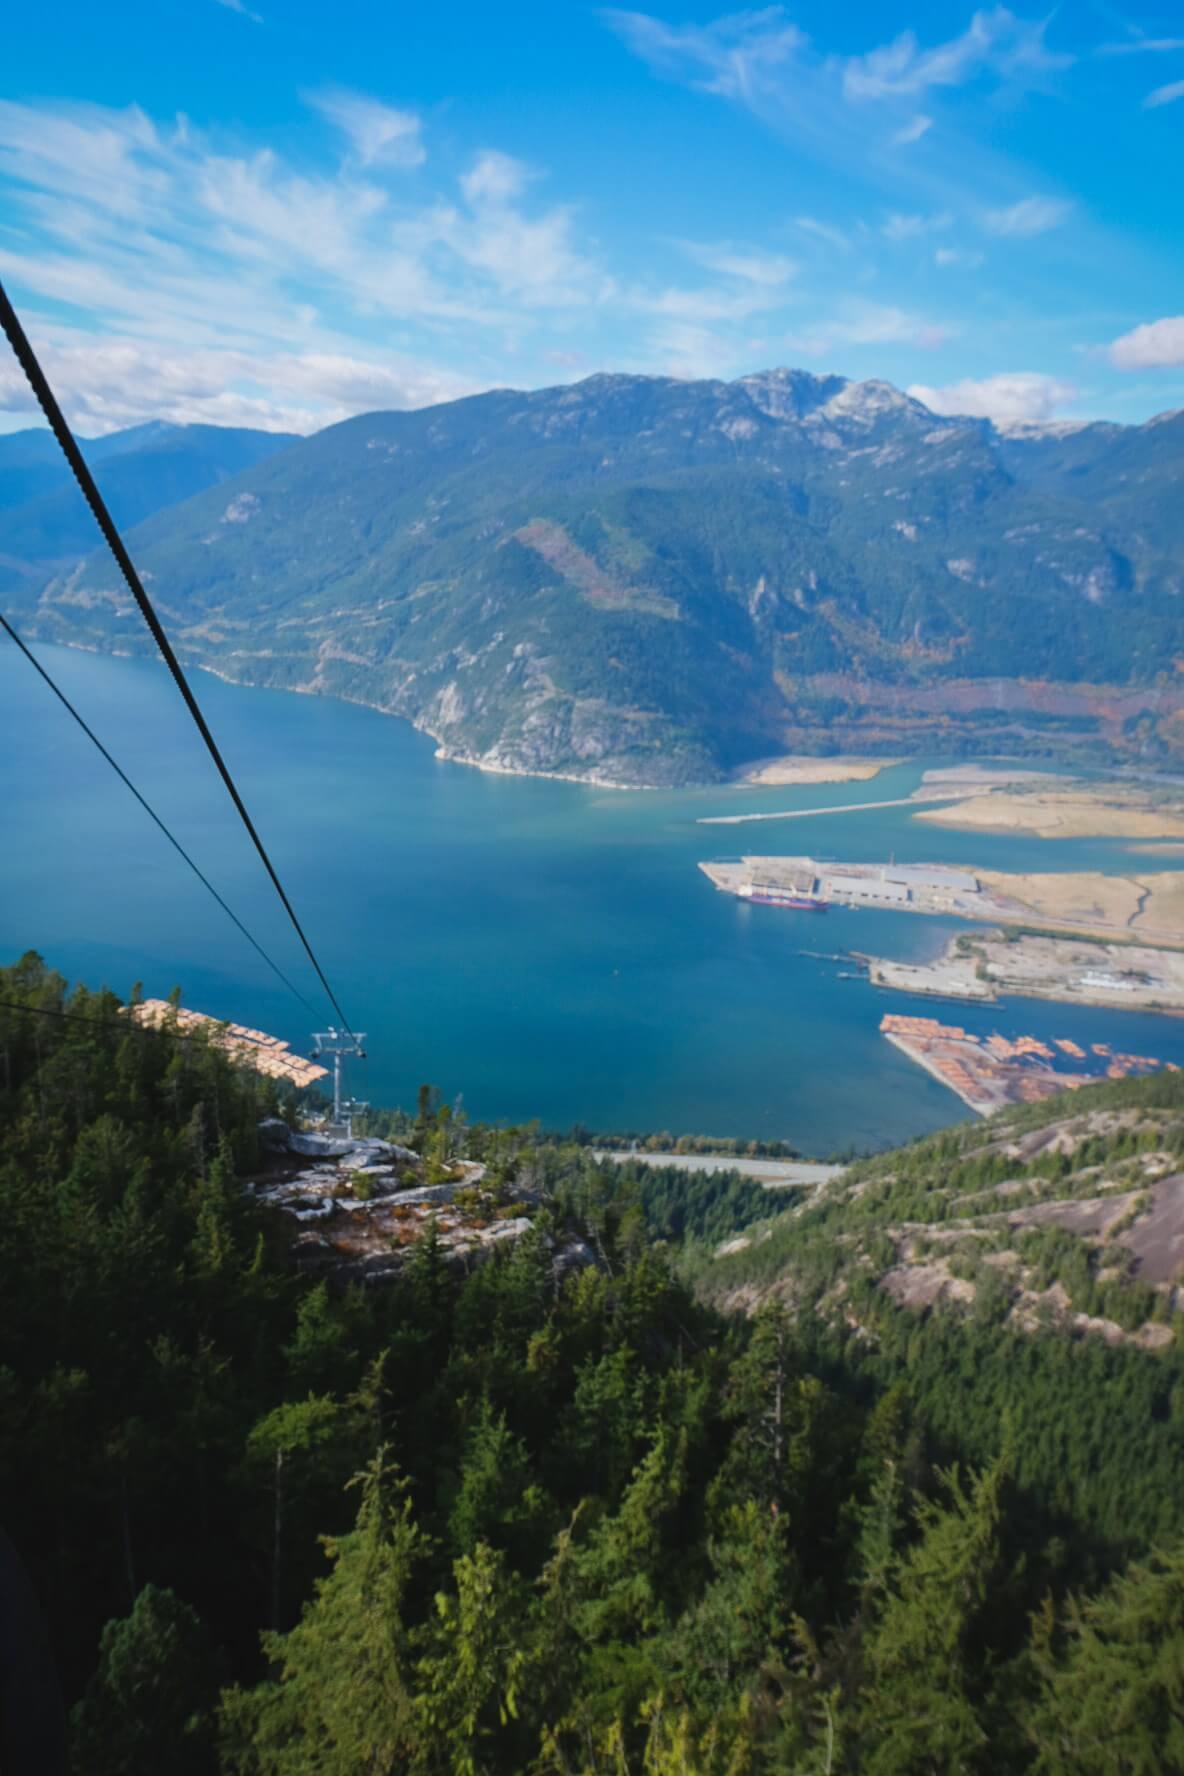
Stop 2: Sea to Sky Gondola
Right next door is the admission to the Sea to Sky Gondola. This gondola wasn’t our first choice, but the other gondolas that provided access to different hiking trails were closed for the season.
The price of a round-trip ticket for the Sea to Sky Gondola is $55 per person, but turned out to be well worth it for the best views of Howe Sound and the surrounding mountains. At the top, you’ll find a suspension bridge, restaurant, and an array of hiking trails.

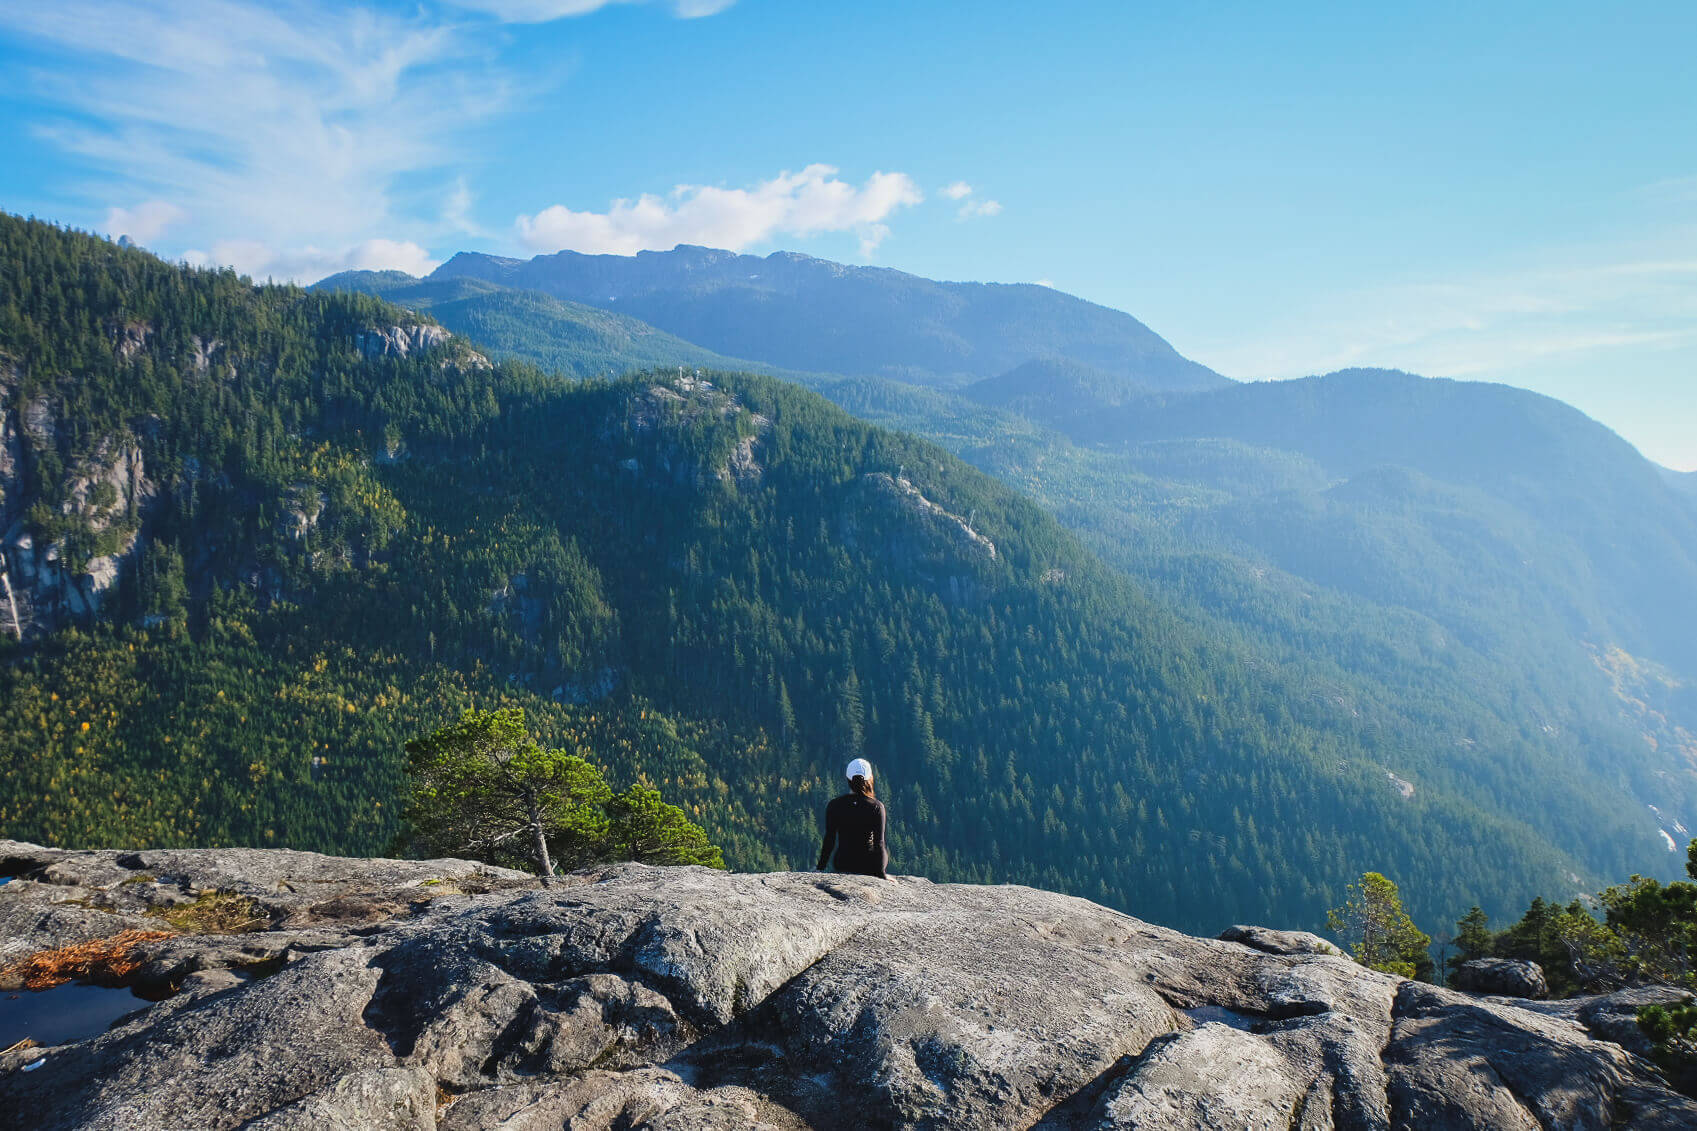
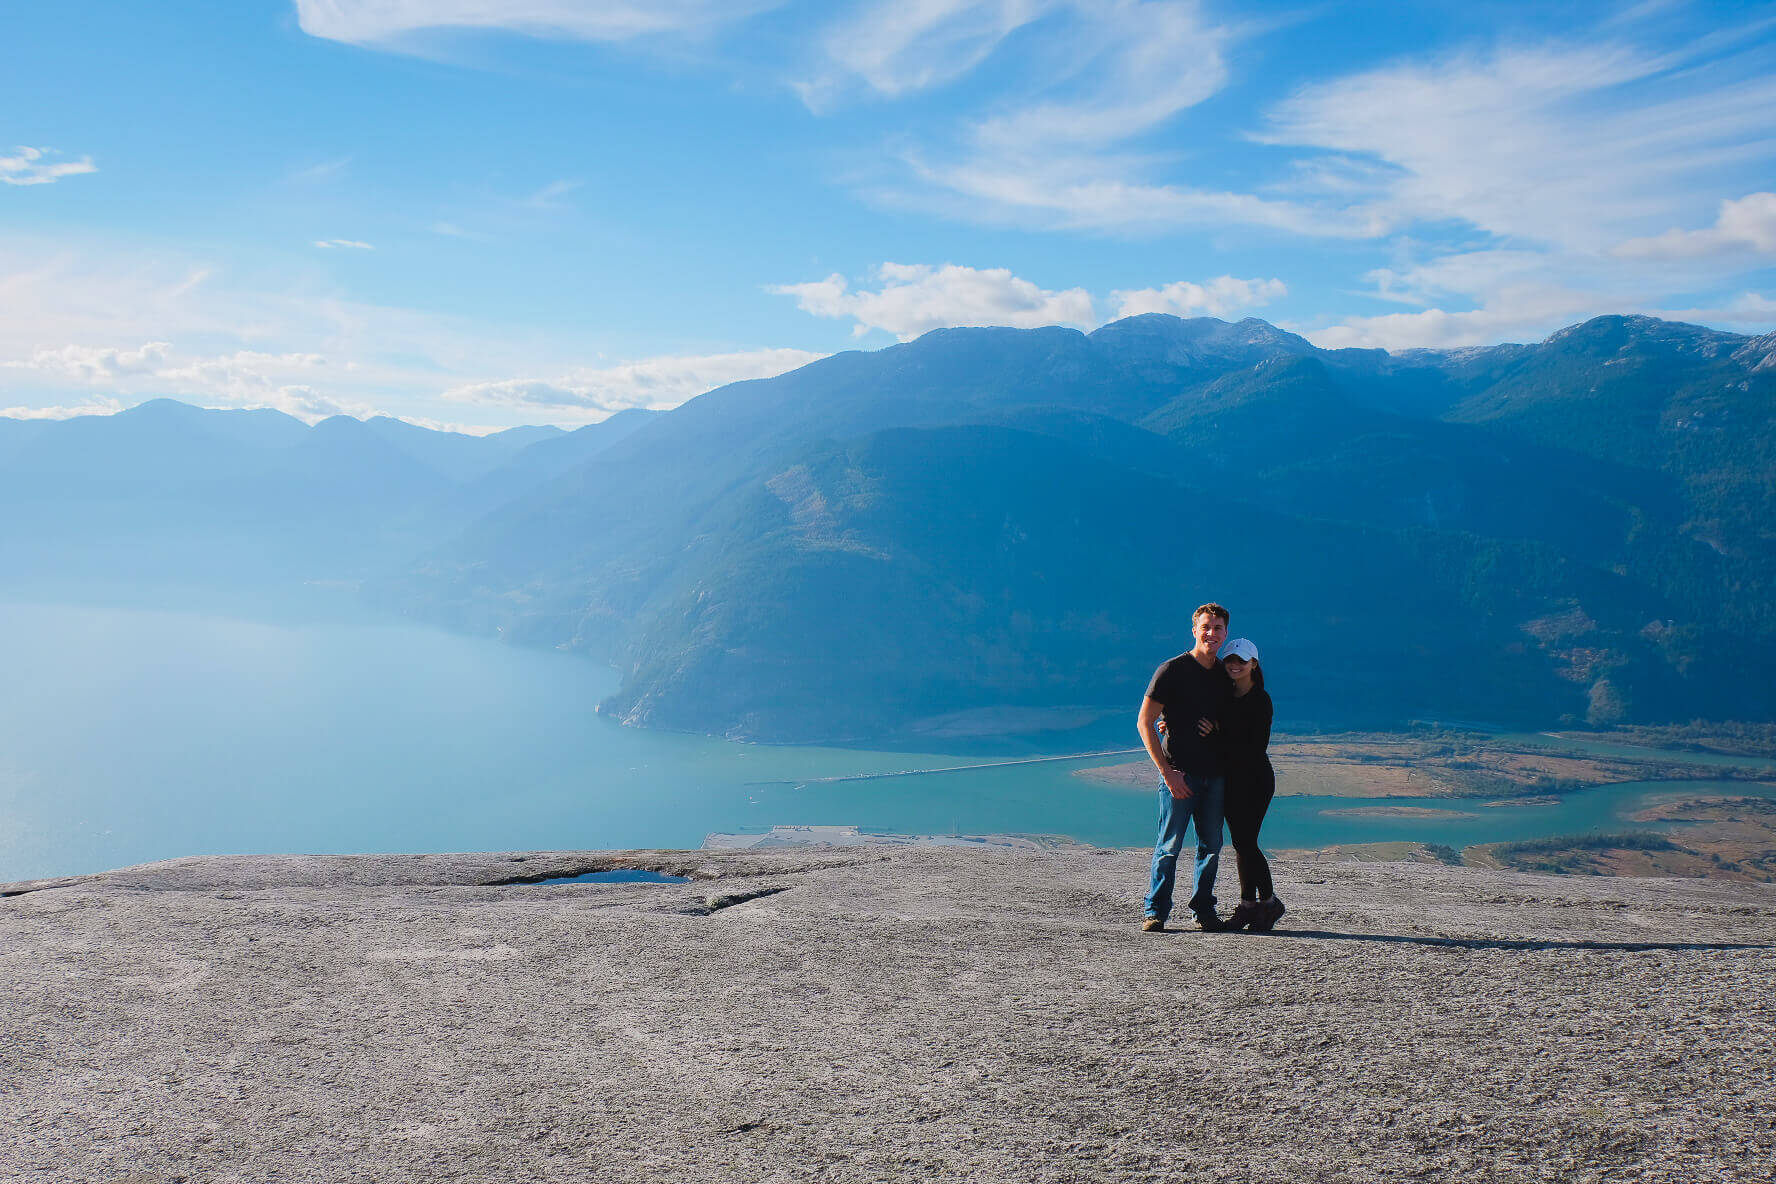
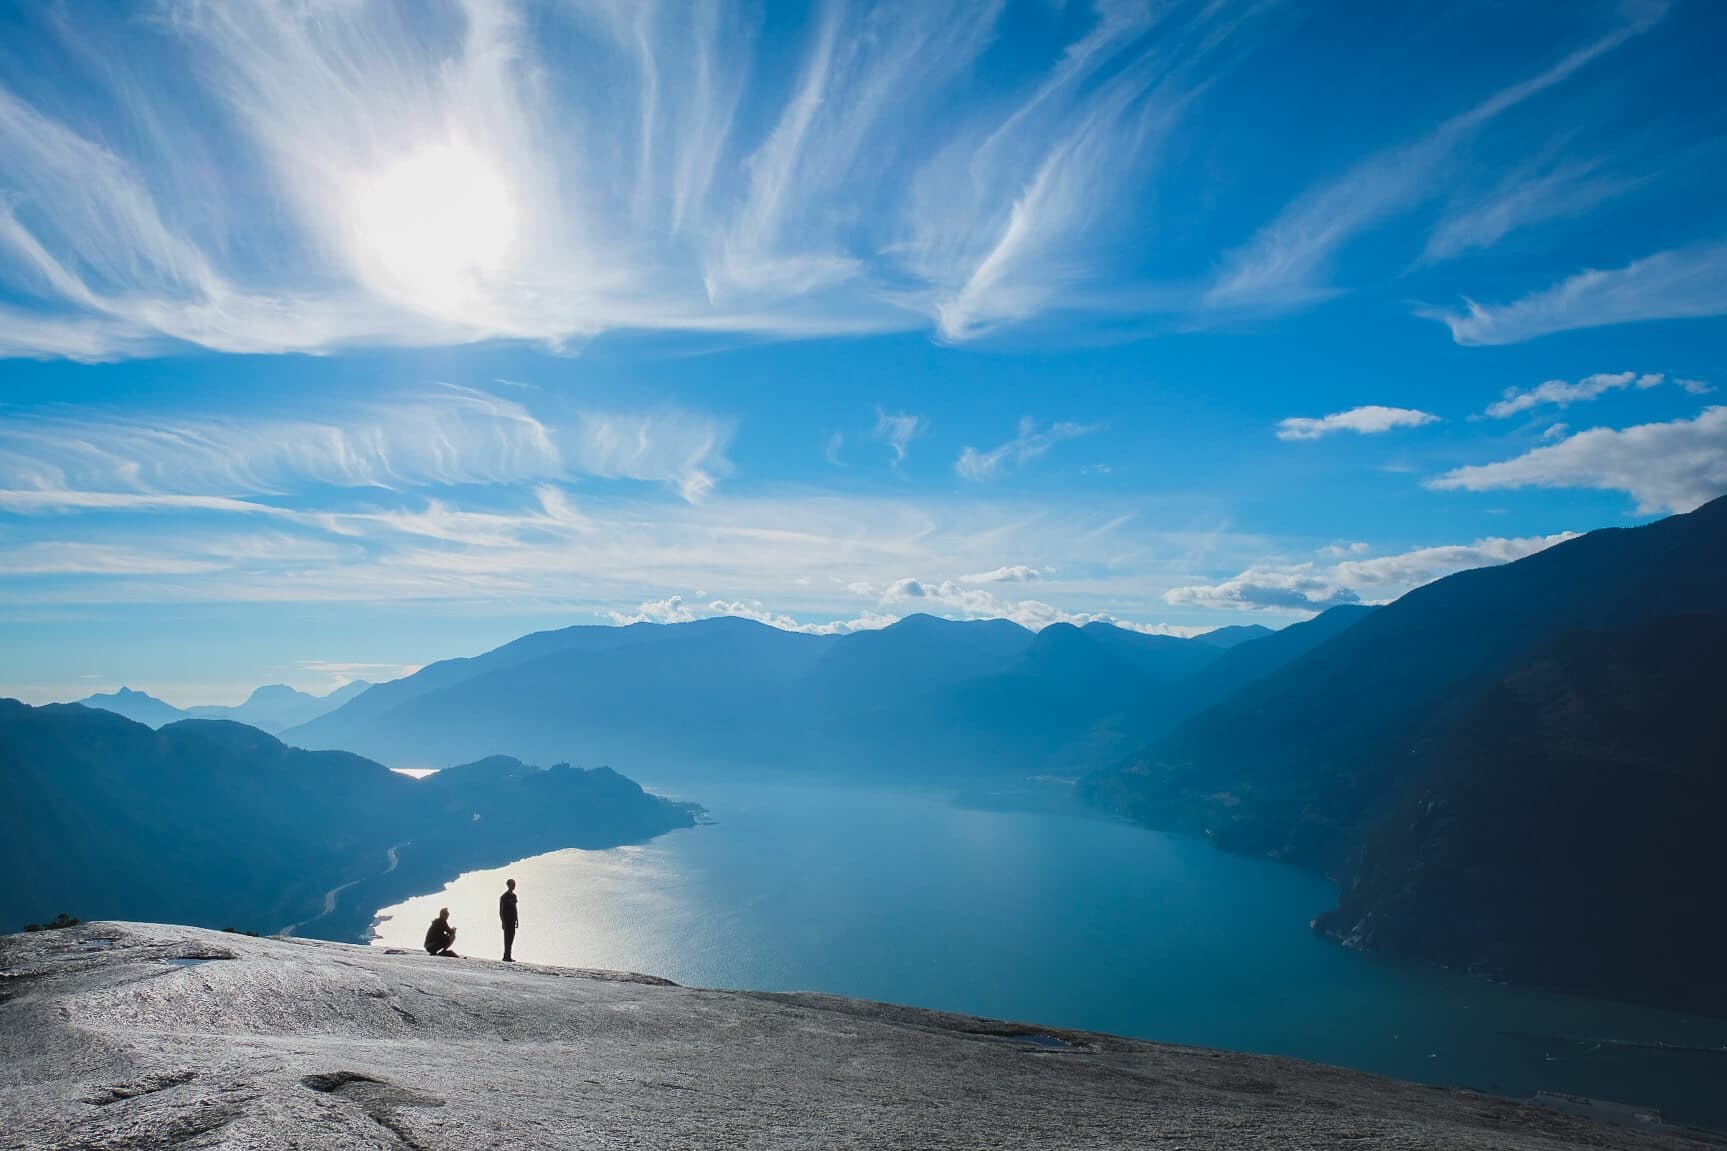
Stop 3: Squamish Chief
Otherwise known as “the Chief”, these three summits are among the most popular hiking spots in British Columbia. It took us several hours to summit the first peak, where we were shocked to find we were the only people on top. Whether it was because we arrived just before sunset or because it was the off-season, we’ll never know, but we were completely delighted given the popularity of the hike.
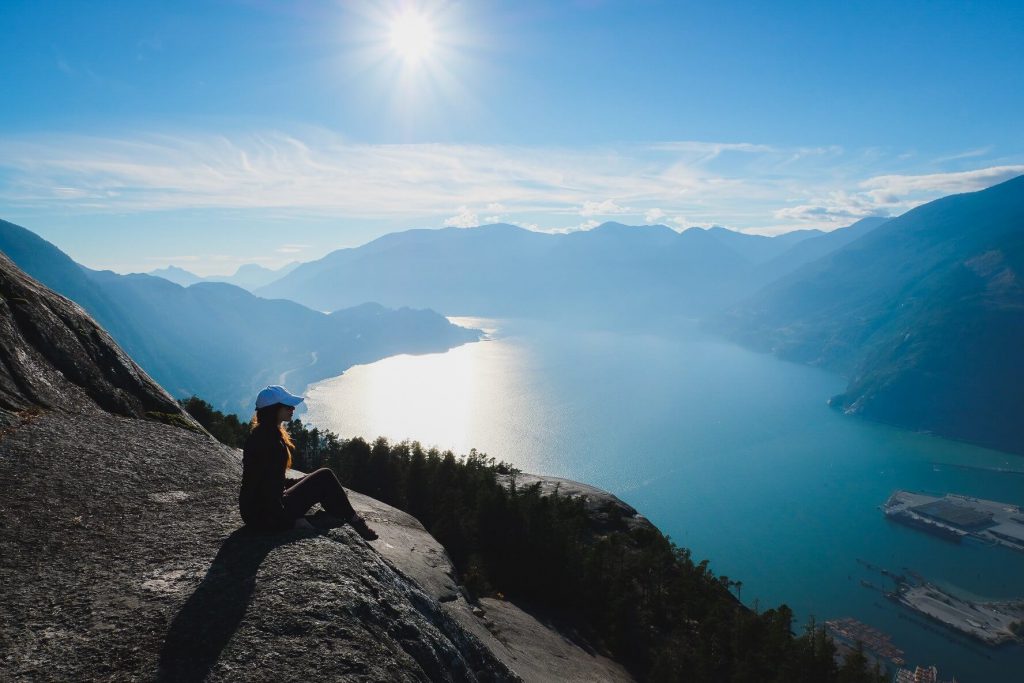
We spent awhile on the summit, perched high above the sprawling views of Howe Sound. After that, we descended the same steep trail we followed on the way up.
Squamish Chief Trail Information
- Difficulty: intermediate to difficult
- Distance: 11km
- Elevation gain: 6020 meters
- Time: 3-7 hours depending on your fitness level and number of peaks
- Season: March – November
NOTE: the south peak (peak 1) is a decent climb with a 500m elevation gain. This peak offers the most rewarding views, so many people stop here. However, if you’ve got about 6-7 hours, a good fitness level, and plenty of energy, you can hike all 3 peaks in one day..
READ NEXT: What to Pack for a Day Hike: Essential Gear and Complete Packing List
Where to stay in Squamish
Budget ($): Squamish Adventure Inn Hostel and Squamish Tiny Cabin
Moderate ($$): Midnight in Paradise Cottage and Sunwolf Riverside Cabins
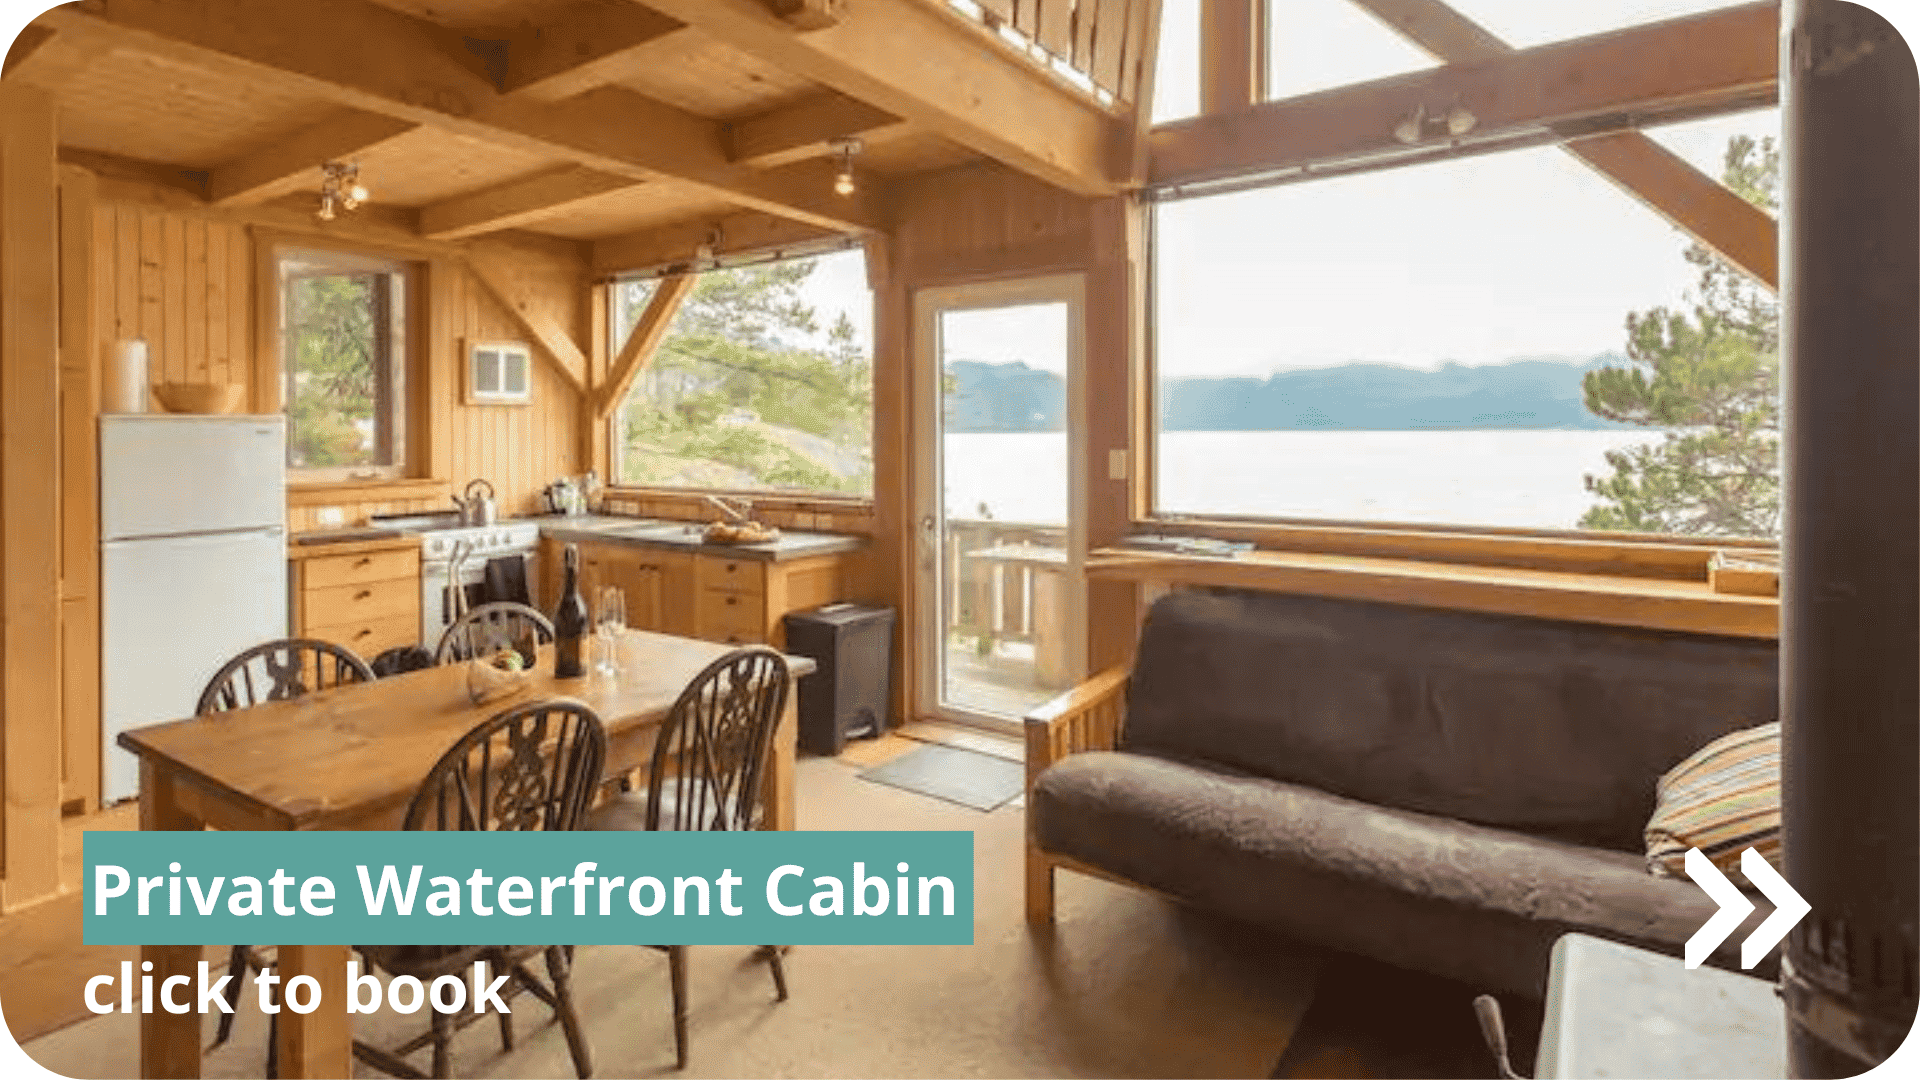
Splurge ($$$): Private Waterfront Cabin Airbnb and Ocean View Tea Tree House
DAY 5: VANCOUVER
Like many people who are first drawn to Vancouver, I dreamed about one day visiting the famous Capilano Suspension Bridge, a 450ft suspension bridge hanging 230ft above the Capilano River. It’s been in magazines, on postcards, and all over social media. Like, did you even visit Vancouver if you didn’t visit Capilano?
The answer is yes.
Here’s why: we were immediately turned off by the (almost) $50CAD entrance fee, per person. Not to mention the advertisements for tour buses and 11am entrance hours. Paying $50CAD for an overcrowded bridge just didn’t seem quite worth it anymore.
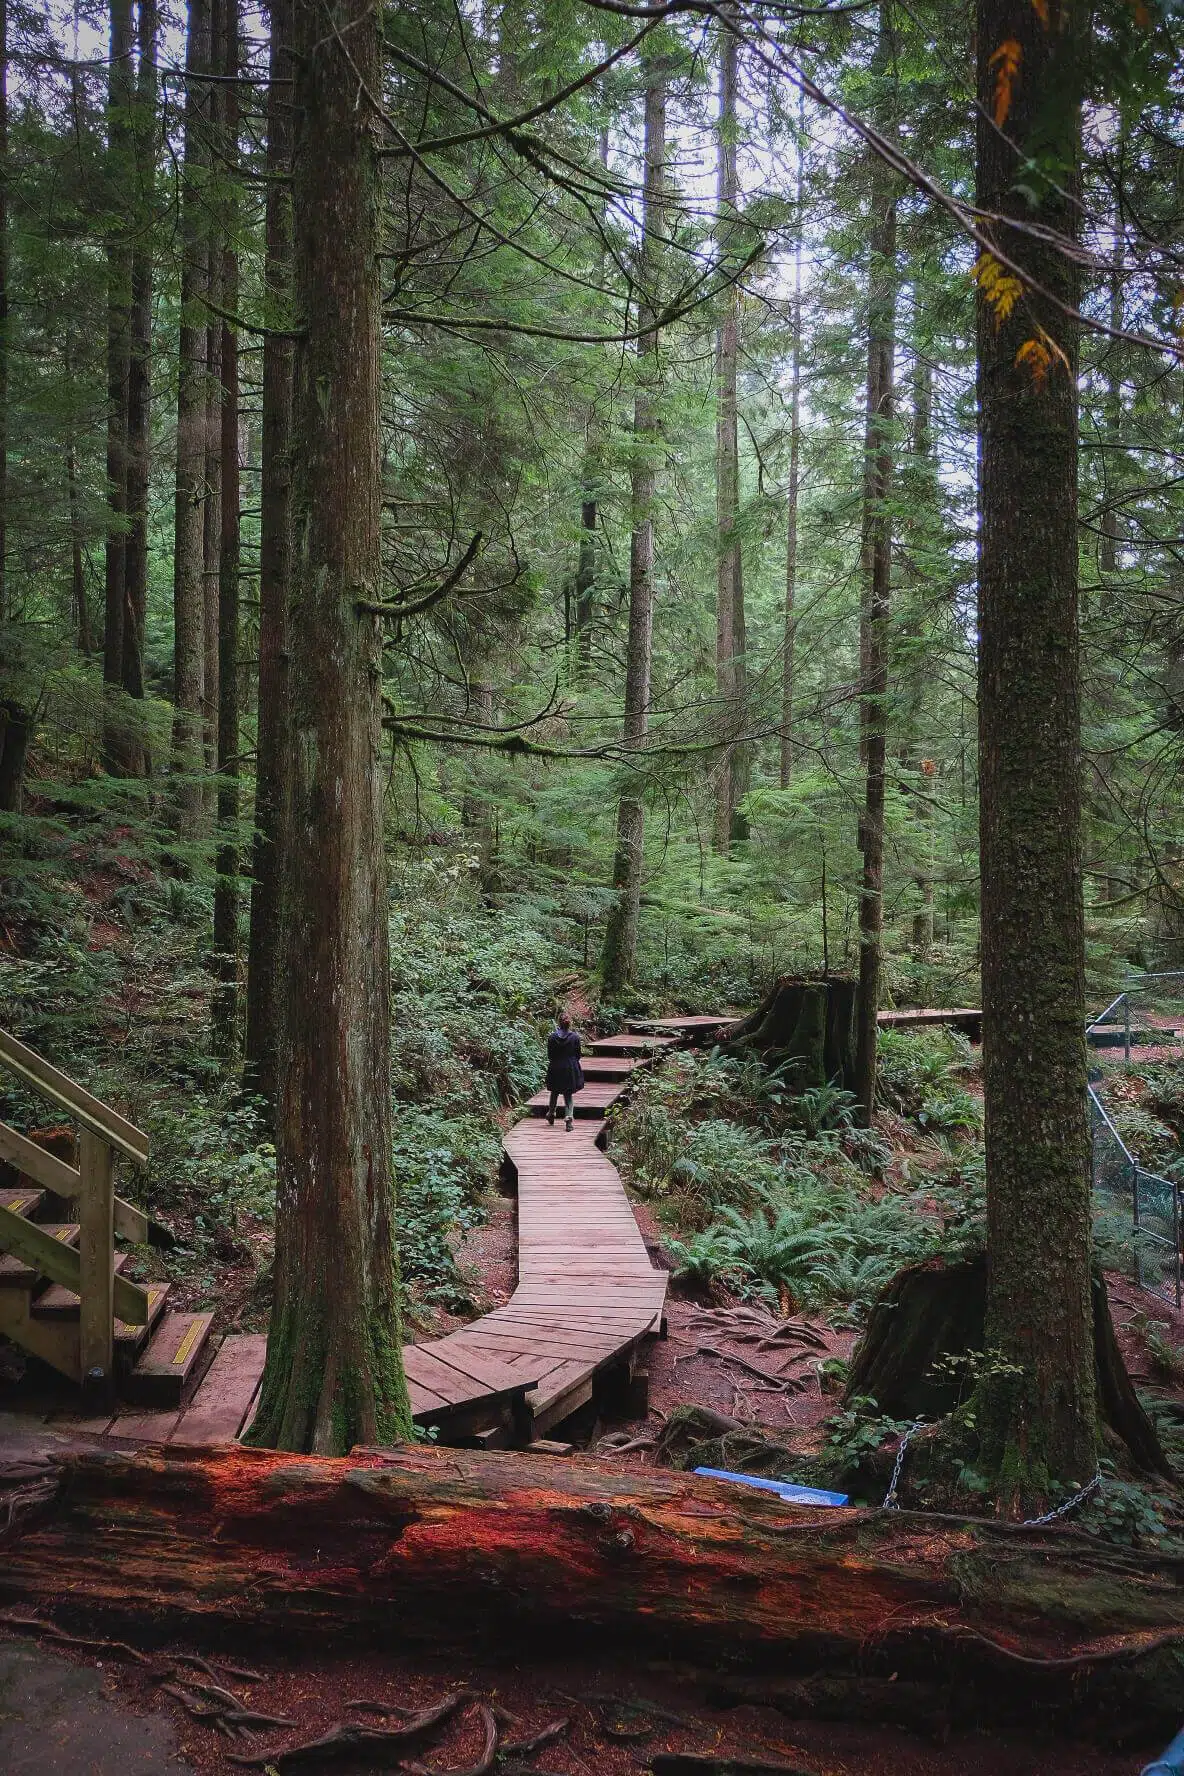
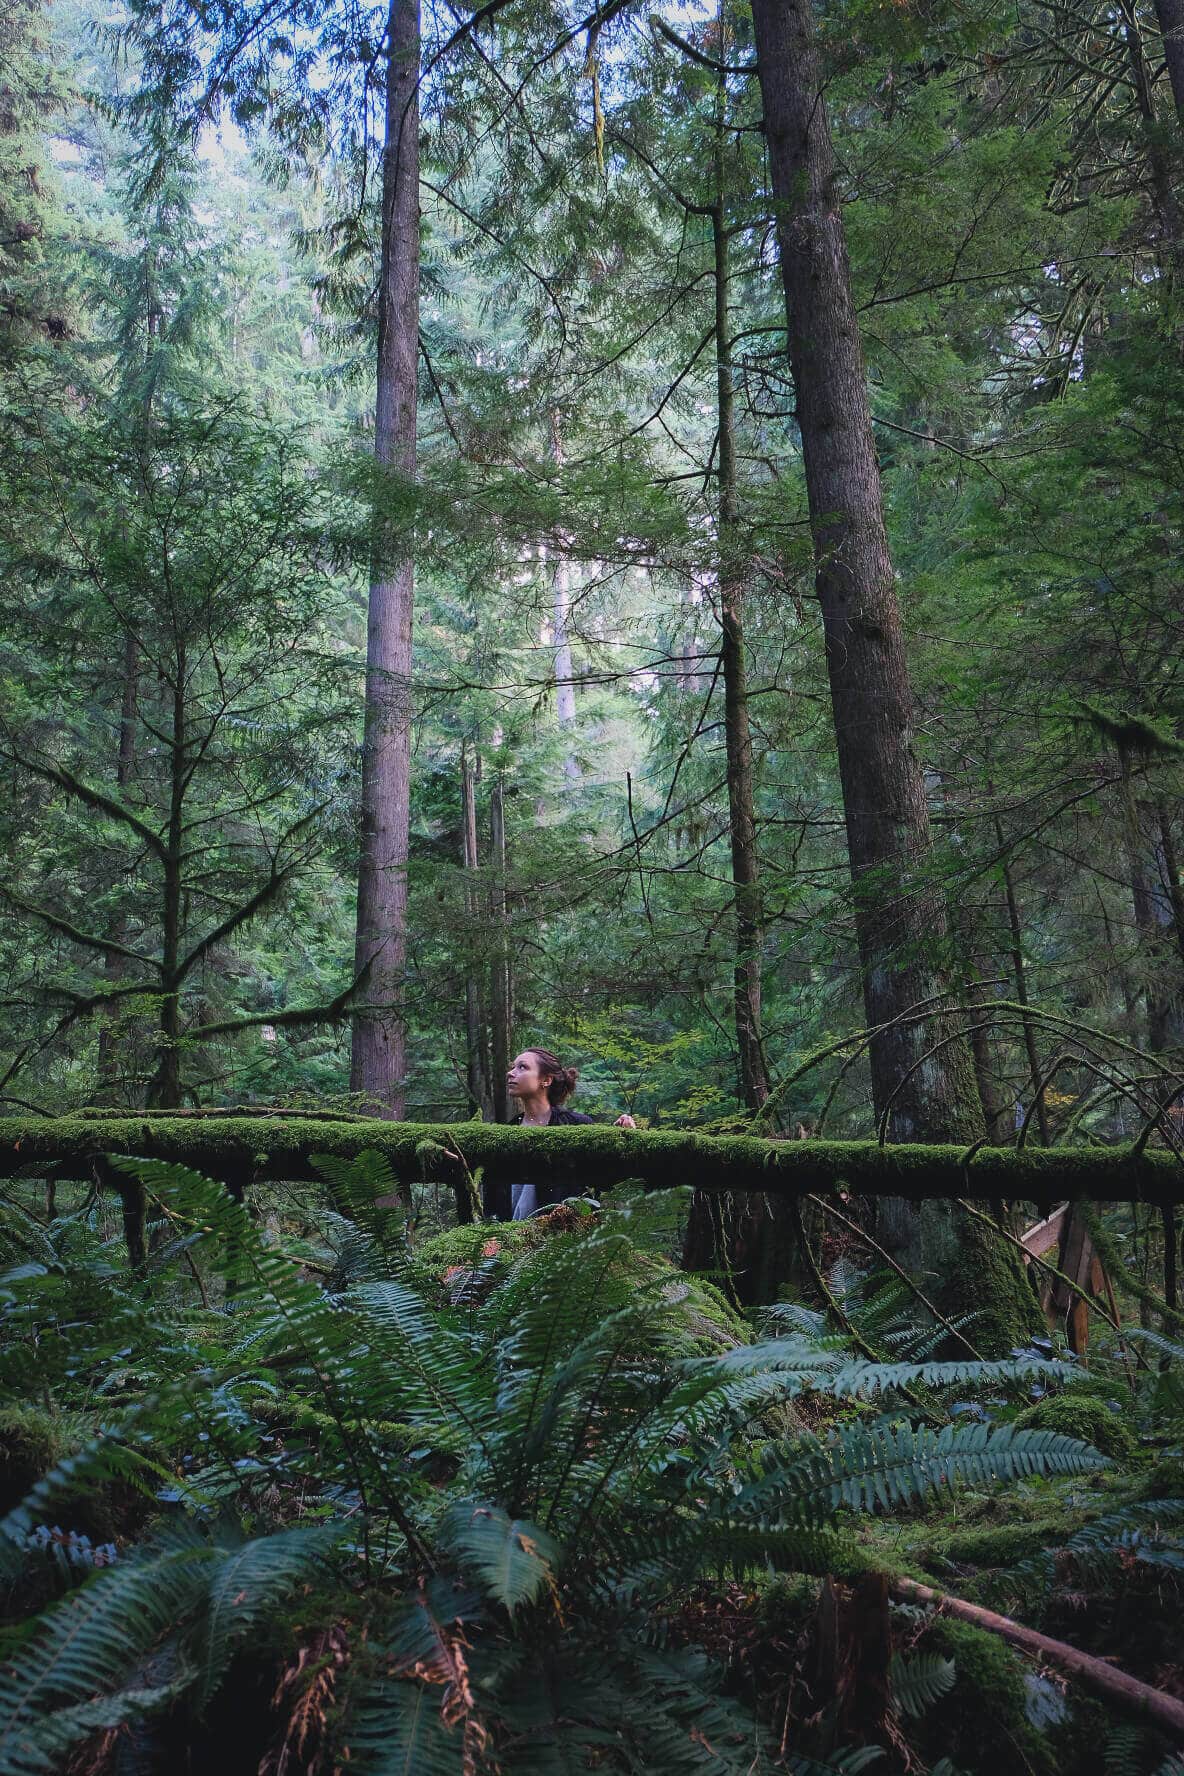
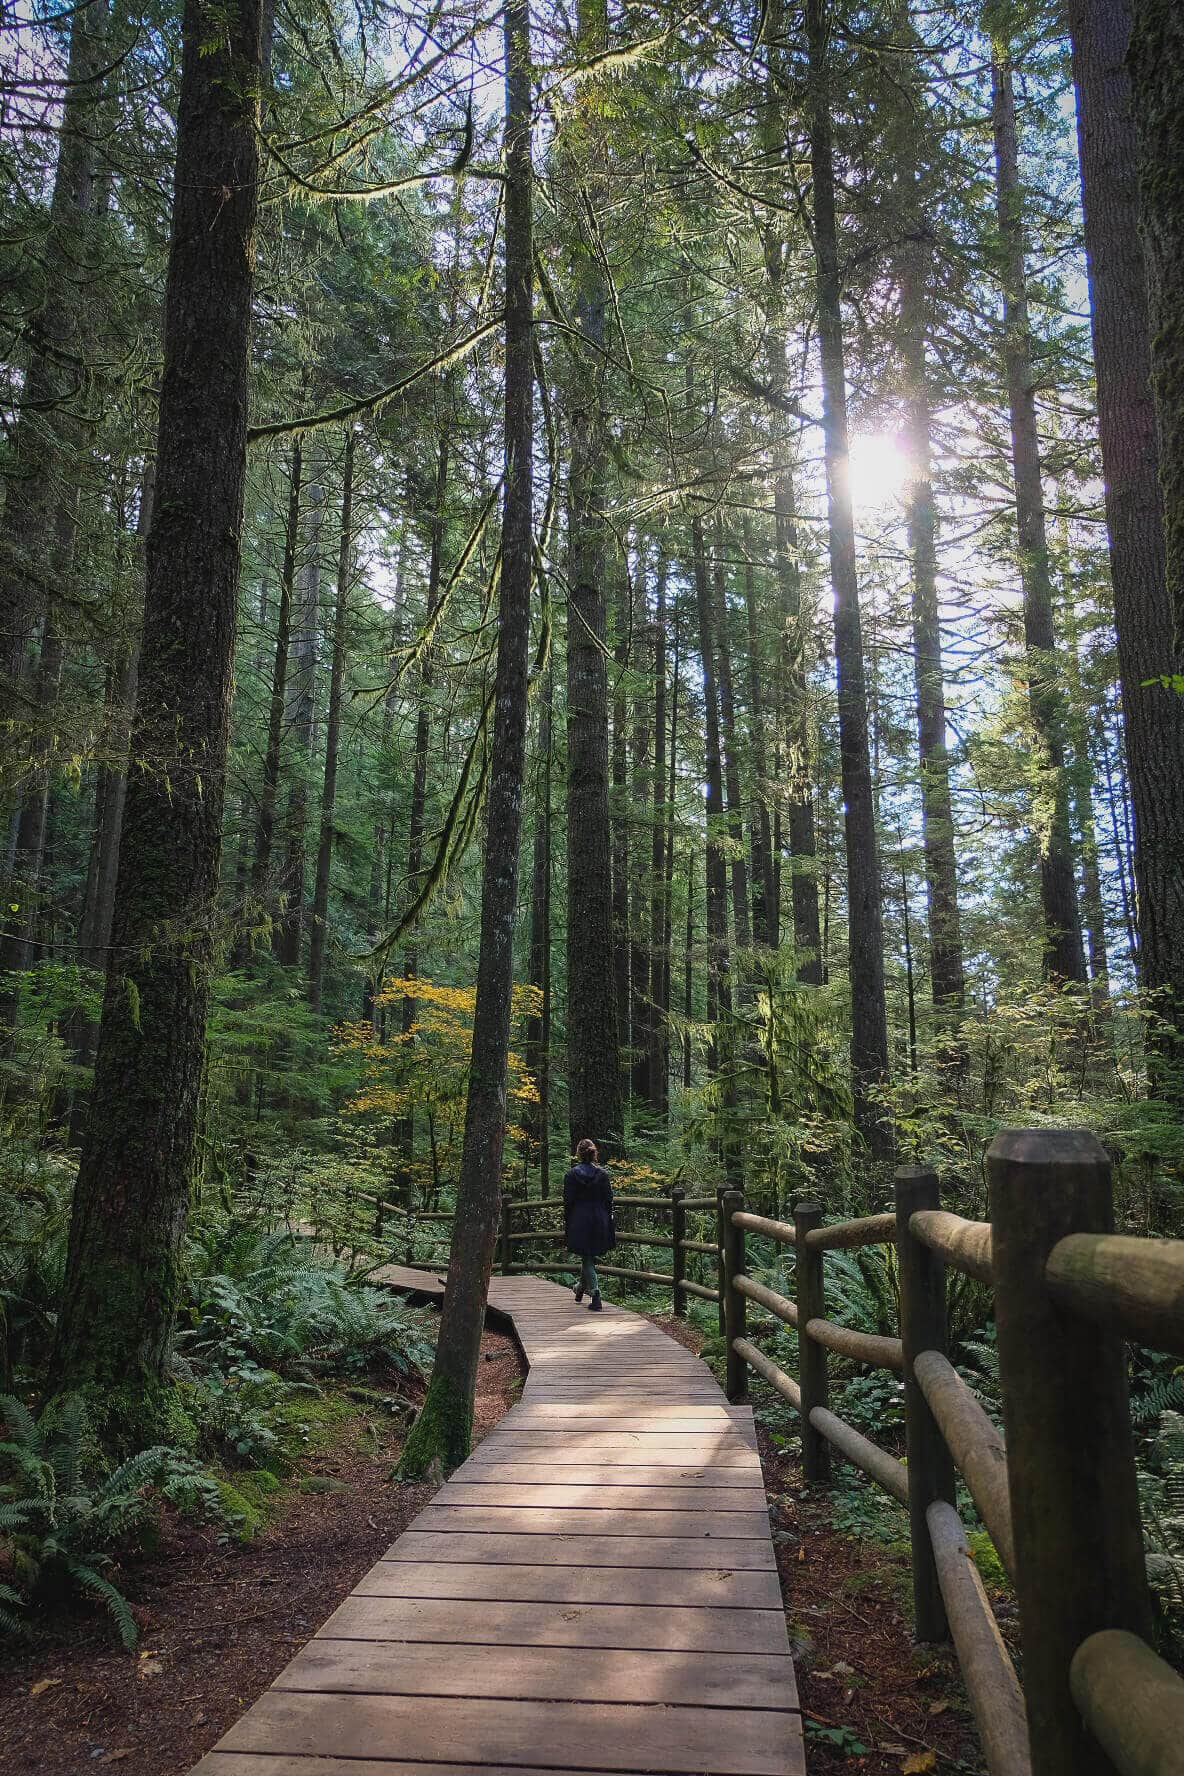
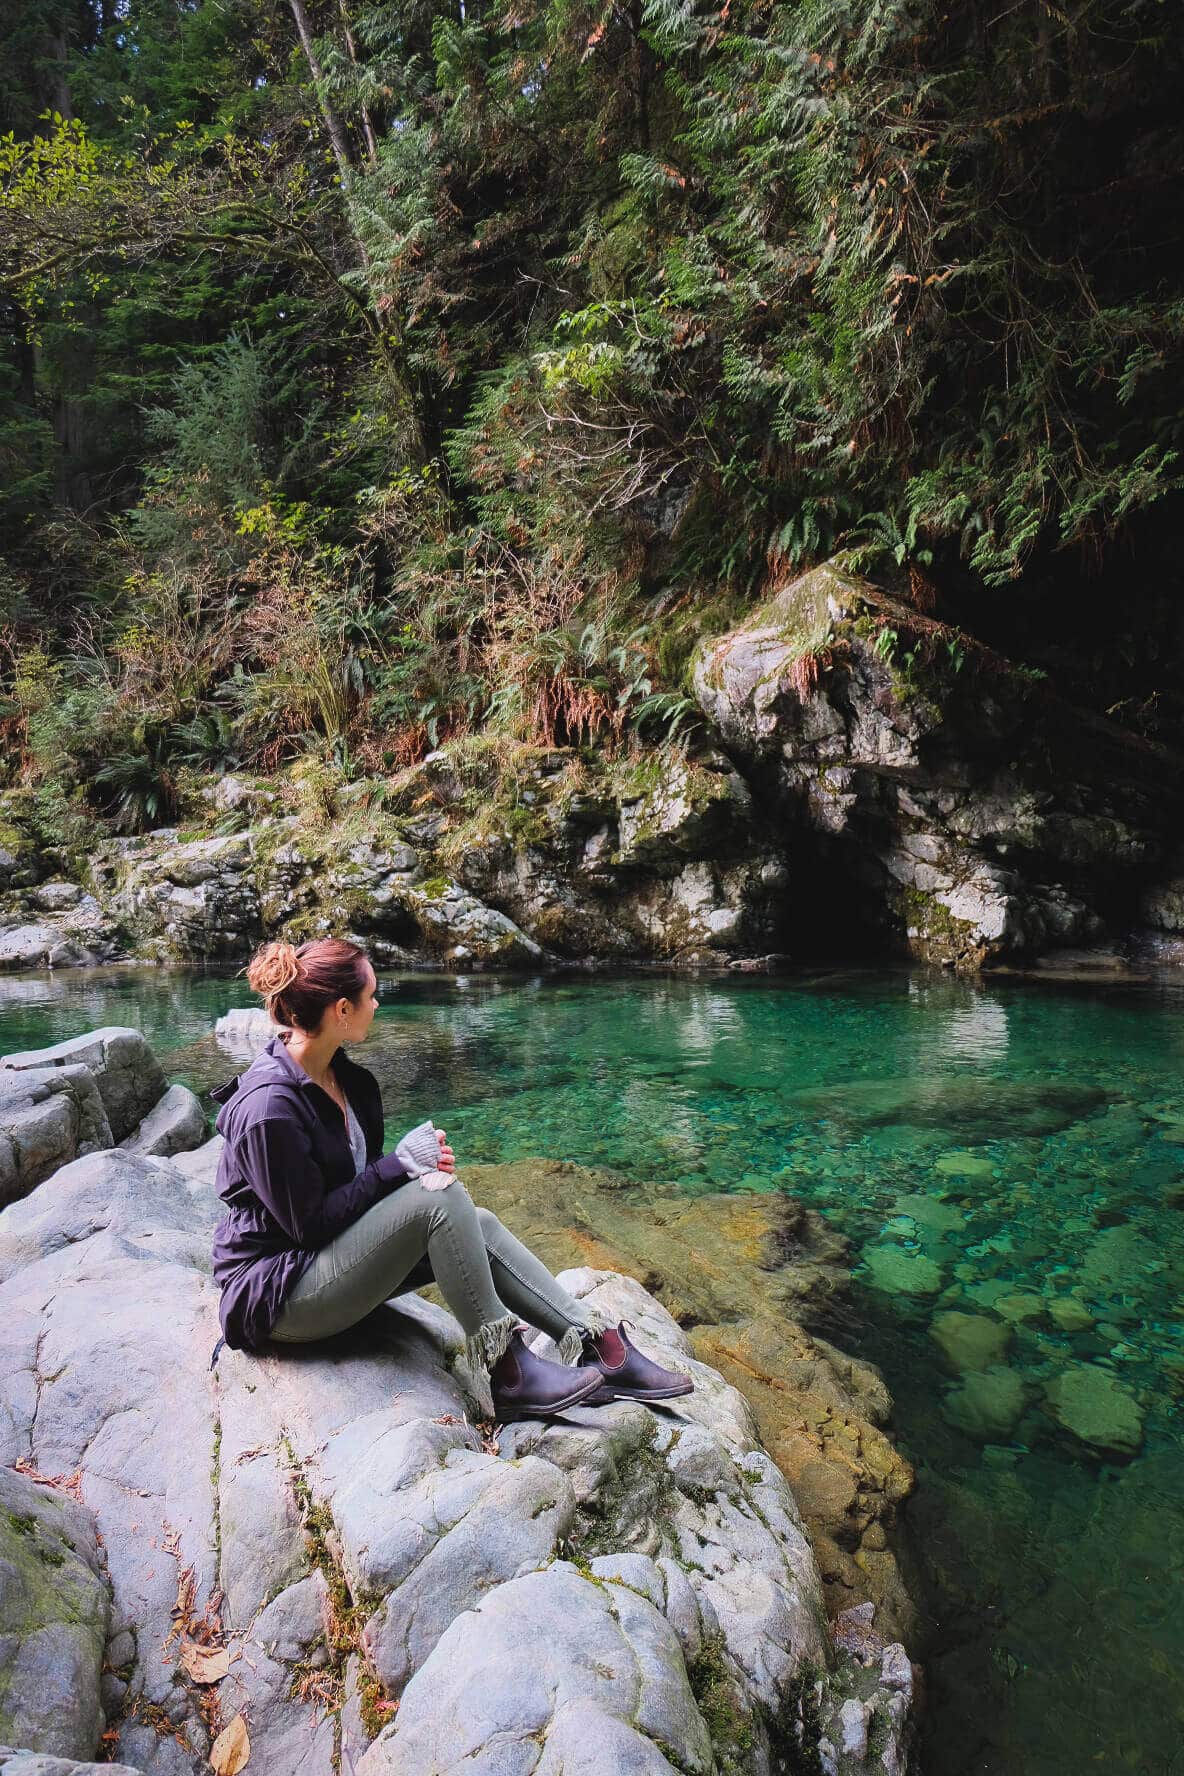
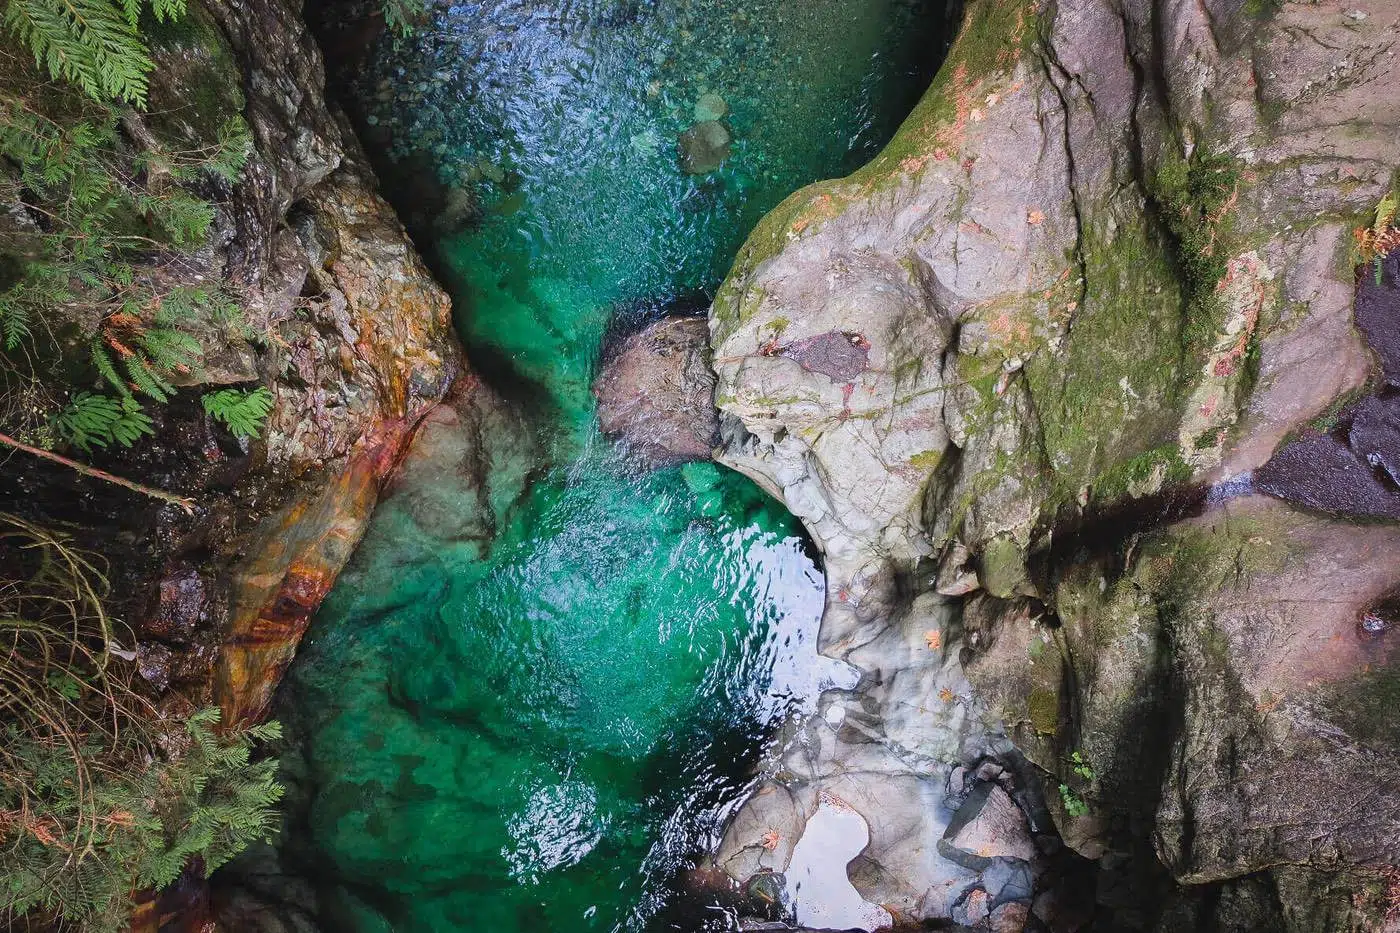
But here’s the good news: Where we would have paid for probably 30 minutes at Capilano, we instead spent 2 hours exploring the wilderness around Lynn Canyon. Of course the suspension bridge wasn’t of the same caliber as that at Capilano, but to me, it was even more beautiful. It was also free, less touristy, and perfectly wild for being outside of a major city.
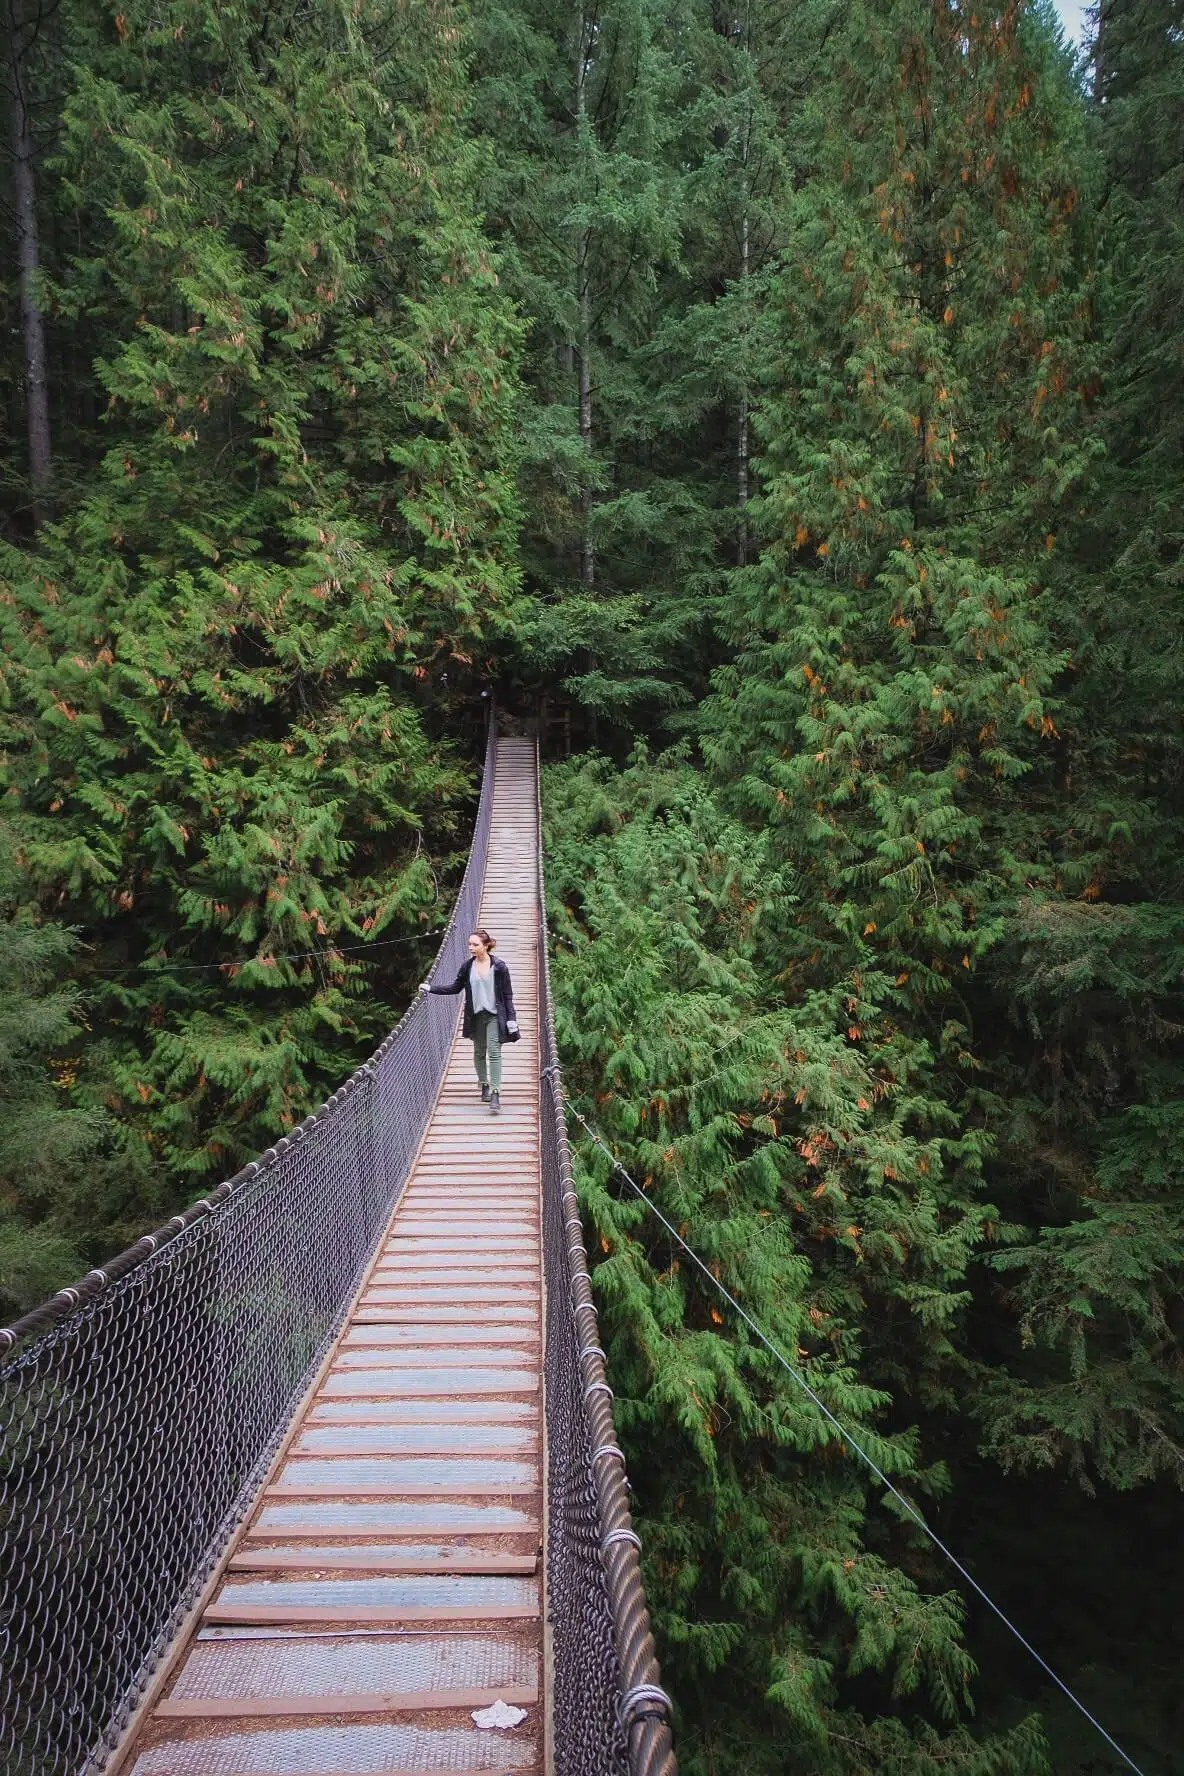
NOTE: the suspension bridge is still a suspension bridge. And, consequently, attracts many visitors regardless of the advertised popularity. So if you want uninterrupted photos on the bridge, test your patience waiting for the perfect shot, or get there early!
If you opt to visit here, allow time to explore the trails that will lead you to aquamarine swimming holes, waterfalls, and through an interpretive nature trail.
When you’re done here, then you’re only 30 minutes from downtown Vancouver!.
Where to stay in Vancouver

Budget ($): HI Hostel Downtown Vancouver and Olympic Village Condo
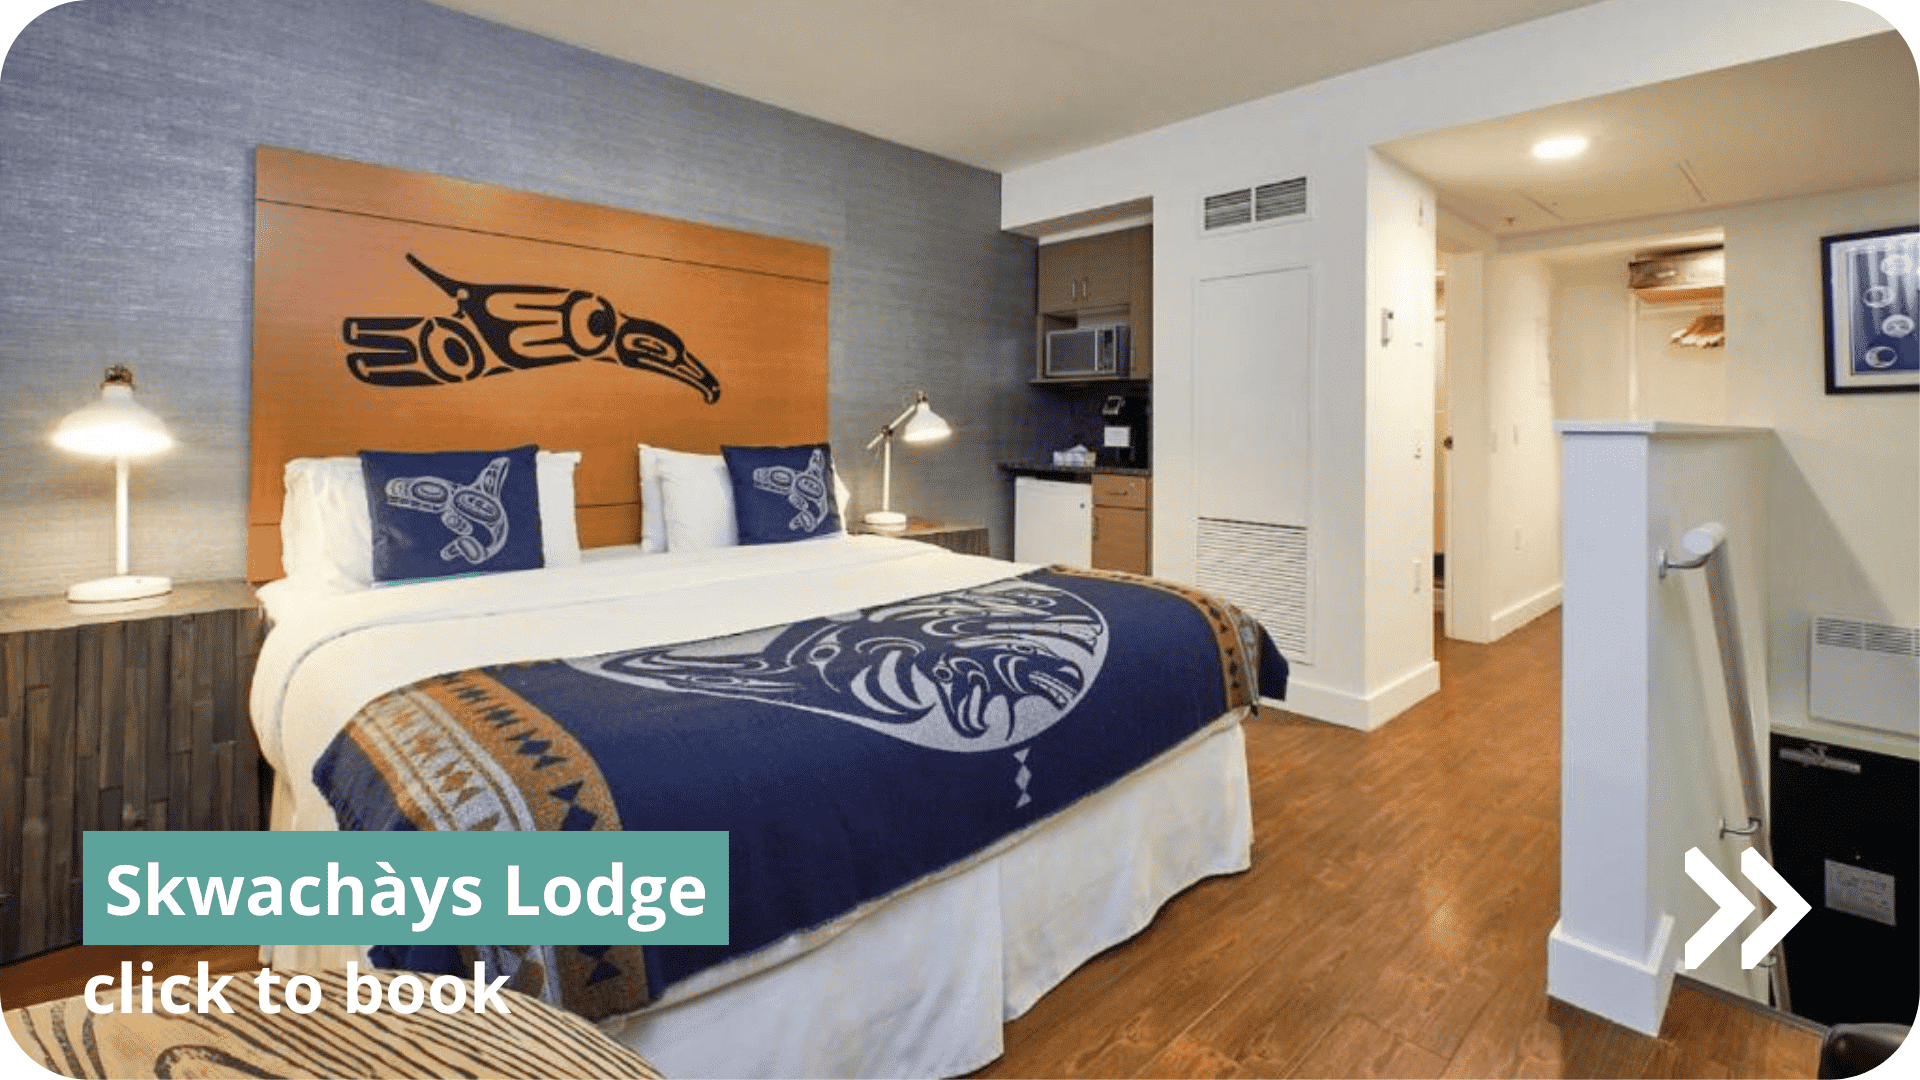
Moderate ($$): Skwachàys Aboriginal Themed Lodge and Unique Gastown Loft
Splurge ($$$): The Douglas and The Burrard
Final Thoughts
Two years ago I had vowed to return to Vancouver after a layover on a cheap flight to Hawaii. Through the plane windows, I had watched the a thick blanket of fog swirling over the mountains around the sound; the city skyline looming in the distance. I returned to British Columbia one year later when we hopped across the border to visit the emerald waters within Yoho National Park during a trip through Alberta. That time, I knew for sure that this province had a hold on me.The
And here I was. Back for a third time. Road tripping the seaside highways from Vancouver to Whistler, rooting myself in moments spent wandering through the Pacific Northwest rain forest, and being sure to take an extra deep breath of alpine air for the road.
There’s something seriously magic about this place. And, still captivated, I know I’ll be back again..
Get this Vancouver Road Trip on Google Maps
Access the road trip itinerary on an interactive Google Map. Access the map on Google Map here
.
How to Get Around for a British Columbia Road Trip
The best way to complete this itinerary is with a rental car. You don’t need a 4×4 to road trip between Vancouver and Whistler, but I do recommend one for visiting Sloquet Hot Springs.
Best Time to Visit Vancouver
In my opinion, the best time to visit Vancouver, British Columbia is in the shoulder season, which lasts from April – early June and September – October. During these months, you will find great deals on accommodation and a lot of popular hiking trails will be nearly empty. Just be prepared for some rainy, chilly days.
However, if you don’t mind crowds and are willing to pay a bit more, summer is also a great time to for a Vancouver road trip. Long days and good weather are ideal for hiking and road tripping.
Extend Your British Columbia Road Trip
Have more time to spare? Add another 5 days and extend your Vancouver road trip west onto Vancouver Island.
If you have even more time, add 7 days and drive east toward Alberta to visit Yoho, Banff, Jasper, and Kootenay National Parks.
Read next: How to Spend 1 Day in Yoho National Park
Always Remember to Leave No Trace
The concept of Leave No Trace is built on seven core principles widely utilized for enjoying the outdoors responsibly and with sustainable, minimum impact.
The Leave No Trace principles apply to all outdoor activities – from the backcountry to local parks to your own backyard. Leave No Trace is based on respect for nature and other visitors. It’s also supported by scientific research conducted on recreation-related impact to our wild places.
In a collective effort to keep the beautiful places listed above wild and free for generations to come, please leave all areas better than you found them and practice the seven principles of Leave No Trace:
- Plan ahead and be prepared
- Travel and camp on durable surfaces
- Dispose of your waste properly – carry out what you carry in
- Leave what you find
- Minimize campfire impacts – be aware of campfire rules and regulations
- Respect wildlife! (Don’t feed the gray jays)
- Be considerate of other visitors
More for your Canada road trip
Traveling Banff on a Budget: Effective Ways to Save Money on Lodging, Food, and Transportation
1-Day Yoho National Park Road Trip Itinerary
15 Useful Apps to Download Before Your Next Road Trip (for Free!)
Pins for your Pinterest


Hi, I’m Jackie! I’m a travel photographer and content creator based near the Adirondack Mountains of Upstate New York. I’m also a millennial who works full-time, yet I still find ways to travel frequently without breaking the bank, because traveling is what makes me feel most alive. Now I help fellow travelers who also work 9-5 and are looking for ways to travel more with limited PTO.
Related Posts
2 Comments
Leave A Comment
WANT TO SAVE MONEY TRAVELING?
Check out my list of reliable budget-friendly travel resources that are guaranteed to save you the most money, without compromising your experience.

Hi Jackie! I enjoyed your blog on the BC 5 day road trip. You really packed a LOT into 5 days!!!! Most of us who live in BC would do that in 1.5 weeks! If you get back to BC I highly recommend getting the paperback version of this book. The New B.C. Roadside Naturalist: A Guide to Nature along B.C. Highways. It’s by a geologist and points out all the interesting bits you are passing by the car window on your travels. BC has a very complex geological history, so it has produced many varied mini-climate zones. Another gem is the BC hot spring spots on FaceBook. Most are off of logging roads but are worth the visit and smallish hikes to access. BC has such a tiny population (other than Vancouver) that we love it when people have enough tenacity to visit all the out of the way places. Another gem is the water access only spots along the coast by eco-tourism “cruise” ship like the MV Uchuck (West coast of Vancouver Island) https://www.getwest.ca/cruises/schedule/ and the Aruroa Marine Link (East coast of Vancouver Island and remote mainland costal and First Nations communities) https://marinelinktours.com/routes/. Hopefully your editor, sponsor, can fund your adventures on these visits back to BC. It’s well worth it! I sent my parent on both of these “cruises” in their 70’s. They LOVED it as it was not as ecologically sensitive and they got to see the “real” working coast of BC as well as meet some VERY well educated other guest: very influential (retired) ocean biologists and academics who made fascinating dinner guests!!! The food was fabulous – as fresh as it gets seafood every night, made by a very creative chef in a very efficient (aka super small) galley kitchen
“This list is fantastic! I’ve been looking for new car camping spots, and now I have an idea where to go. Thanks for the great recommendations!”