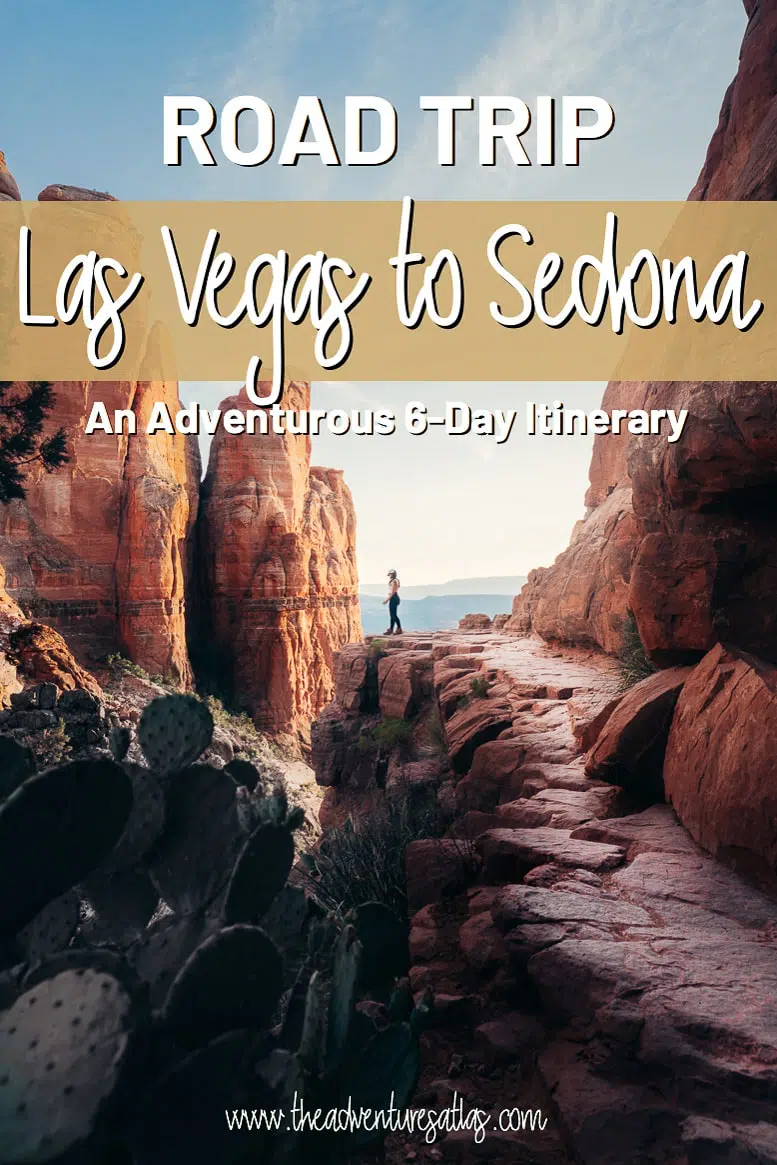
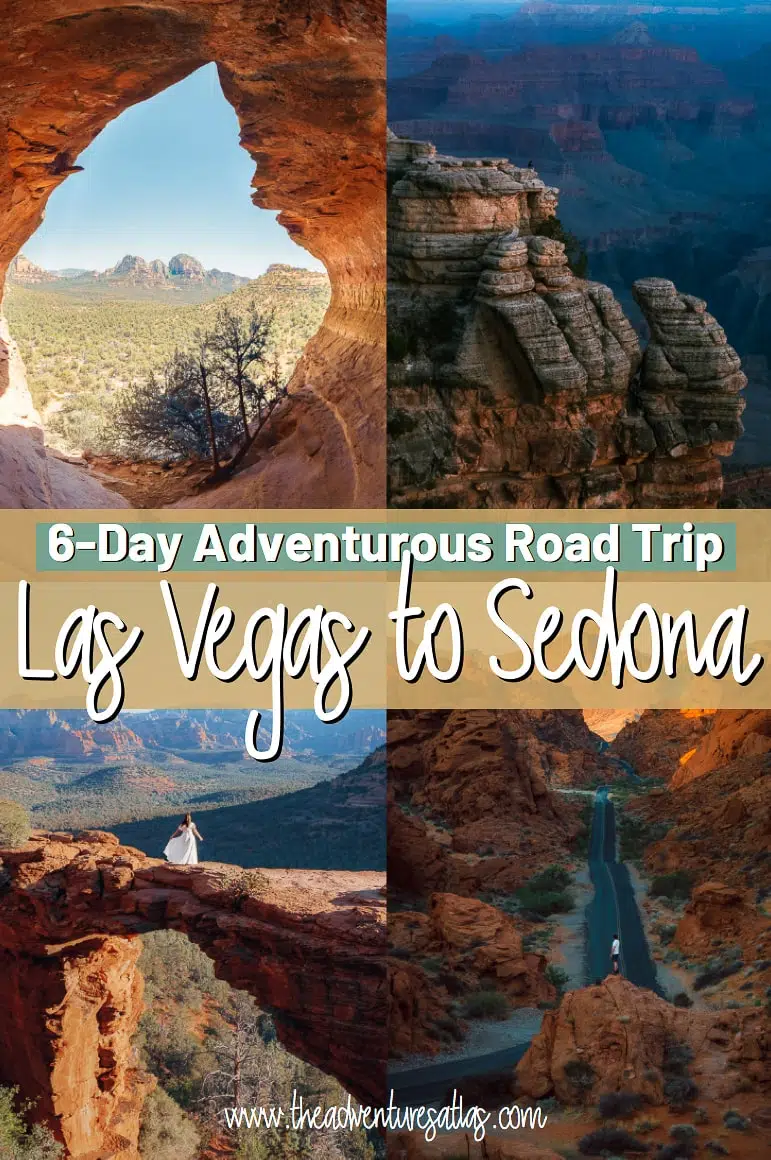
Las Vegas to Sedona Road Trip (3 Jam-Packed Itineraries to See it All in Less Time)
 This post is sponsored by Travellers Autobarn. All opinions are my own.
So you want to road trip from Las Vegas to Sedona? Perfect – you’ve come to the right place!
In this post, I’m sharing an adventurous Las Vegas to Sedona road trip itinerary that’s designed to pack a ton of outdoor adventure into a relatively short time frame. You’ll see it all, from epic red rocks and sprawling vistas, to striped sandstone and ancient petroglyphs – and everything in between.
This 6-day itinerary is perfect for a short getaway or for tacking a few days of precious PTO onto a holiday weekend. But scroll all the way to the bottom to find an extended 8-day trip that includes 3 National Parks, and an abridged 4-day itinerary that just hits the highlights.
And don’t forget to grab my free Las Vegas to Sedona road trip itinerary download before you go!
Alright, let’s get started!
Need help planning your extended southwest itinerary? GET IN TOUCH for customized itinerary planning, starting at $25/day!

HOW TO GET AROUND
You’ll need your own form of transportation to complete this itinerary from Las Vegas to Sedona.
Most people will rent a car for their road trip from Las Vegas to Sedona, but we chose to rent a camper van instead. We rented a camper van because we love the freedom and flexibility they provide, especially since this itinerary packs a lot of activities into a short amount of time.
We rented our van from Travellers Autobarn USA in Las Vegas, located about 10 minutes from the airport. They’re a no-frills, budget-friendly option that comes with unlimited miles – which is a HUGE plus!


Pictured: Travellers Autobarn Hitop Campervan. Check out their other locations for your next road trip at Travellers Autobarn Australia and Travellers Autobarn New Zealand.
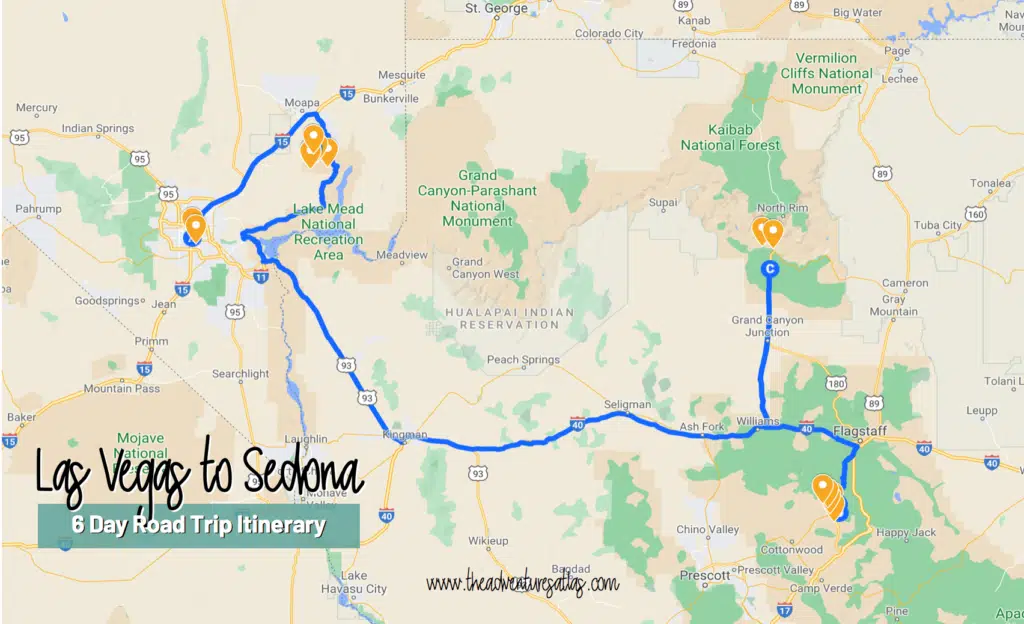
THE 6-DAY ROUTE OVERVIEW
This route starts and ends at McCarren International Airport in Las Vegas, Nevada. It takes a detour to Valley of Fire, before heading east to the Grand Canyon and Sedona, AZ.
Here’s a quick overview:
.
Day 2: Valley of Fire to Grand Canyon, South Rim
Day 3: Grand Canyon to Sedona
Day 4 – 5: Sedona
Day 6: Sedona to Las Vegas
Estimated total drive time: 12 hours 30 minutes
Estimated total miles for this route: 800 miles
READ MORE: How to Plan Your Road Trip Using Google Maps
Have extra time? Scroll down for this extended 8-day itinerary!

Don’t have enough time? Scroll down for this super fast 4-day itinerary!

IMPORTANT THINGS TO KNOW BEFORE YOUR LAS VEGAS TO SEDONA ROAD TRIP
Before we dive into the itinerary, here are few important things to know before you head out on your Las Vegas to Sedona Road Trip:
- You won’t have great cell phone service. I strongly suggest downloading offline Google Maps before you go.
. - Camping along the way? Download The Dyrt. It’s the largest campsite finder app to find camping near you. Use the The Dyrt PRO to get access to offline maps to find RV sites and campsites on the go. It’s $36/year, but comes in handy because you’ll have spotty service on this road trip.
. - Entrance fees and park passes:
- Valley of Fire: $15 per day entrance fee
- National Parks: $35 per park per week. Save money by ordering an Annual National Park Pass if you plan on visiting more two National Parks within the year.
- Many hikes in Sedona require a Red Rocks Pass. Passes are $5/day or $15/week and can be purchased once you get there or ahead of time here.
.
6-DAY LAS VEGAS TO SEDONA ROAD TRIP (TO SEE IT ALL IN LESS TIME)
ARRIVE IN LAS VEGAS, NEVADA:
This trip starts in – you guessed it! – Las Vegas. This is the day when you arrive in Las Vegas and get your bearings, so how you spend this day is up to you.
I didn’t count the arrival day in this 6 day itinerary in order to account for different arrival times. For example, we flew in at night in order to save a day of PTO, but if you arrive early then you can use this day to explore Las Vegas before you head out on your road trip to Sedona!
If you’re like us and arrive at night, we found great rates at (hotel). It’s only 0.4 miles from the airport, so it’s a cheap uber ride or even a short walk if you packed light.
NOTE: If you arrive early enough, you can just skip this day and jump straight into Day 1 of the road trip itinerary!
DAY 1: LAS VEGAS TO VALLEY OF FIRE
Now’s the time to pick up your car or your camper van (if you haven’t done so already), stock up on groceries, and head out to Valley of Fire State Park!
Valley of Fire is, in my opinion, one of the best gems near Las Vegas. It takes less than an hour to get there, but feels like you’ve been transported to an entirely different planet.
I had visited Las Vegas several times before finally making it out to Valley of Fire this year, and I could not believe I waited so long to go. From the crimson colored rocks, ancient petroglyphs, and rainbow sandstone, Valley of Fire more closely resembles Mars than it does the surface of Earth.
Valley of Fire isn’t very big, but it packs a whole lot to do in a relatively small area. I included a handful of stops on Day 1, but they’re all pretty close together and don’t take very long to reach. It took us about 6 hours to complete them all at a leisurely pace.
Distance from Las Vegas to Valley of Fire: 50 minutes
Miles to drive: 46 miles
Valley of Fire entrance fee: $15 per vehicle
STOP 1: PETROGLYPHS AT ATLATL ROCK


Atlatl Rock is one of the best places in Nevada to see Native American rock art up close. The petroglyphs carved into the red sandstone at Atlatl Rock are over 4000 years old and depict people, animals, and various symbols. No one actually knows what the petroglyphs mean, but they offer a really interesting peek into ancient Native American culture.
Climb the staircase up the face of the cliff to reach the viewing platform in front of the petroglyphs. From here, you’ll come face to face with the ancient drawings that adorn the rock.
The drawings are easy to see, as they’ve been carved deep into the rock, but If you look closely, you’ll also see modern day graffiti scribbled in a few areas. This is an ancient, and very culturally significant site. Please follow the principles of Leave No Trace and always aim to leave outdoor spaces better than you found them.
Trail Length 0.1 miles one way
Difficulty: easy
Optional: Take a few minutes to check out Arch Rock and Seven Sisters on your way to the next stop!
STOP 2: ELEPHANT ROCK

For the next stop, hop in the car and drive east to visit one of the most iconic rock formations in Valley of Fire.
Valley of Fire is absolutely filled with unique rock formations, and Elephant Rock is one of them! Chances are, if you’ve ever researched Valley of Fire, you’ve seen photos of this rock before.
Elephant Rock is a huge rock formation that looks just like – surprise! – an elephant. It’s actually pretty wild. The first thing you’ll notice is the elephant’s trunk, which is made of a natural sandstone arch. Then, as you look closer, you’ll recognize the rock formations that look just like the legs and the body.
And then, as you continue to look at it, you’ll realize what a miracle it is that its still standing upright. I’m not sure how it manages to stay standing, since the entire formation appears to be comprised of a bunch of rock chunks, rather than one solid rock.
Elephant rock is clearly fragile, so please avoid sitting, standing, or climbing on any part of it.
Trail length: 0.3 miles
Difficulty: Easy
Pro tip: Photographers will want to save this spot for the next morning, as Elephant Rock is best photographed at sunrise.
.
STOP 3: SUNSET AT THE FIRE WAVE

The final stop for today is sunset at the Fire Wave. If you’ve taken your time so far, this should put you at the Fire Wave just in time for that perfect light at golden hour.
This is, hands down, my favorite hike in Valley of Fire State Park. And it will be easy to see why! With its unique and vibrant striped sandstone, this isolated area of Nevada looks like it was plucked straight out of Candy Land.
The Fire Wave Trail is one of the newer trails in Valley of Fire and begins at Parking Lot #3.
At 1.5 miles round trip, the hike to the Fire Wave is short and sweet, but also completely exposed to the sun (so don’t forget your water!). The trail is well marked and gently undulates over packed sand, sandstone, and slickrock before ending at a bowl that appears to have been painted with red and white stripes.
On the far side of the striped bowl you’ll see the rising “wave crest” that gives the Fire Wave its name. Make your way to the top of the wave and take in the view of the colorful rocks around you as the sun sets. This is a super unique and beautiful area, so you’ll surely want to linger for a moment (or two).

Trail length: 1.5 miles
Difficulty: Easy
Pro tip: Don’t forget to bring your head lamp and plenty of water!
WHERE TO STAY IN VALLEY OF FIRE STATE PARK:
The most convenient place to stay is at the Atlatl Campground, located right next to Atlatl Rock. The campground is open year-round and has 44 campsites that are first-come first-serve and accommodate tents, trailers, and RVs. Each site is $20 per night, or $30 for a site with utility hookups.
If Atlatl Campground is full, Arch Rock campground is another option within the park.
Prefer not to camp? The closest hotel to Valley of Fire is the North Shore Inn at Lake Mead, located about 15 minutes away in Overton, Nevada.
.
DAY 2: VALLEY OF FIRE TO THE GRAND CANYON SOUTH RIM
It’s Day 2 of your Las Vegas to Sedona road trip – and I hope you’re super excited to wake up early! It’s going to be a packed day and you’ve got a long afternoon drive ahead.
This is the most driving in one sitting that you’ll be doing until it’s time to leave, so don’t panic!
Drive time: 5 hours
Miles to drive: 305 hours
Substitute Zion National Park in place of the Grand Canyon. Doing this will essentially swap your drive time. So, rather than driving 5 hours today and 2 hours tomorrow, you’ll drive 2 hours to Zion today and 5 hours tomorrow to Sedona.
.
STOP 1: SUNRISE AT MOUSE’S TANK ROAD VIEWPOINT
Set your alarm for about 30 minutes before sunrise to start your day in of the most photogenic parts of the park: Mouse’s Tank Road.
Mouse’s Tank Road is one of the main roads that cuts through Valley of Fire State Park. Relative to the rest of the park, the road itself isn’t anything extraordinary. But there is one viewpoint along the road that has skyrocketed to Instagram fame. Check it out in the photo below!
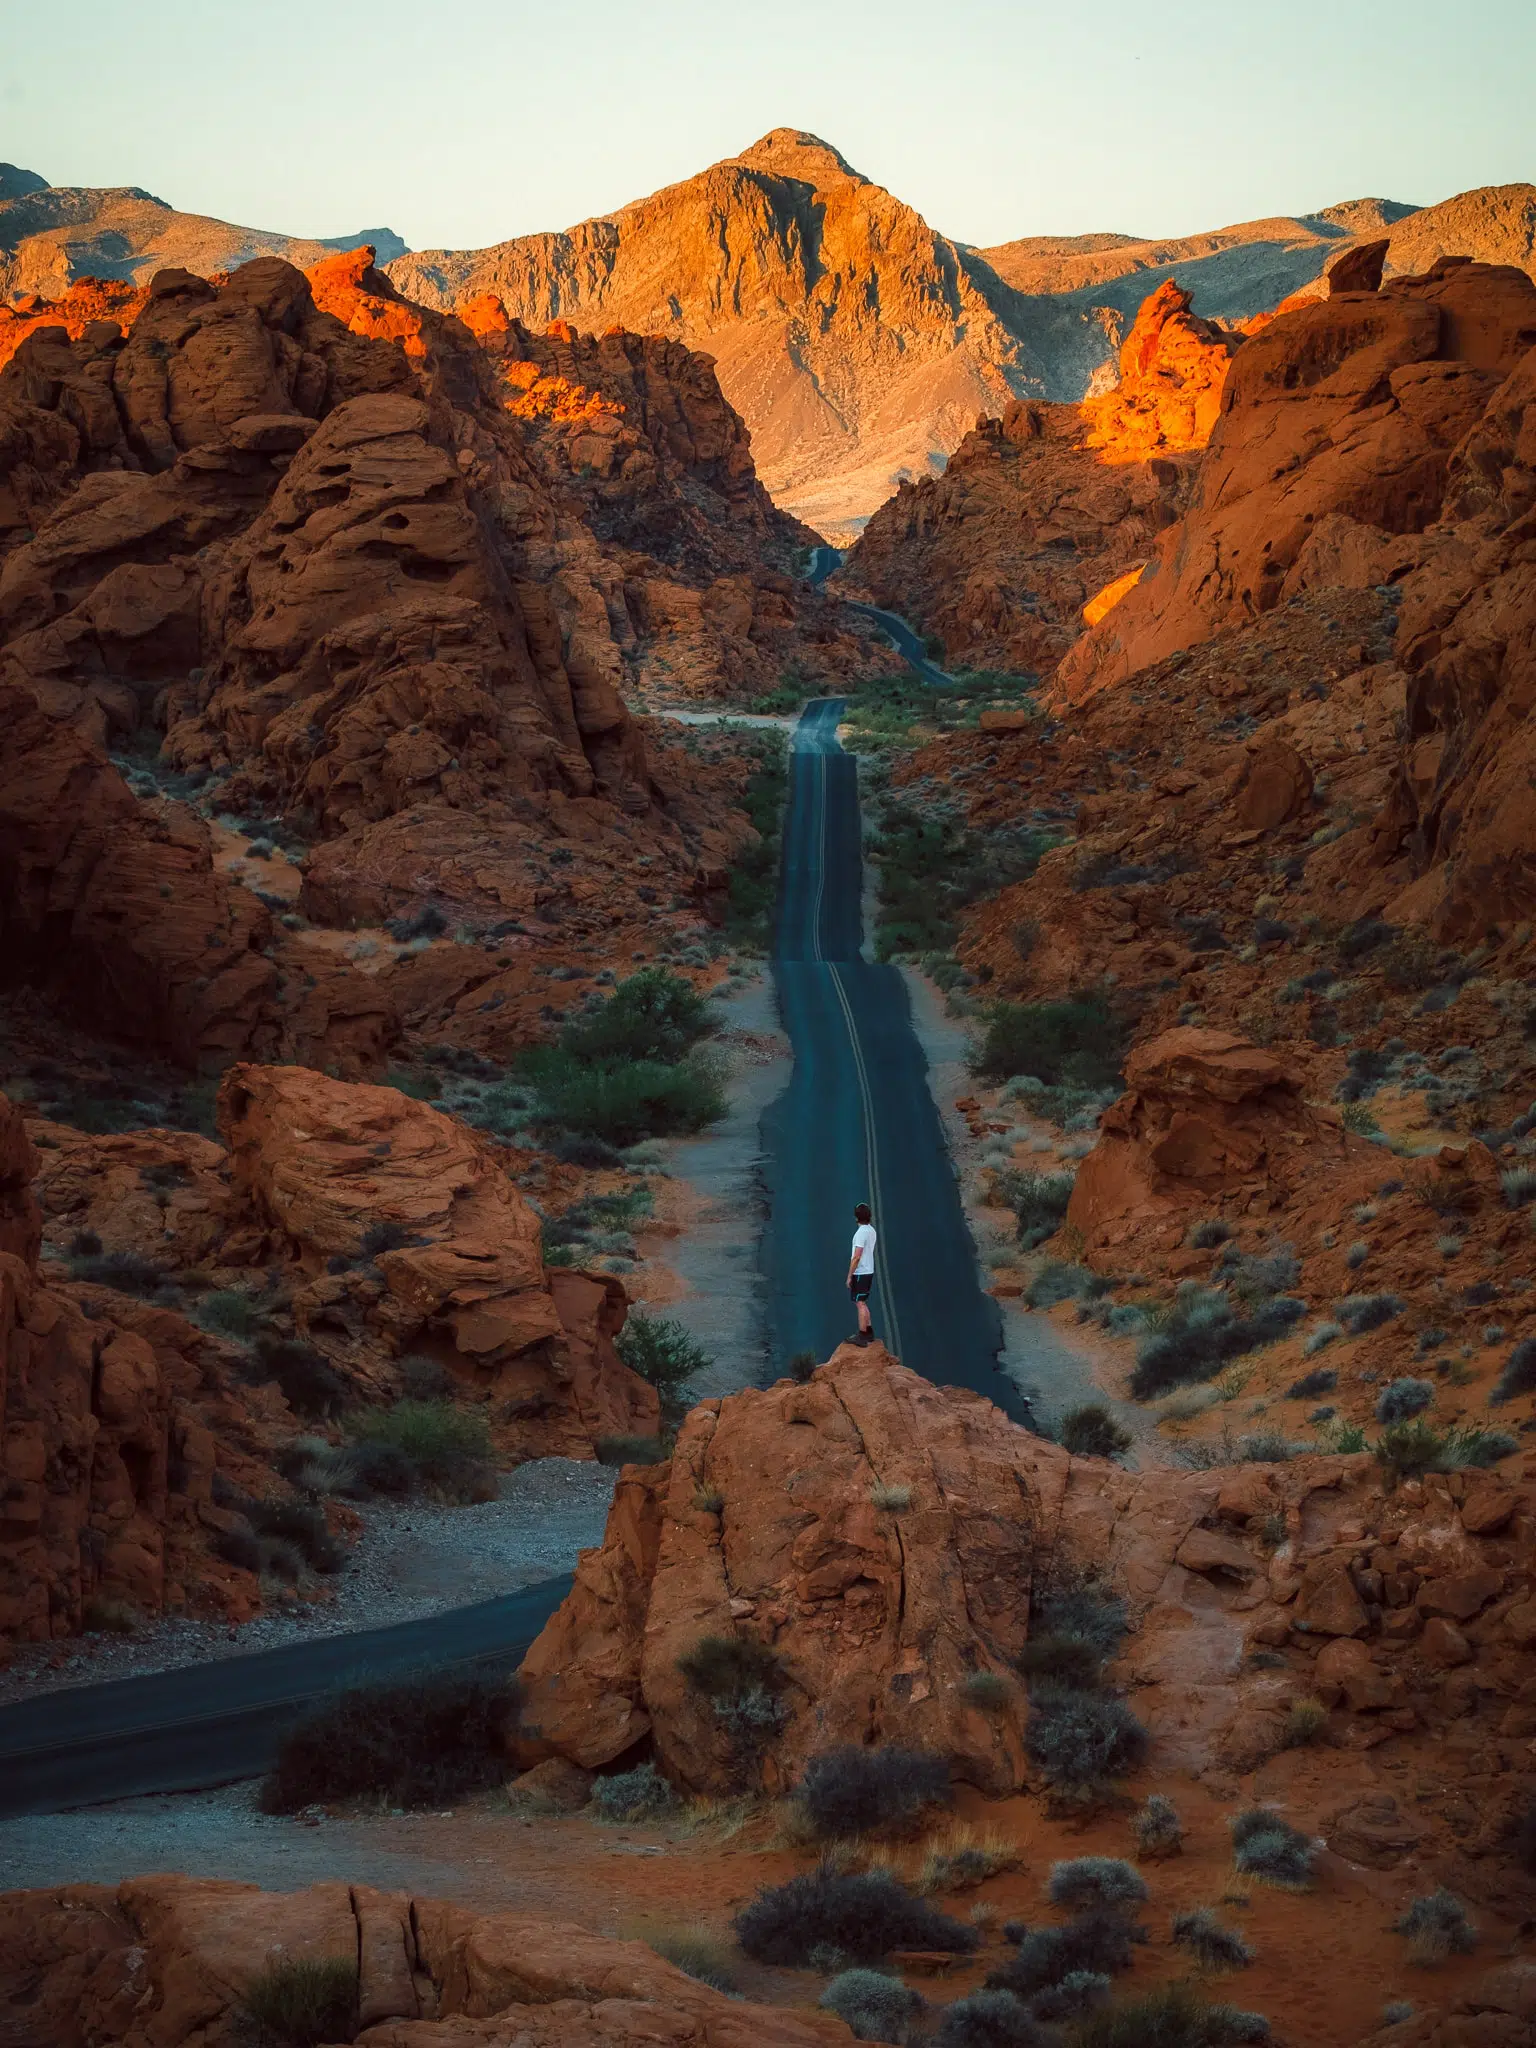
To find the insta-famous viewpoint on Mouse’s Tank Road in Valley of Fire, follow the road north from Atlatl Campground. Drive to the top of the hill and look back just before you round the corner. You should be able to recognize the view.


Note: As you might have guessed, this spot is not a secret. However, the earlier you arrive, the better of a chance you have at getting it to yourself (at least for a little while).
STOP 2: WHITE DOMES TRAIL
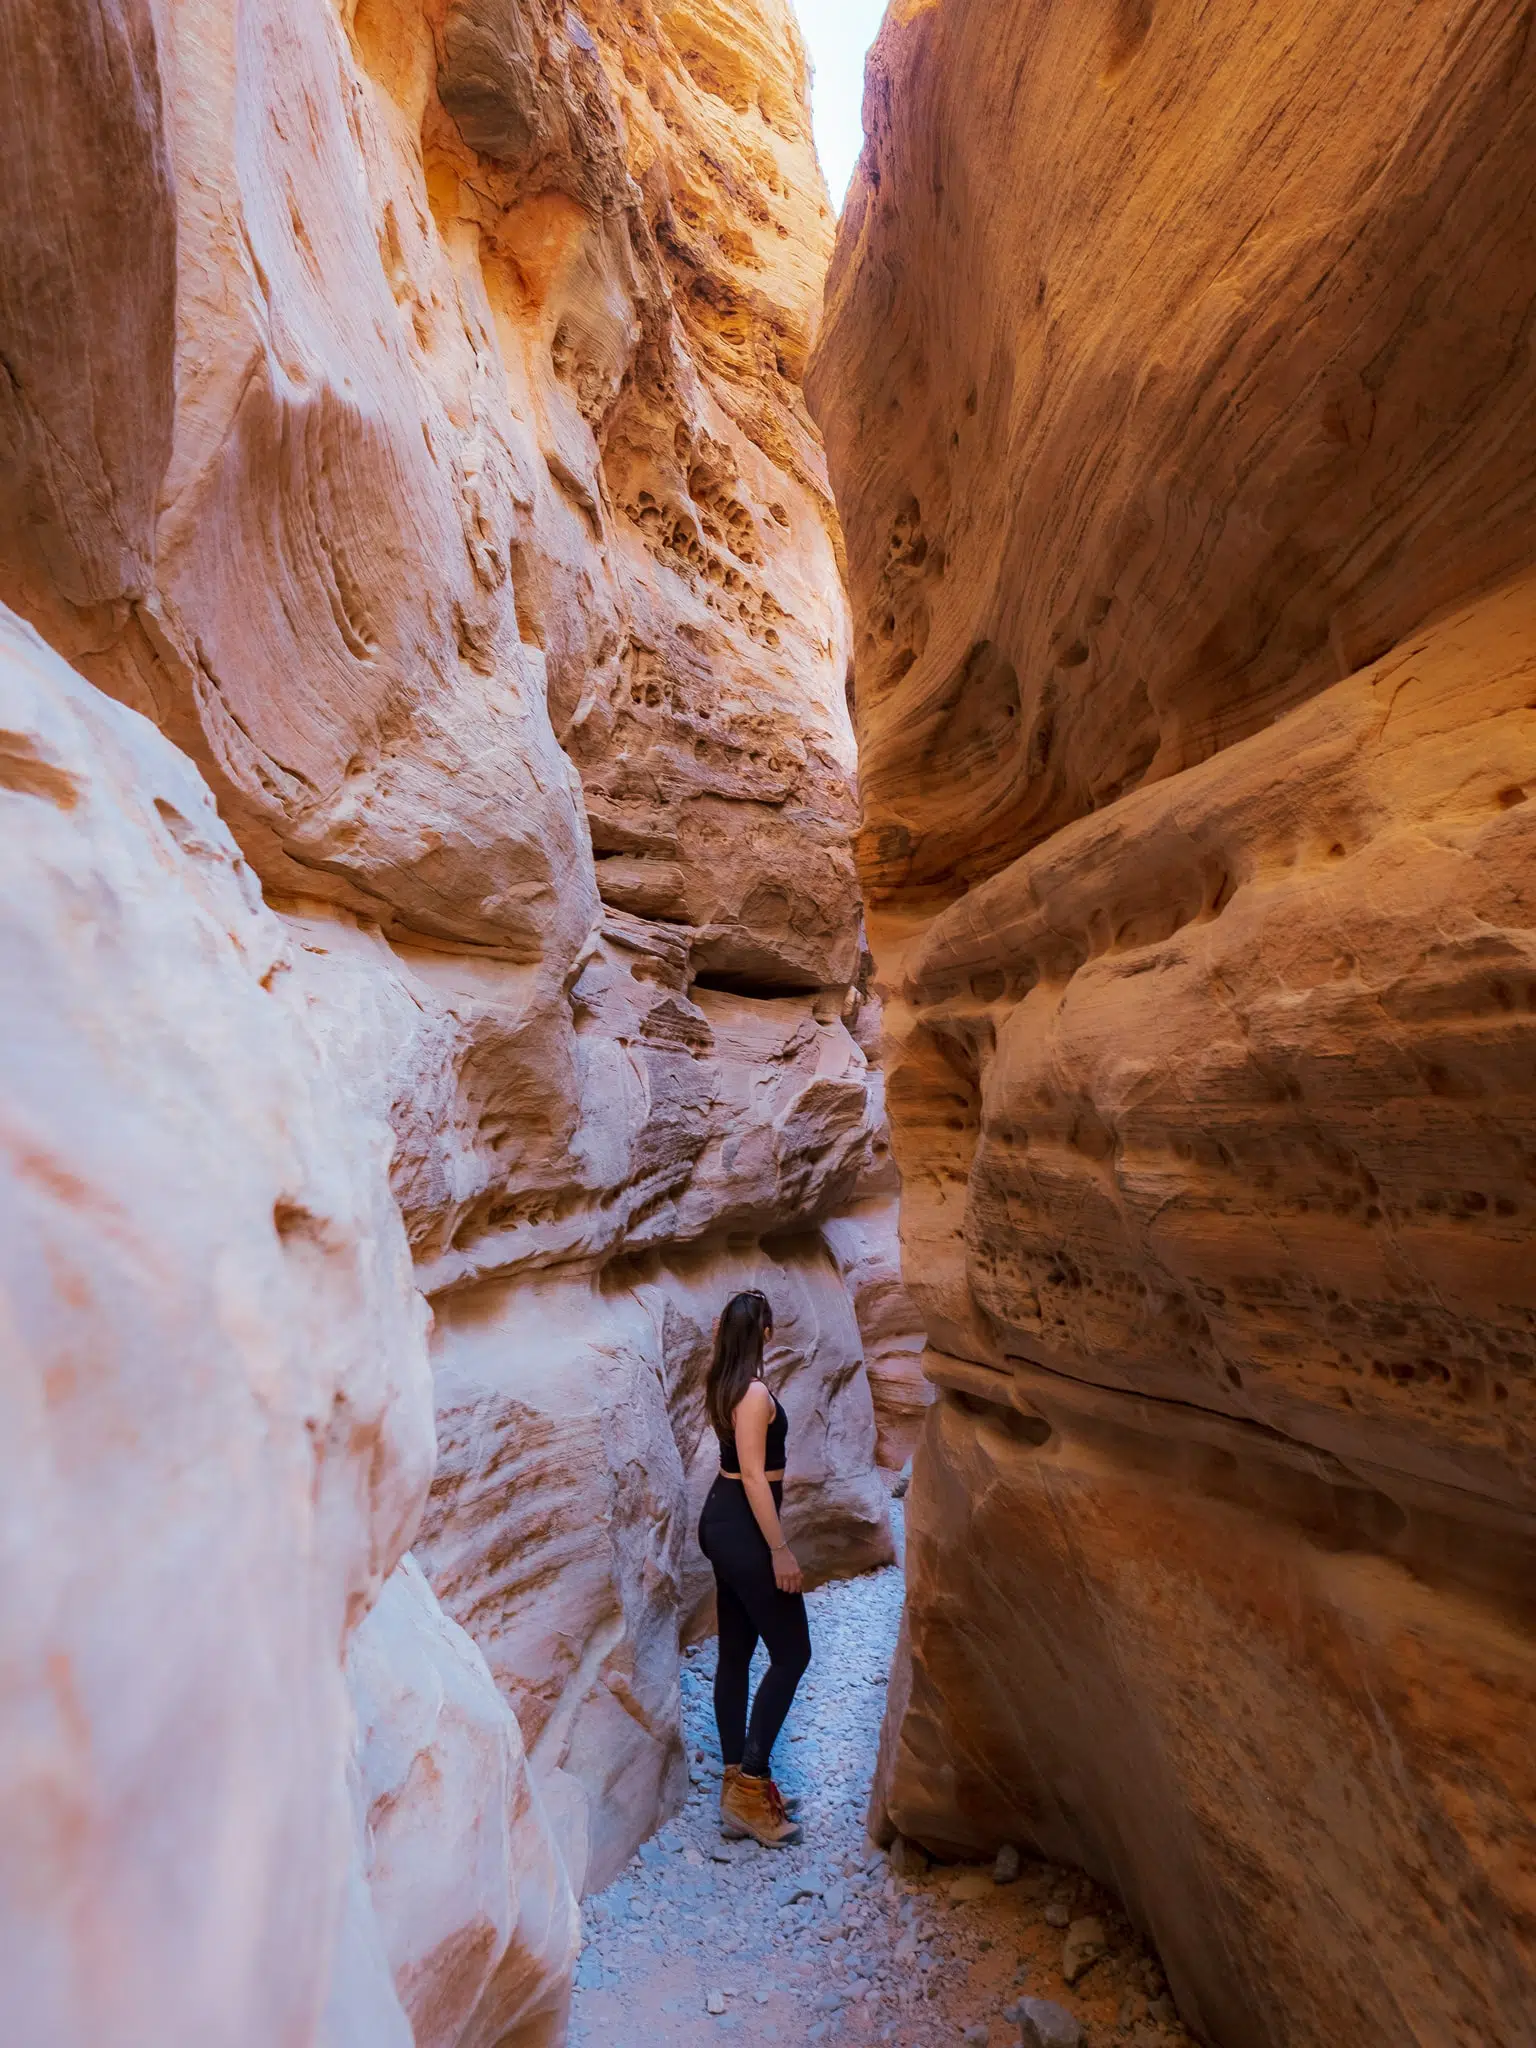
White Domes is, perhaps, one of the prettiest hikes in Valley of Fire State Park (behind the Fire Wave, of course). The trail is only about 1 mile round trip, but it might take you longer than you expect. While you can complete the loop in about 25 minutes, we found ourselves stopping every few minutes to take photos and explore our surroundings.
Most people hike the White Domes Trail for the slot canyon at the end. And while the slot canyon is beautiful, the trail is also lined with colored sandstone and incredible rock formations that are also worth your attention.

Trail length: 1.1 mile loop
Difficulty: Easy
Pro tip: The earlier you start, the better! There’s little to no shade on the trail, so it gets very hot
.
STOP 3: SUNSET AT THE GRAND CANYON


Now it’s time to pack up and say goodbye to Valley of Fire, as you head to the South Rim of the Grand Canyon!
This drive will take about 4.5 hours. If you want to break it up, you can swing by Boulder Beach on Lake Mead for a quick swim.
Aim to arrive at the Grand Canyon about 2 hours before sunset. When you get there, park in the main lot and take the shuttle to Mojave Point. Hopi Point is actually the most popular spot for sunset, so most people will get off there. But we found Mojave Point to be a lot better because the views are similar and its not nearly as crowded.
If you arrive early enough, you can walk along the Rim Trail, the paved walkway that meanders along the canyon rim. You can take a shuttle back to the visitors center from any of the designated view points.
WHERE TO STAY NEAR THE GRAND CAYON SOUTH RIM
LODGING: The Bright Angel Lodge or Yavapi Lodge.
CAMPING: Bright Angel Campground or Mather Campground. These campgrounds fill up super fast, sometimes even 6 months in advance. If you can’t find a site to reserve, you can try hand at one of the first-come-first-served sites.
CAMPERVANNING: You can try snagging a RV site at Mather Campground, but if you haven’t booked months in advance, chances are its full.
Instead, we parked for the night at the Grand Canyon Camper Village. It’s not picturesque by any means, but its only a stone’s throw away from the park entrance and conveniently located near a few shops and restaurants. Plus, they had clean, hot showers for only a few dollars!
.
DAY 3: GRAND CANYON TO SEDONA, ARIZONA
Today’s another early day as you wake up to catch sunrise at the Grand Canyon before leaving for Sedona to complete your Las Vegas to Sedona road trip.
STOP 1: SUNRISE AT MATHER POINT, GRAND CANYON SOUTH RIM

The good news is that, unlike sunset, you don’t have to catch a shuttle to get to Mather Point for sunrise. Just plug “Mather Point” into your GPS and follow it to the main parking lot. From there, its a quick walk to the viewpoint.
If you want to explore more after sunrise, check out these easy hikes nearby:
- Shoshone Point Trail: Distance: 2.1 miles (1 hour hike time)
- Ooh Aah Point: Distance: 1.8 miles (1 – 1.5 hour hike time)

STOP 2: SEDONA
Next up on your Las Vegas to Sedona road trip is Sedona!
You’ve got about a 3 hour drive ahead of you, so now is a good time to stop at Starbucks or grab a quick shower at Grand Canyon Camper Village (even if you didn’t camp there, you can ask the front desk to pay a few dollars to use the facilities).
The drive to Sedona is, in my opinion, pretty uneventful until you enter Cocochino National Forest. You’ll know when you get there because a red rock oasis seemingly pops up out of nowhere.
Kick off your time in Sedona with one of these short Sedona sunset hikes:
- Bell Rock; 1.5 miles round trip
- Airport Mesa; 3.2 mile loop
- Doe Mountain; 1.5 mile loop
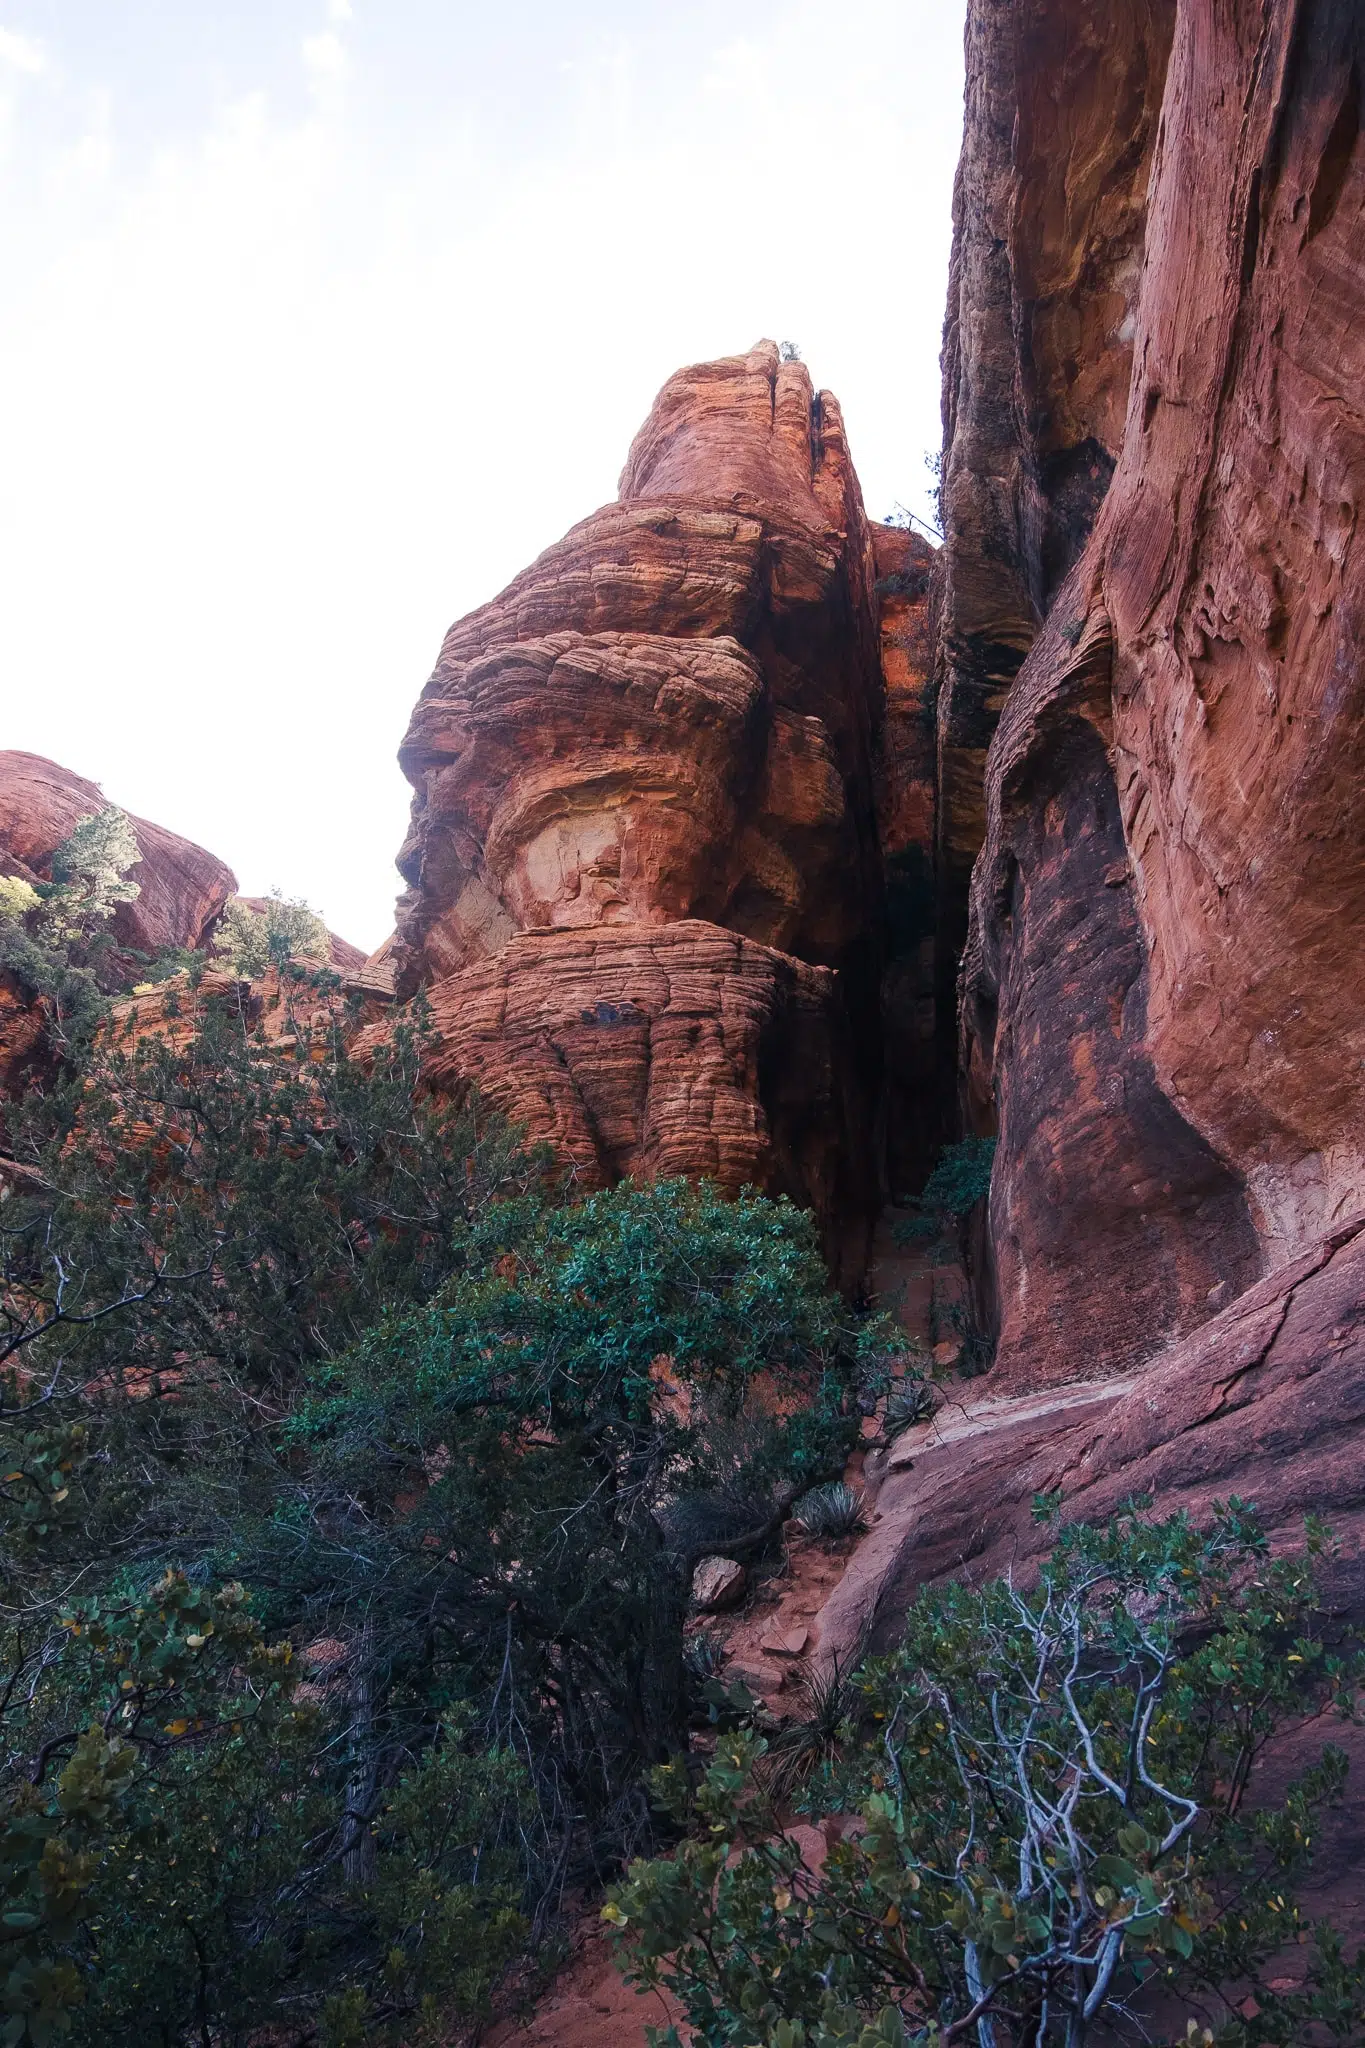
- The Birthing Cave; 2 miles round trip

The Birthing Cave, Sedona, AZ
WHERE TO STAY IN SEDONA:
LODGING: There are tons of hotels and Airbnbs to choose from in Sedona, although this is definitely the most pricey option.
CAMPING: Manzanita Campground is the closest campground to Sedona (tents only). Another popular site is Cave Springs Campground. Reserve your spot up to 6 months in advance because all campgrounds in Sedona fill up very fast. If everything is full, check out the dispersed camping lot below.
CAMPERVANS: There is no overnight parking within Sedona city limits.
The most convenient place to park is just off Route 525. The site is called “Coconino National Forest Dispersed Camping 525 Road” in Google Maps. The coordinates are (34.85862495 N, -111.91351954 W).
It’s an empty lot thats surprisingly picturesque (for where it is), accessible for all campervans and RVs, and super close to all of the popular Sedona Hikes. And its FREE!
The lot is first-come-first-served, but there are a few more spots down the road if the main lot is full. There are no facilities here, though. It’s literally just a place to park for the night. For facilities, reserve a spot at Cave Springs Campground or Rancho Sedona RV park.

Dispersed camping lot off Route 525 in Sedona, AZ
DAY 4: (MORE) HIKING IN SEDONA
Hopefully you’re nice and rested because today is all about hiking in Sedona!
STOP 1: SUGARLOAF LOOP TRAIL FOR SUNRISE
The Sugarloaf Loop Trail is one of the best Sedona hiking trails for sunrise. Not only is the trail hugely underrated (and thus much less touristy), but it also leads to an incredibly scenic view, for very little effort.
Due to its short length and small elevation gain, the Sugarloaf Trail is a relatively easy hike that’s great for families and hikers of all skill levels.
The trail begins with a short hike down the Teacup Trail for 0.3 about miles. It then branches off onto an easy loop to the Sugarloaf summit, where you’re rewarded with almost 360 degree views of Sedona.
Trail length: 1.9 mile loop
Difficulty: Easy
Time to the top: roughly 30 minutes
.
STOP 2: SUBWAY HIKE VIA BOYTON CANYON

This moderate 5.3 mile hike leads to one of the many “hidden” caves in Sedona, and is one that’s often kept a secret by the locals.
The hike begins on the picturesque Boyton Canyon trail, before veering off down an unmarked side trail to the Subway Cave. The side trail leads directly up into the cave, where you’ll find ancient Sinagua ruins and some pretty epic views.
The hike to the Subway Cave is mostly flat, with only a few areas of significant incline, so most people can reach it with no problem. But, while the cave isn’t much of a secret anymore, finding it can be a bit tricky. Directions online are often unclear and there’s no trail map directly to the cave on AllTrails.
The spur trail to the cave is located 2.0 miles down the Boyton Canyon Trail. The spur trail is unmarked, but there is a very distinctive tree directly across from it. Keep an eye out for large Alligator Juniper Tree (pictured below).
It’s on the left side of the trail and the spur trail to the Subway Cave is on the right. From there, it’s 0.4 miles to the cave entrance.
-

- The tree marking the side trail to the Subway Cave
-
- Entrance to the Subway Cave
NOTE: This is a sacred site with ancient ruins. Please respect the area and do not disturb the ruins or sit or stand on the rock walls.
Trail length: 5.3 miles RT
Difficulty: Easy – moderate. Not great for people who are afraid of heights.

Interested in more caves and ancient ruins? Check out these other secret caves in Sedona:
- Keyhole Cave: 2.6 miles RT; moderate
- Shamans Cave (Robbers Roost): 3.0 miles RT; moderate-difficult
- Birthing Cave: 2.0 miles RT; easy
- Soldiers Pass Cave: 3.5 miles RT; moderate
.
STOP 3: CATHEDRAL ROCK FOR SUNSET
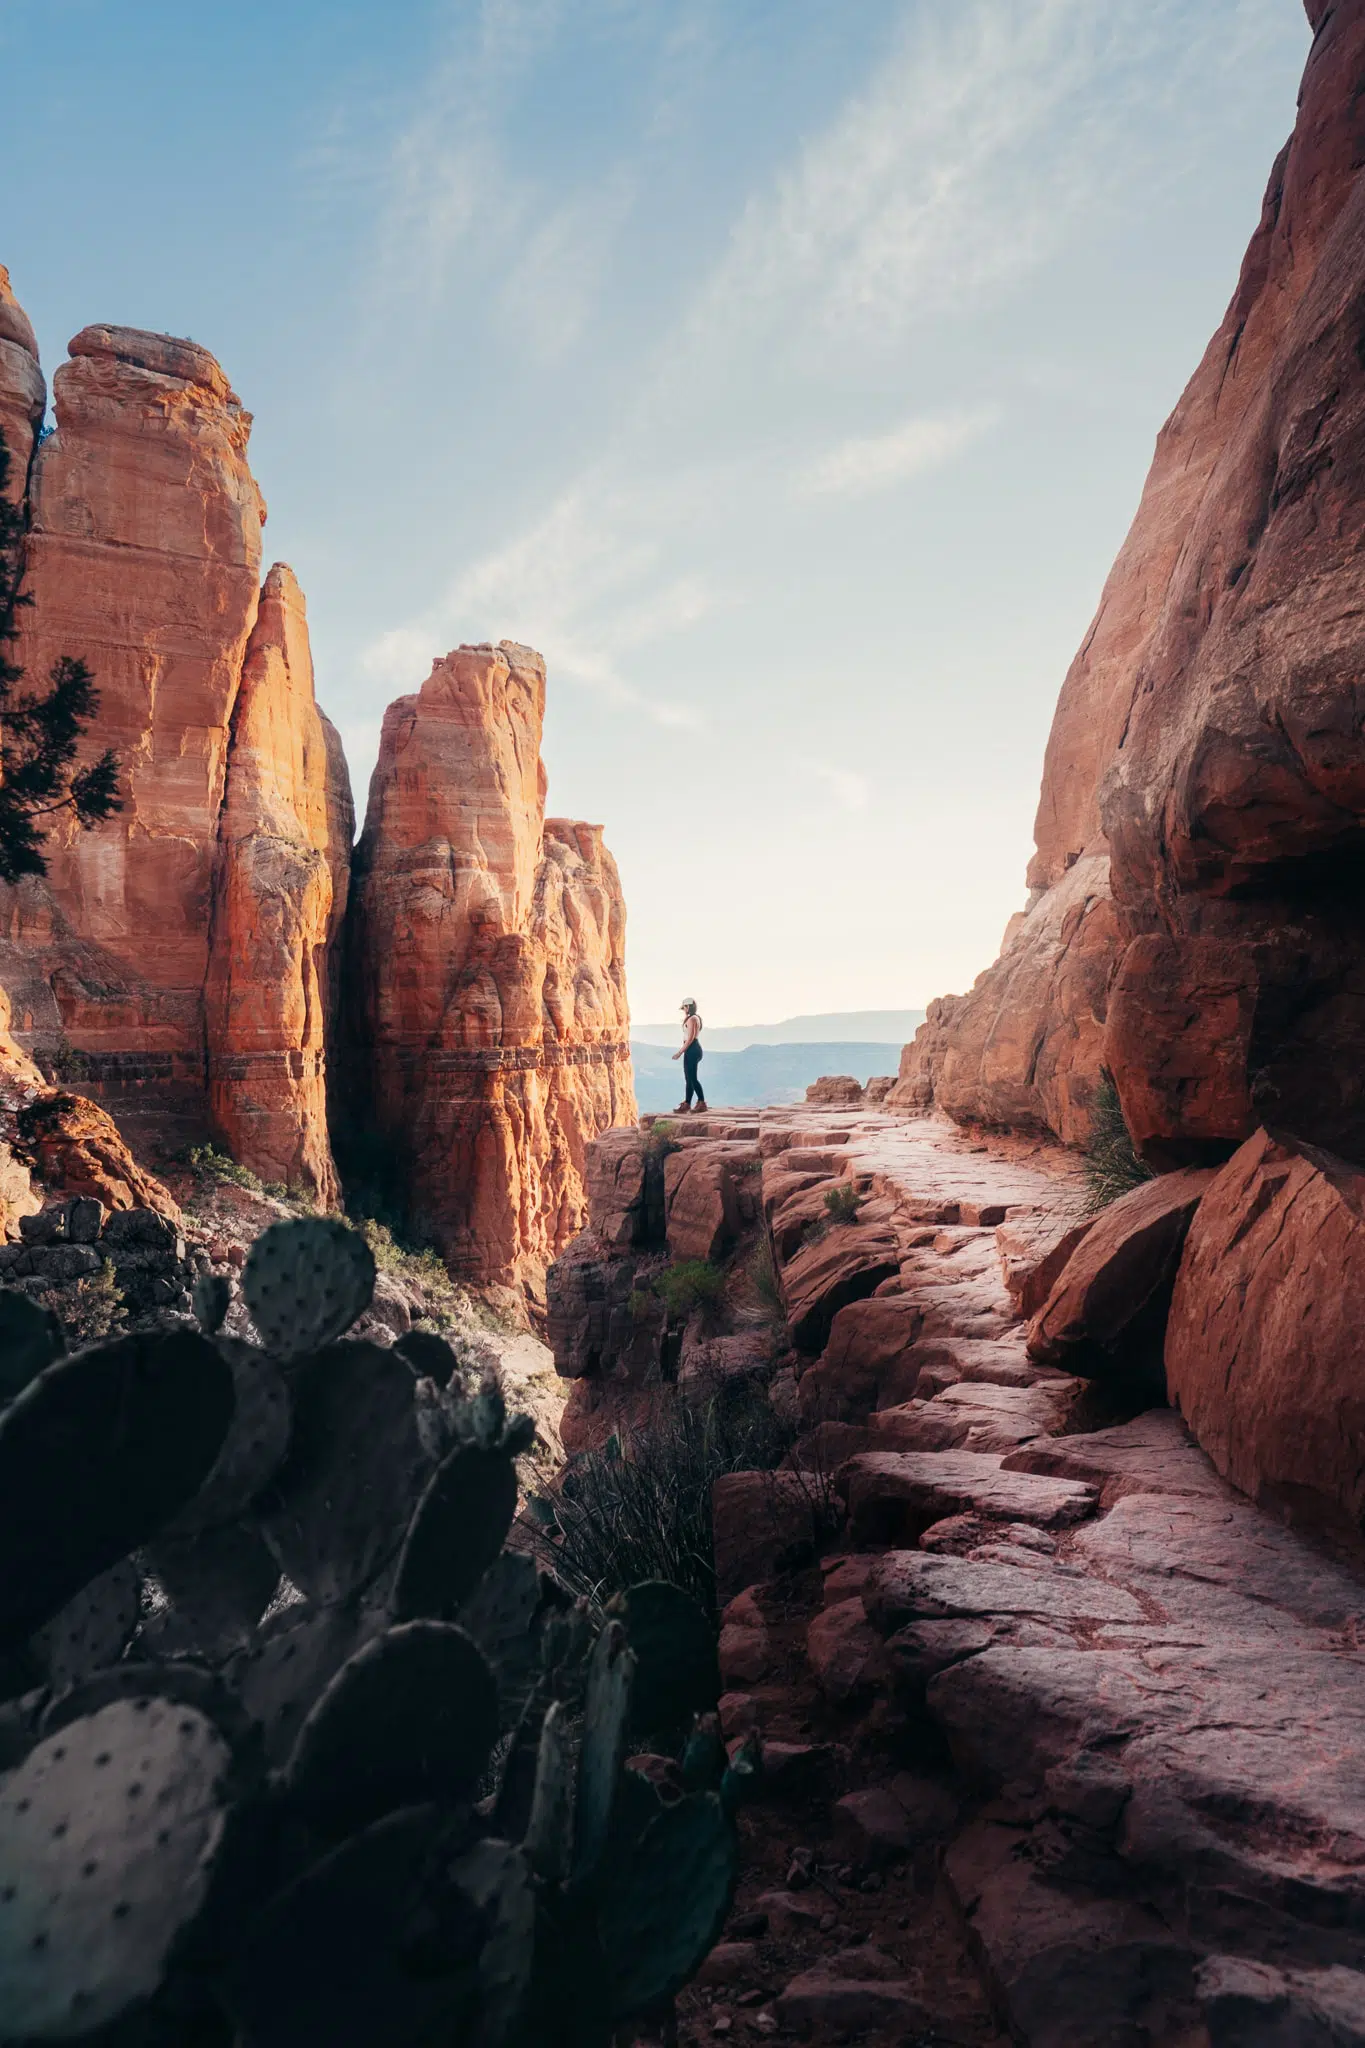
The Cathedral Rock hike is a Sedona classic and an absolute must-do for sunset!
At only 0.7 miles one way, the hike is short and sweet. But don’t be fooled! With an elevation gain of 750ft, the hike is incredibly steep and not exactly for the faint of heart. In fact, you can expect to be be on your hands and knees in a few spots where the trail goes almost straight up!
Don’t worry though because every step is worth the climb. For the effort you put in to get to the top, you’re rewarded with incredible views over the city, as you sit perched between some of the most iconic red rocks in Sedona.


Tip: Don’t stop at the top! Continue to the left to reach the hidden pillar. It’s quite a climb, but this is the best place to watch the sun dip below the horizon. It’s also the location of a famous Sedona vortex!
Trail Length: 1.4 miles round trip
Difficulty: Moderate to strenuous
Time to the top: 30-60 minutes
Tip: Parking can be a challenge, since this is one of the most popular Sedona hikes. Arrive extra early to make sure you get a spot!
.
DAY 5: SUNRISE HIKE AND SHOPPING IN UPTOWN SEDONA
This is your last full day in Sedona, so make sure to start it off strong by waking up while it’s still dark. In other words, you’re in for (yet, another) sunrise hike – but it’s worth it, I promise!
STOP 1: SUNRISE AT DEVILS BRIDGE

Devil’s bridge is perhaps the most recognized hike in Sedona. The large sandstone bridge that dominates the open landscape is Sedona’s largest sandstone arch. It’s also incredibly unique in that you can actually walk out onto it (which isn’t as scary as it might look).
The Devil’s Bridge Trail is only 1.8 miles round trip. But you’ll actually end up walking closer to 6 miles round trip, and take about 3 hours to complete the hike. This is because the trailhead is located down an access road thats inaccessible to normal cars and SUVs.
The hike to Devil’s Bridge, although a bit longer than expected, is fairly easy. The only real elevation gain is toward the end. After a short climb, you’ll reach the top of a cliff that you can follow until you reach the start of the bridge.
Trail Length: 5.7 miles round trip
Difficulty: Moderate
Time to the top: 1 – 1.5 hours
Tip: Sunrise at Devil’s Bridge is just as iconic as sunset at Cathedral Rock. So GET. THERE. EARLY. Seriously, the earlier the better. We showed up at the parking lot at 4AM and it was already 1/2 full.
.
STOP 2: SHOPPING IN UPTOWN, SEDONA
If you follow the itinerary up to this point, chances are you haven’t seen much of the city. So, now is the time to change your hiking boots for some sandals and check out Uptown Sedona.
Uptown Sedona is the area at the intersection of Arizona 89A and 179. This part of central part of Sedona is packed with quaint little shops, galleries, cafe’s and restaurants.
It’s worth noting that most of the shops in Uptown Sedona are tourist traps. However, we find a few local gems that carried quality goods at fair prices:
- Native American Art and Rugs: Garlands Navajo Rugs
- Turquoise jewelry selection: Native Jewelry of Sedona, The Humiovi, Garlands Indian Jewelry
- Crystals and Aura Readings: Crystal Gratitude, Mystical Bazaar, Peace Place
.
Parking: Parking lots 3, 4, 6, and 7 all allow FREE parking with a 3-hour limit. The shops and restaurants are a short walk from there.
Not in the mood to shop? Check out the swimming hole at Red Rock Crossing. Or make the 3.3 mile trek to do some cliff jumping at “The Crack” at Wet Beaver Creek/Bell Crossing.
DAY 6: SEDONA TO LAS VEGAS
Your road trip is coming to an end, as you pack up and head back to Las Vegas on Day 6. Hopefully you’ll be ending your trip with plenty of amazing memories and epic photos to tide you over until your next visit to the Southwest!
Looking to stay a little bit longer? Swing by the Hoover Dam on your way back to Vegas or take a detour to Death Valley National Park!
Here’s the full interactive map on Google Maps
EXTEND YOUR LAS VEGAS TO SEDONA ROAD TRIP: AN 8 DAY ITINERARY
Have extra time to spare? Make your road trip into a loop and hit three national parks!
Don’t forget your National Park Pass!
8-Day Route Overview
Day 2: Valley of Fire to Zion National Park (Angels Landing, The Narrows, sunset at Canyon Overlook)
Day 3: Zion to Bryce Canyon National Park (Queens Garden/Navajo Loop Trail, Inspiration Point)
Day 4: Bryce to Grand Canyon National Park
Day 5: Sedona
Day 8: Sedona to Las Vegas
SUPER FAST 4 DAY LAS VEGAS TO SEDONA ROAD TRIP ITINERARY
Running extra short on time? Check out this 4 day road trip from Las Vegas to Sedona and just hit the highlights!
4-Day Route Overview
Day 1: Las Vegas to Valley of Fire
Day 3: Sedona
Day 4: Sedona to Las Vegas
Estimated total drive time: 10 hours 30 minutes
Estimated total miles for this route: 650 miles
Have you ever road tripped from Las Vegas to Sedona? What stops or hikes would you add to the list? Let me know in the comments!
PINS FOR YOUR PINTEREST

Related Posts
3 Comments
Leave A Comment
WANT TO SAVE MONEY TRAVELING?
Check out my list of reliable budget-friendly travel resources that are guaranteed to save you the most money, without compromising your experience.

[…] An adventurous Las Vegas to Sedona Road Trip Itinerary […]
Thanks. Very informative!
Thanks for the information.